| Sahara Laboratory | |
|---|---|
| |
| Sahara Laboratory Cafeteria | |
| Description | |
Added in |
V0.51 |
Location(s) |
End game area |
The Sahara Laboratory, also known as the Research Laboratory or simply lab, property of Sahara Therapeutics is an area deep underground in the peninsula. To access the Lab, the player must go through the Vault Door, located at the end of Cave HC at the bottom of the sinkhole. The majority of the story's plot is discovered here. Upon leaving, the lab cannot be visited again during the same playthrough, as the entrance is blocked by a cave-in.
History[]
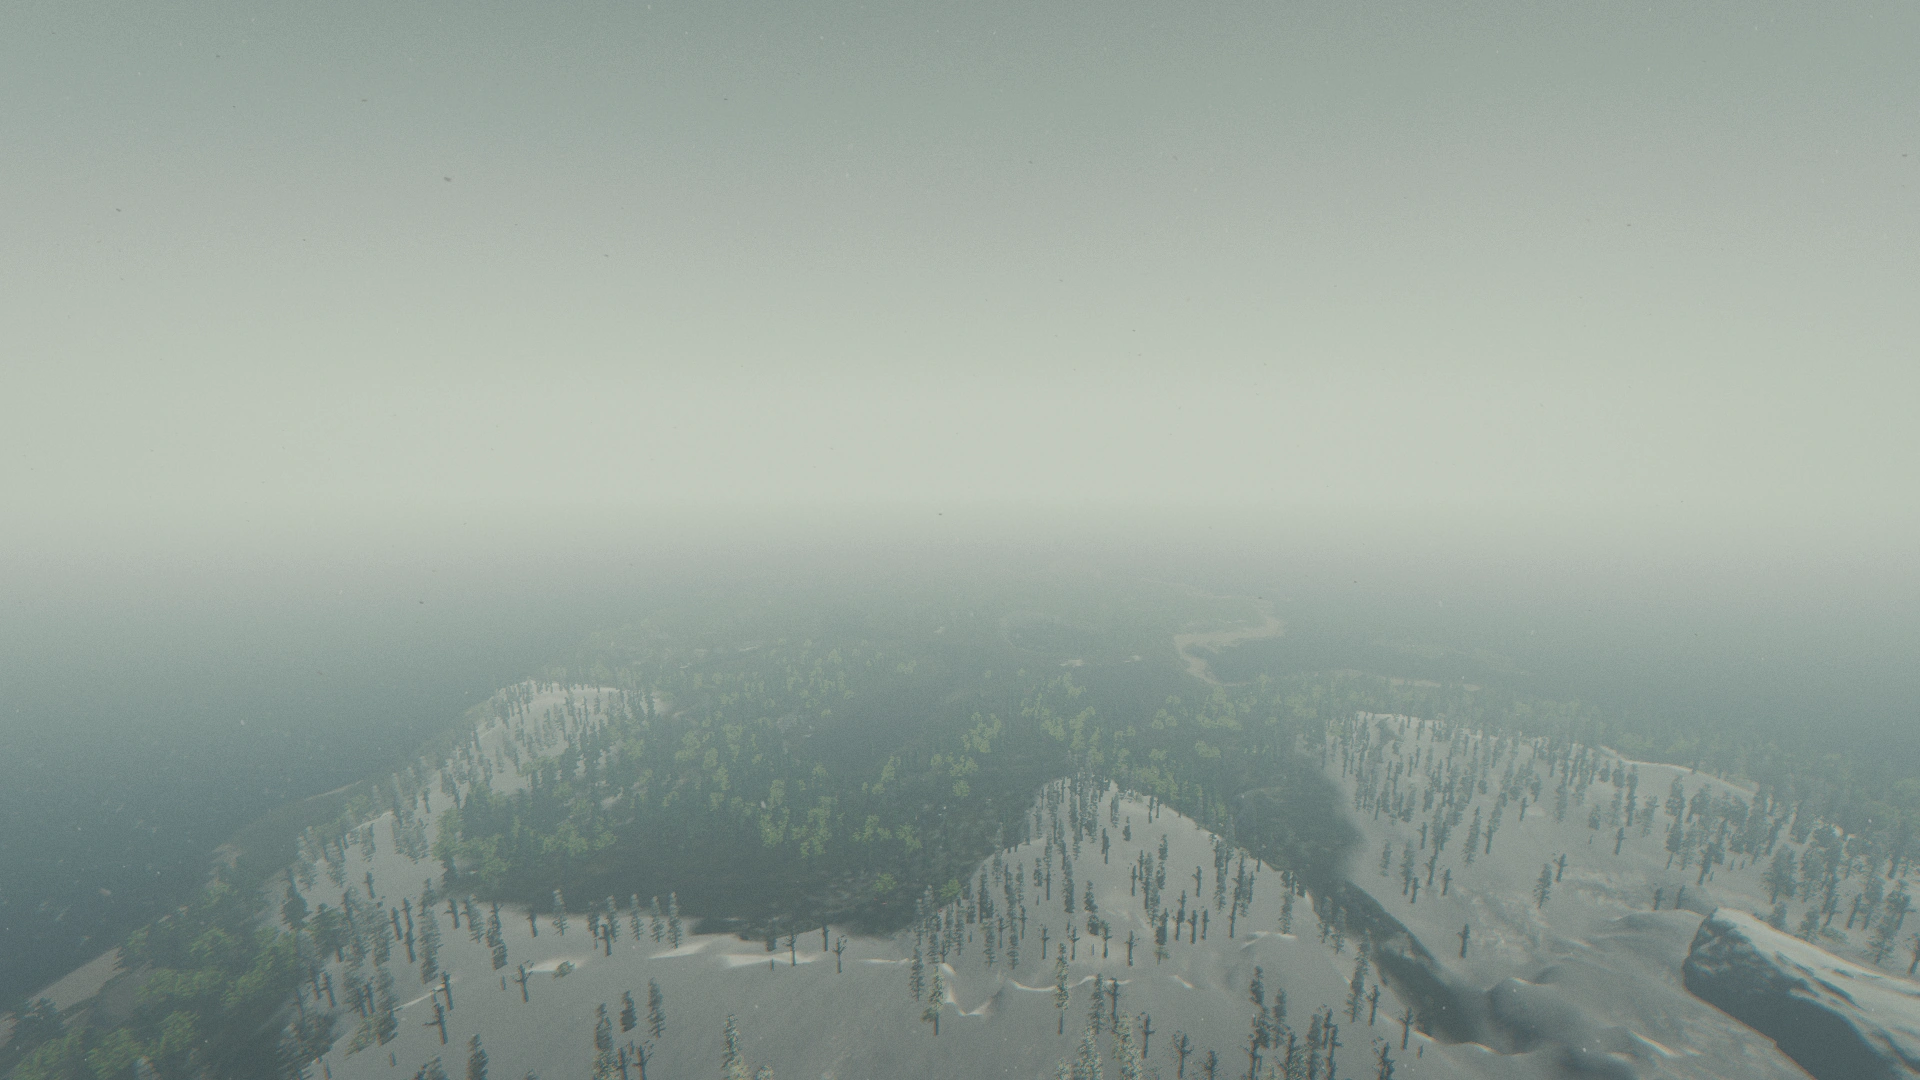
The Sahara Laboratory was founded on some unknown date on the Peninsula that constitutes the playable area of The Forest. It runs deep underground, with levels B-G all being below the cave systems, though it also reaches high into the mountains with an observatory. The lab is owned by Sahara Therapeutics, who purchased the peninsula in order to conduct its genetic experiments.
Mathew Cross worked here for some time before the events of The Forest. He was fired due to using the company equipment found in the lab for personal reasons.
The lab seemingly dealt with genetics mostly, though it also had a supernatural component with the obelisks.
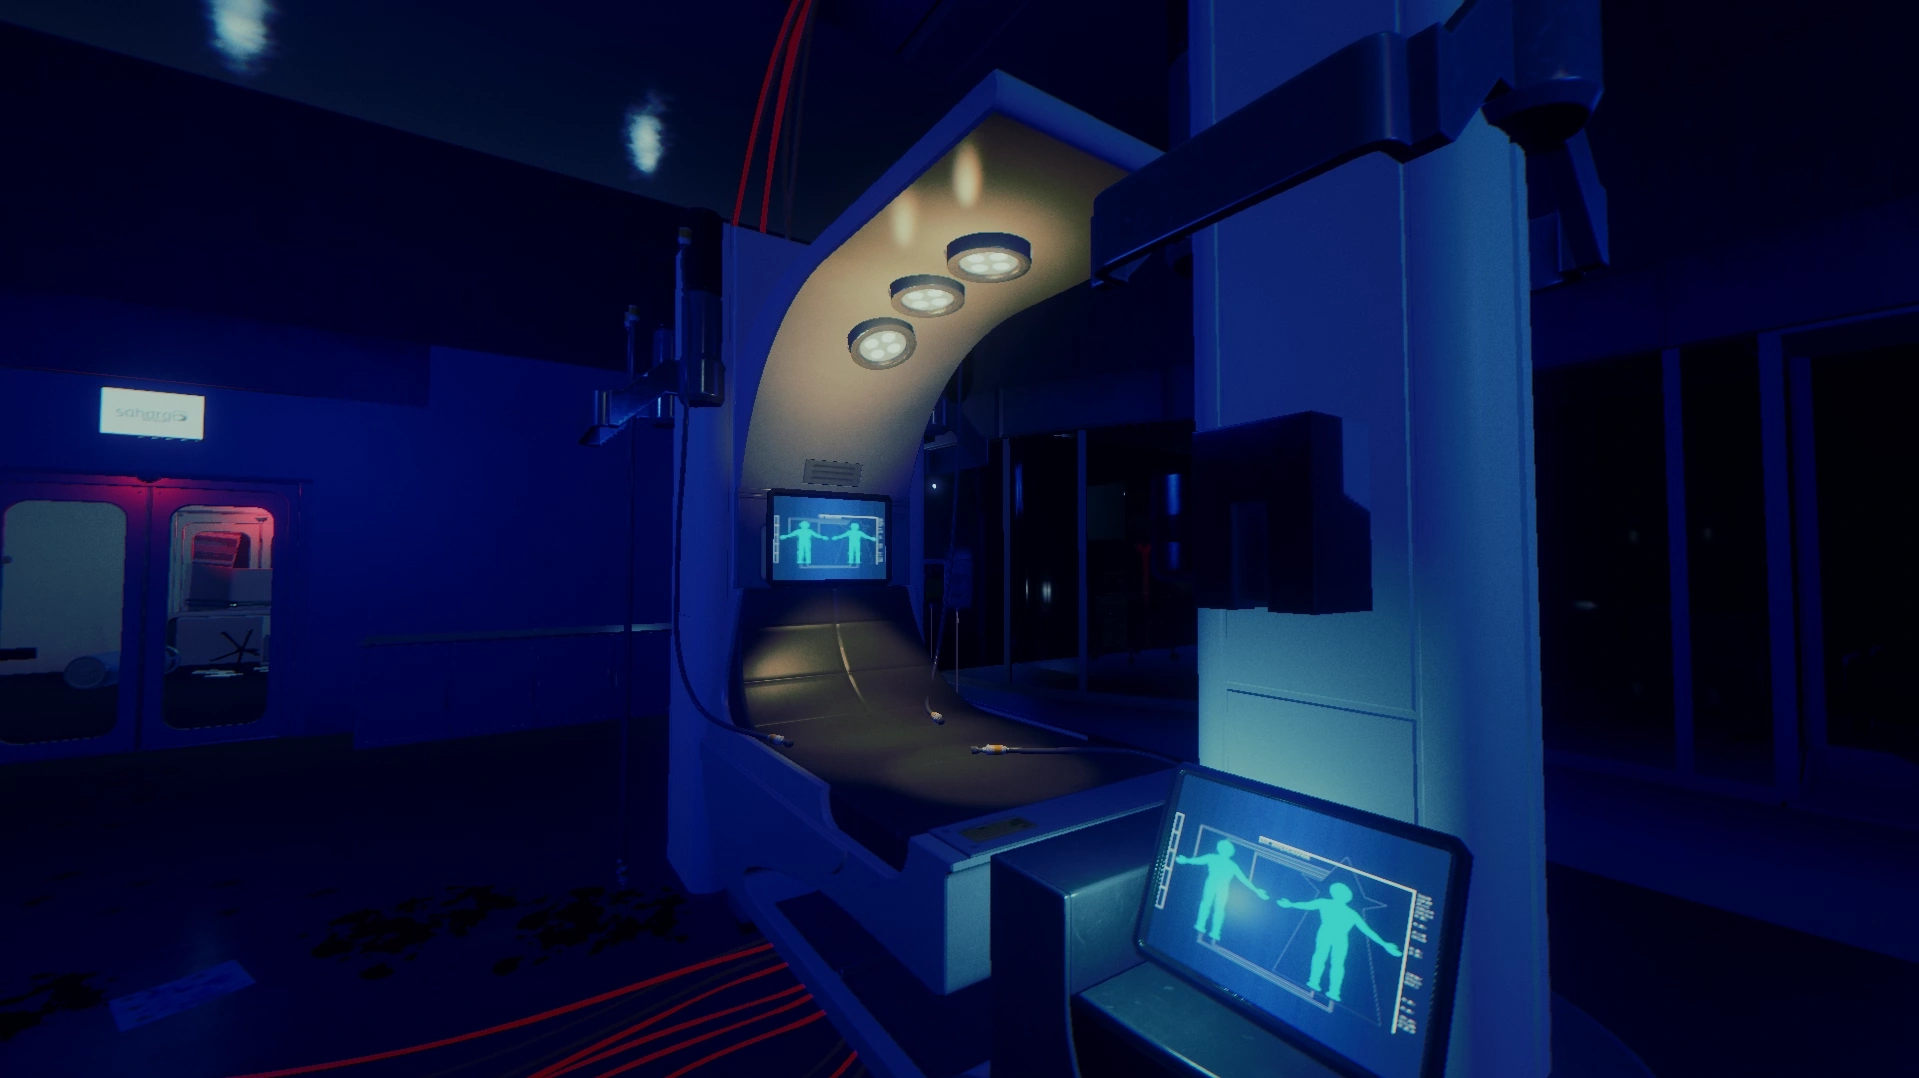
The observation rooms were set up to monitor and record patients and their genomes, particularly noting transformations such as the Armsy or Virginia mutations. It appears that Sahara induced these mutations in patients as a way to explore increasing longevity (possibly related to the obelisks).
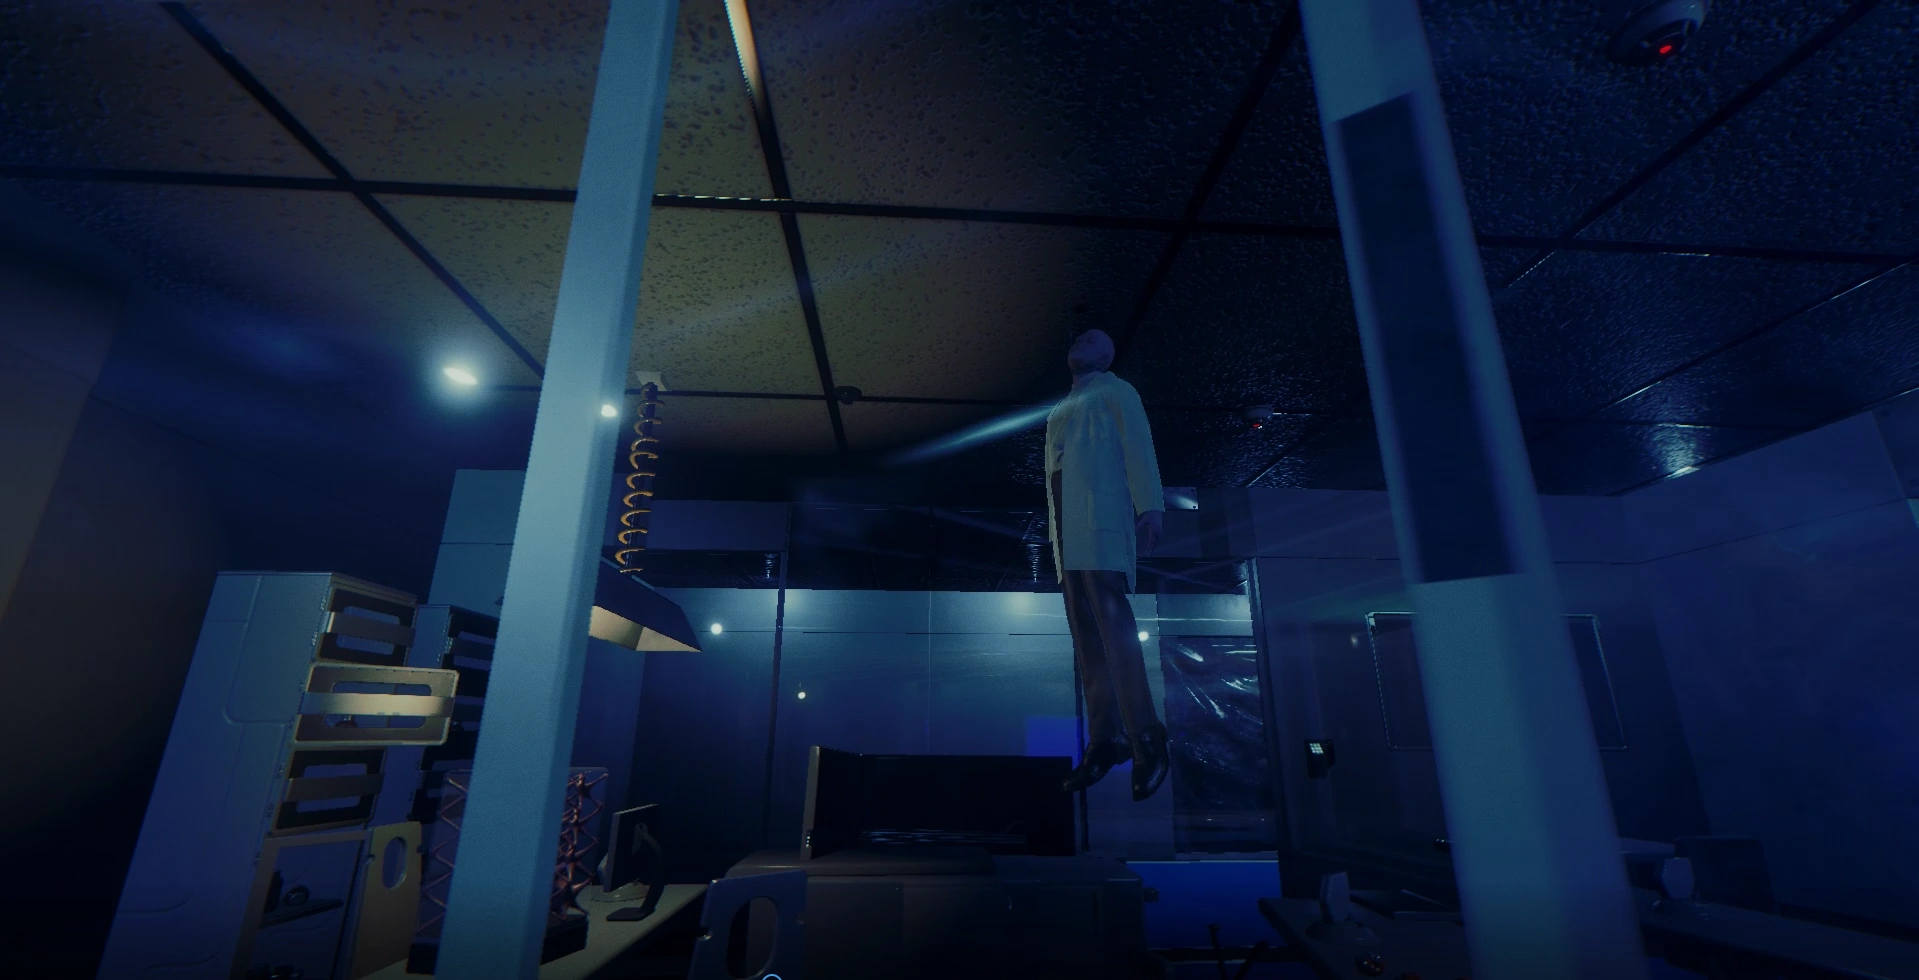
At some point, something went terribly wrong in the lab, with a possible cannibal/mutant uprising that left the facility overrun. Dead bodies that appear to be cannibals and/or research patients are strewn across the lab, most often near the observation rooms. Many parts of the facility are covered in broken glass, bloody body parts, and upturned furniture, in addition to parts of the ceiling and piping having collapsed. Cannibals, babies, and some mutants still linger in the facility. It appears that the facility was left in a hurry, as evidenced by the multiple meals left out in the cafeteria (Though these could belong to Dr. Cross, Megan, or Timmy). Additionally, it seems that the evacuation was not too far prior to the events of The Forest, as there is a scientist, who seemingly committed suicide by hanging himself, located deeper in the lab, with minimal signs of decay, though he could have stuck around trying to survive for a while after perhaps being left behind in the evacuation. Further signs of a struggle come from the man-made barricades piled against doors, notably at the door leading to the room with the hanged scientist.
Contents[]
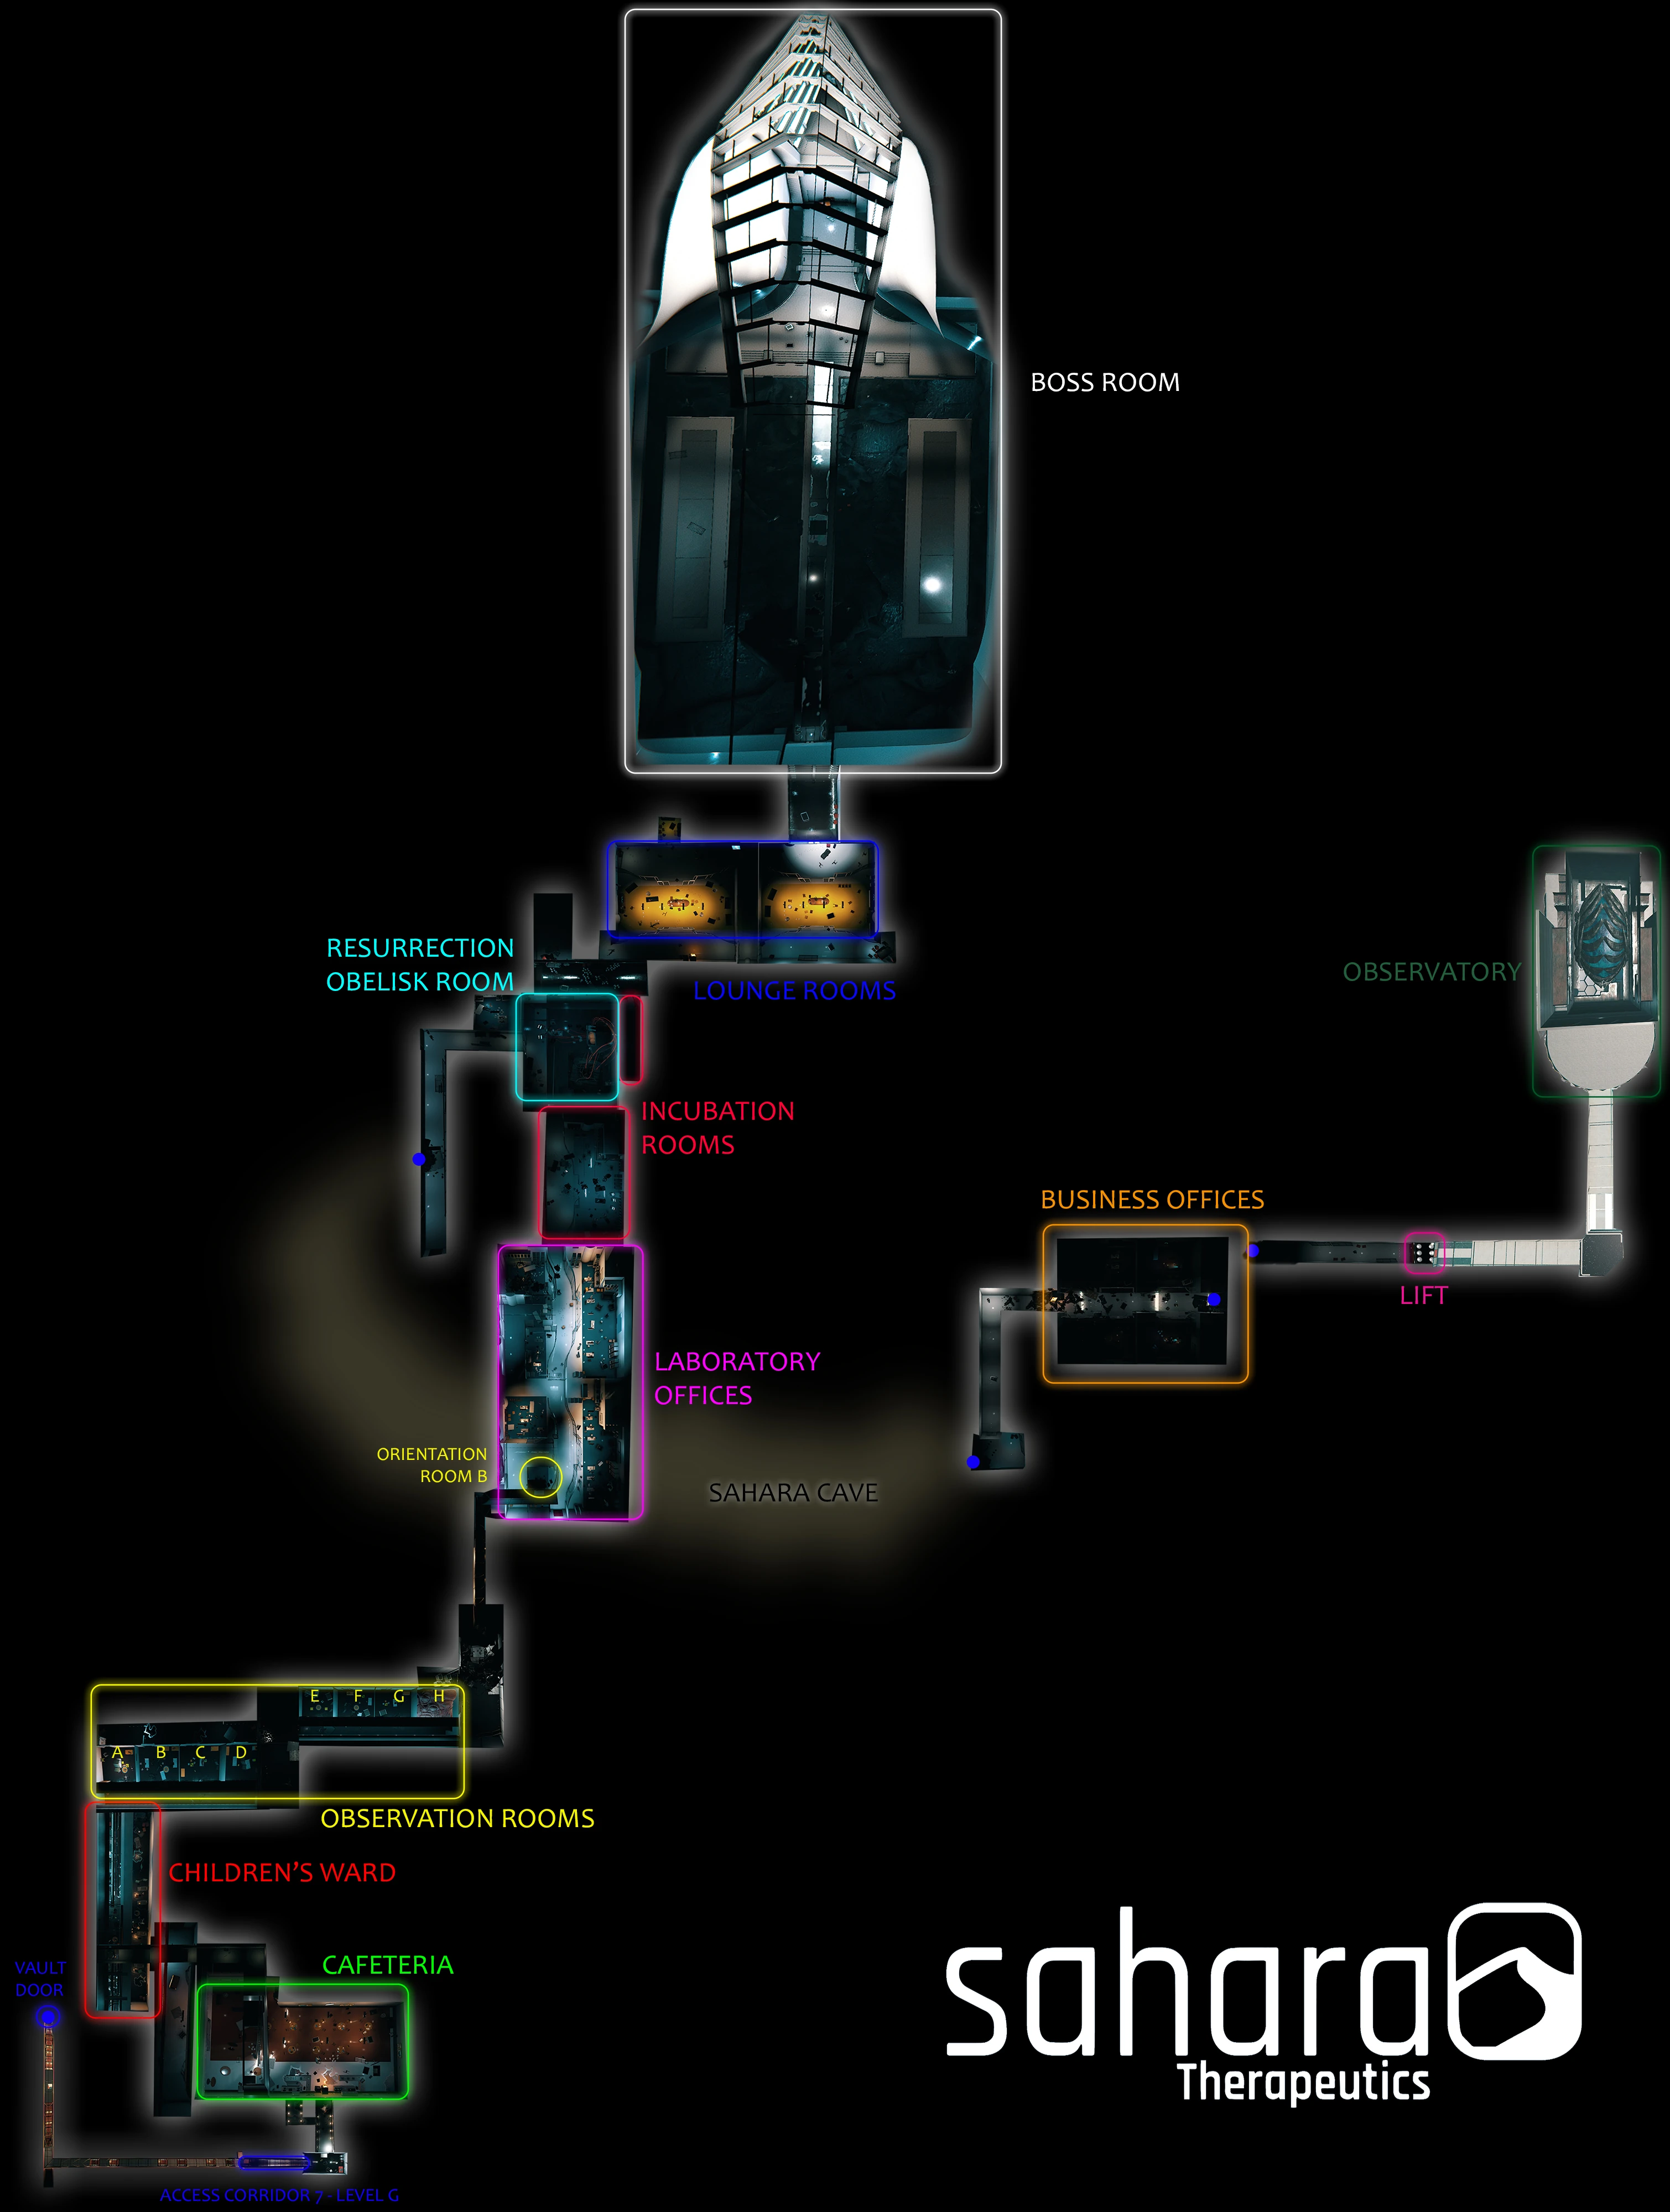
The laboratory, connected through a series of ventilation shafts, piping, and natural cave formations, has a few main areas:
- Cafeteria
- Children's Ward
- Observation Rooms
- Laboratory Offices
- Incubation Rooms
- Resurrection Obelisk Room
- Atrium/Boss Room
- Lounge Rooms
- Business Offices
- Observatory
Items[]
Enemies[]
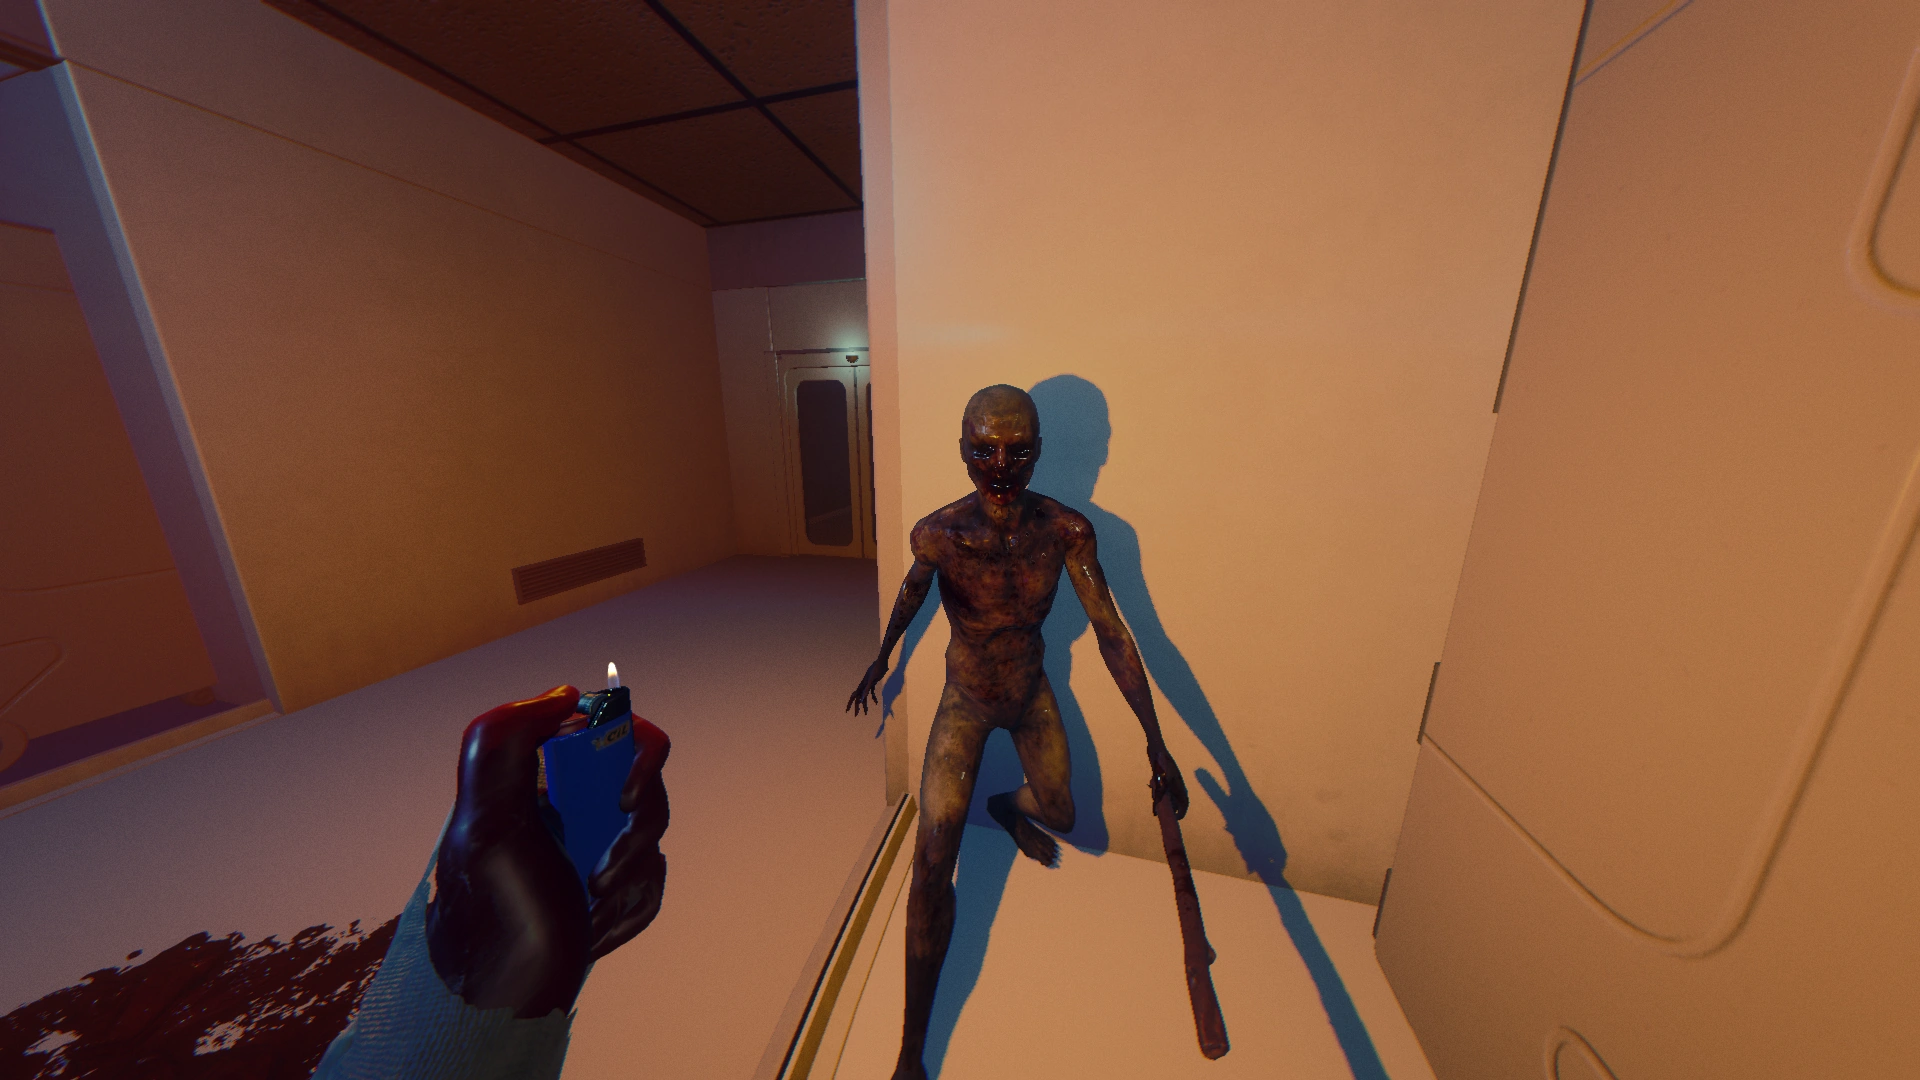

All of the enemies encountered in the lab are "off". Each seems weaker than normal, particularly the Armsy and the Cannibals. All enemies are colored differently from normal.
The lab contains:
 7 mutant babies
- 1 Armsy
- 3 Skinny Mutants
- 1 End Boss, the Obelisk Victim/Megan
[]
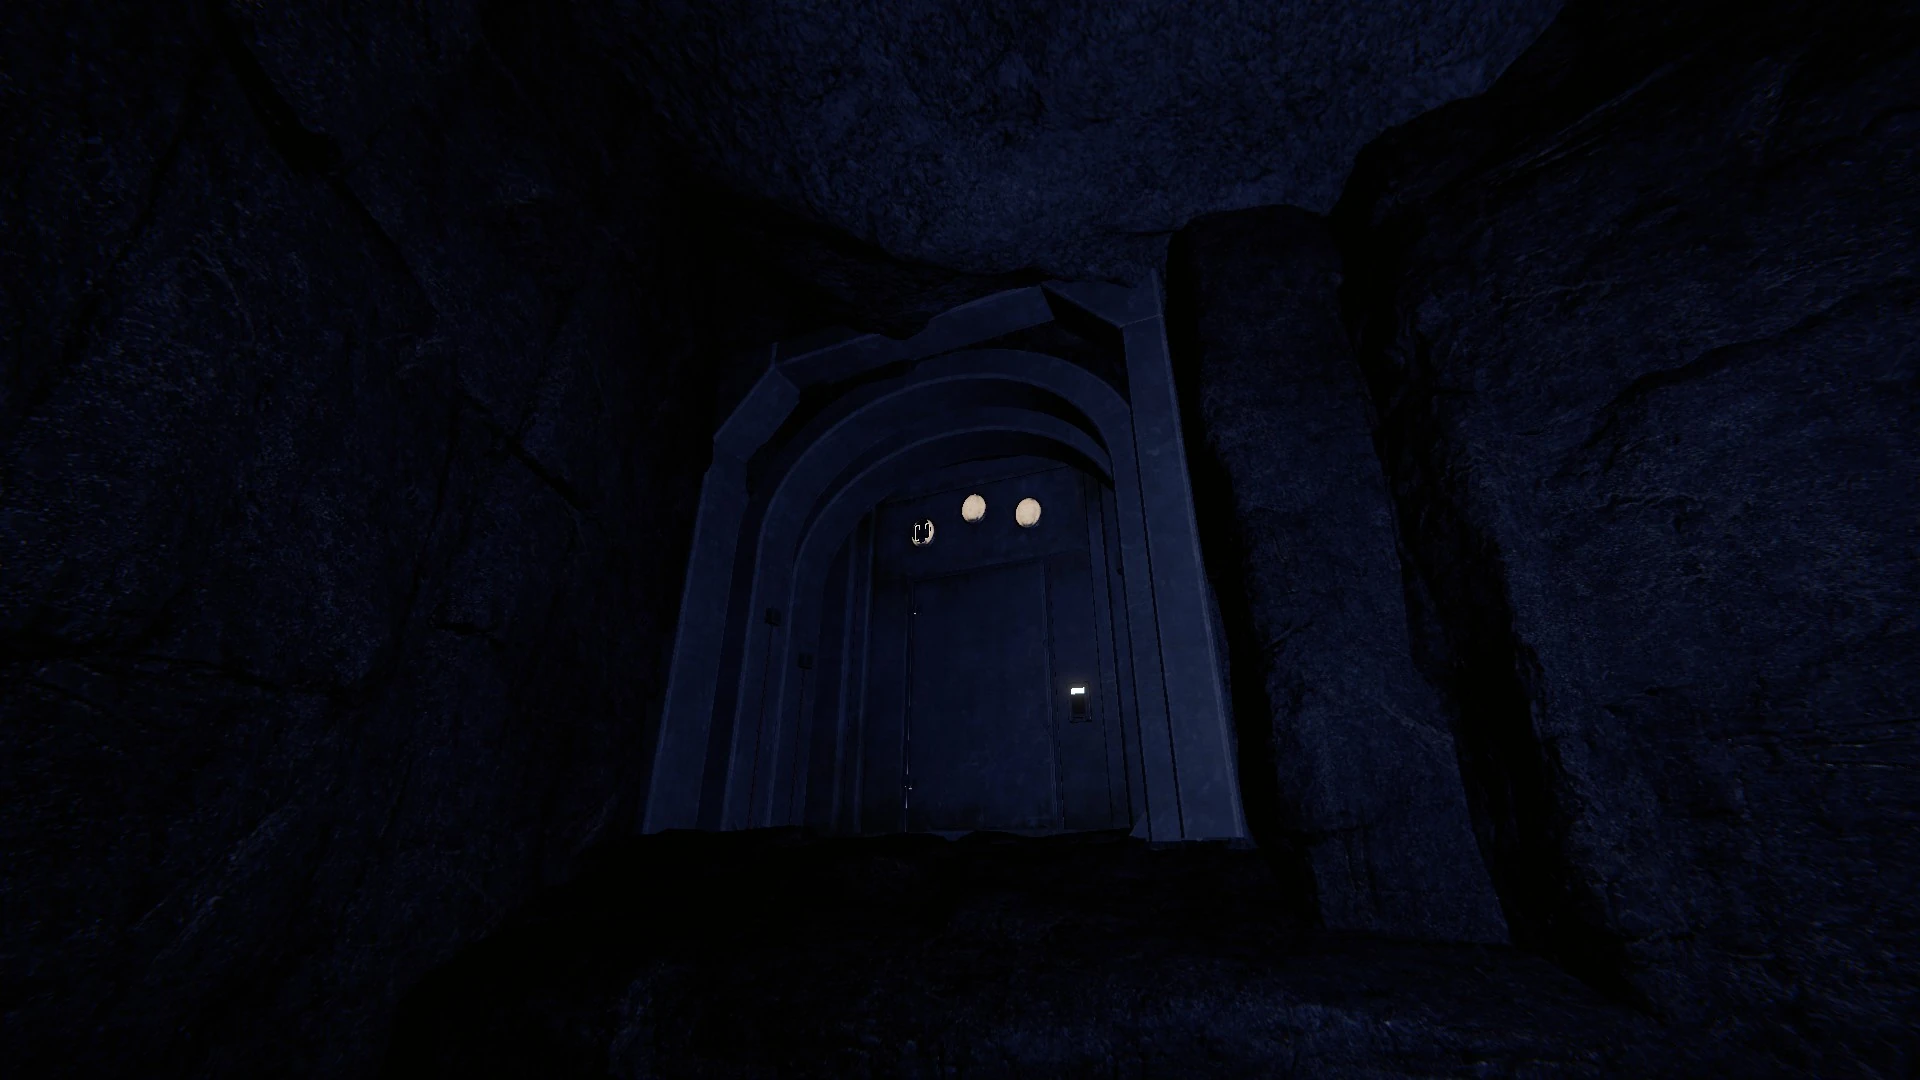
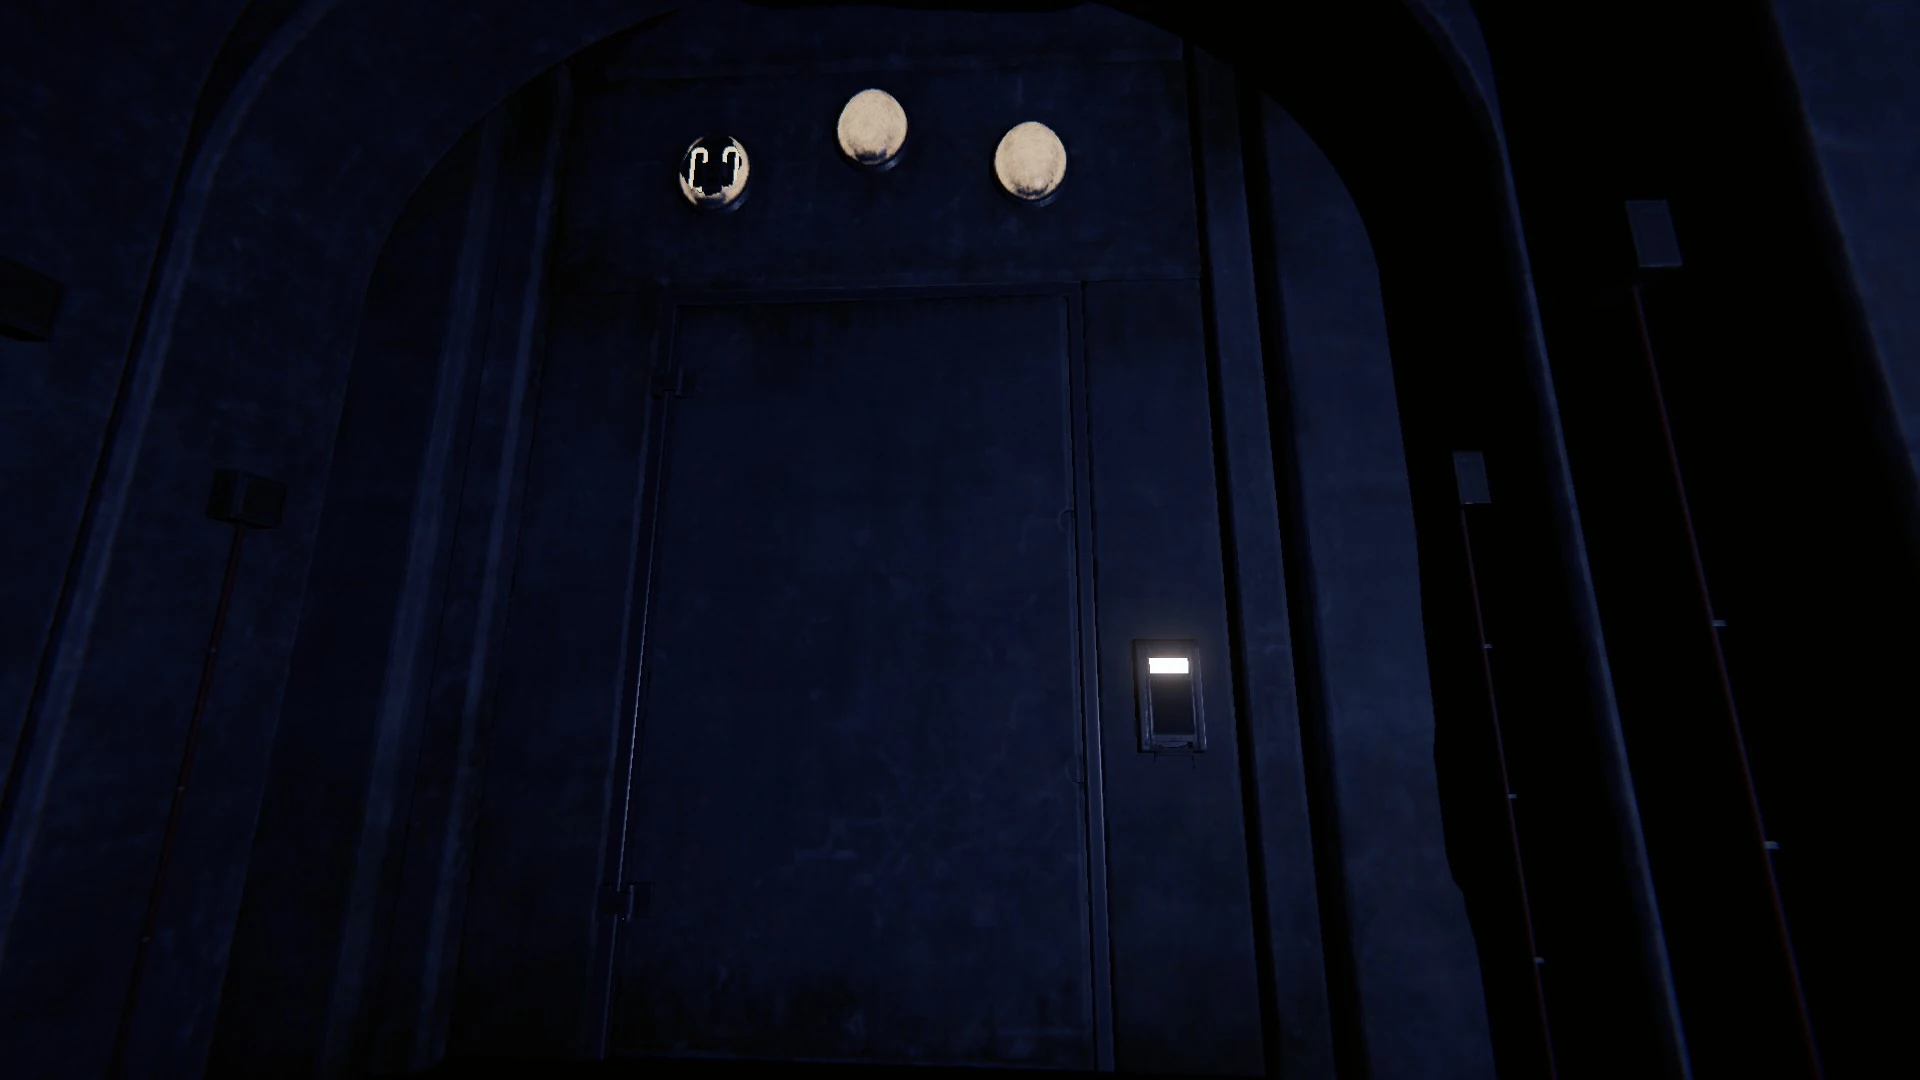
Vault Door[]
Vault Door is the only available entrance to the lab that leads to the Entrance Hallway. Keycard is required to open the Vault Door.
- Items
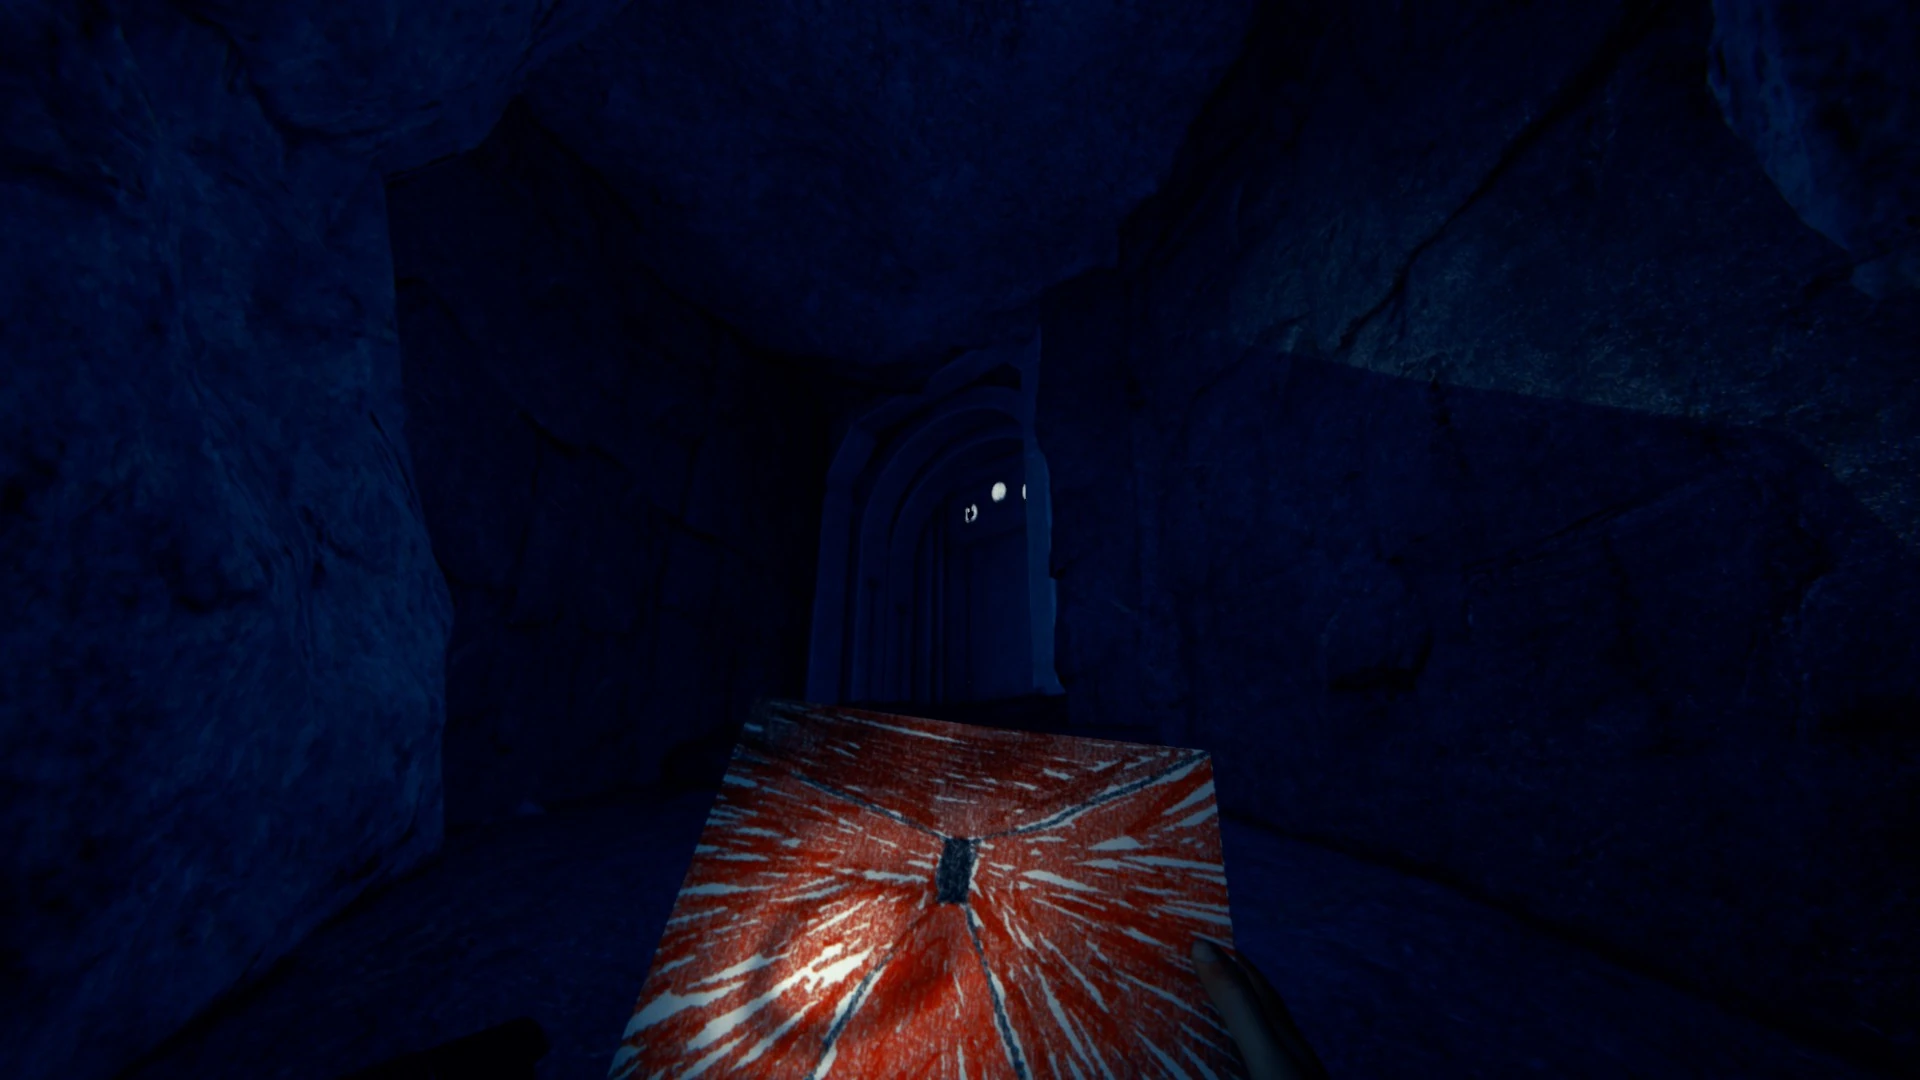
![]() Timmy Drawing very close to the door
Timmy Drawing very close to the door
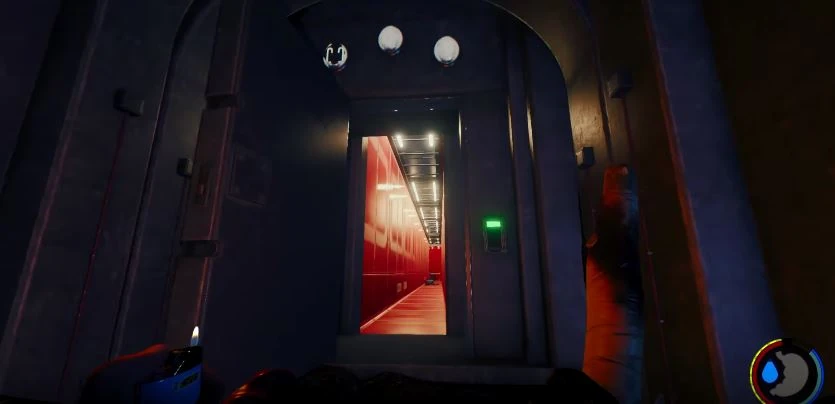
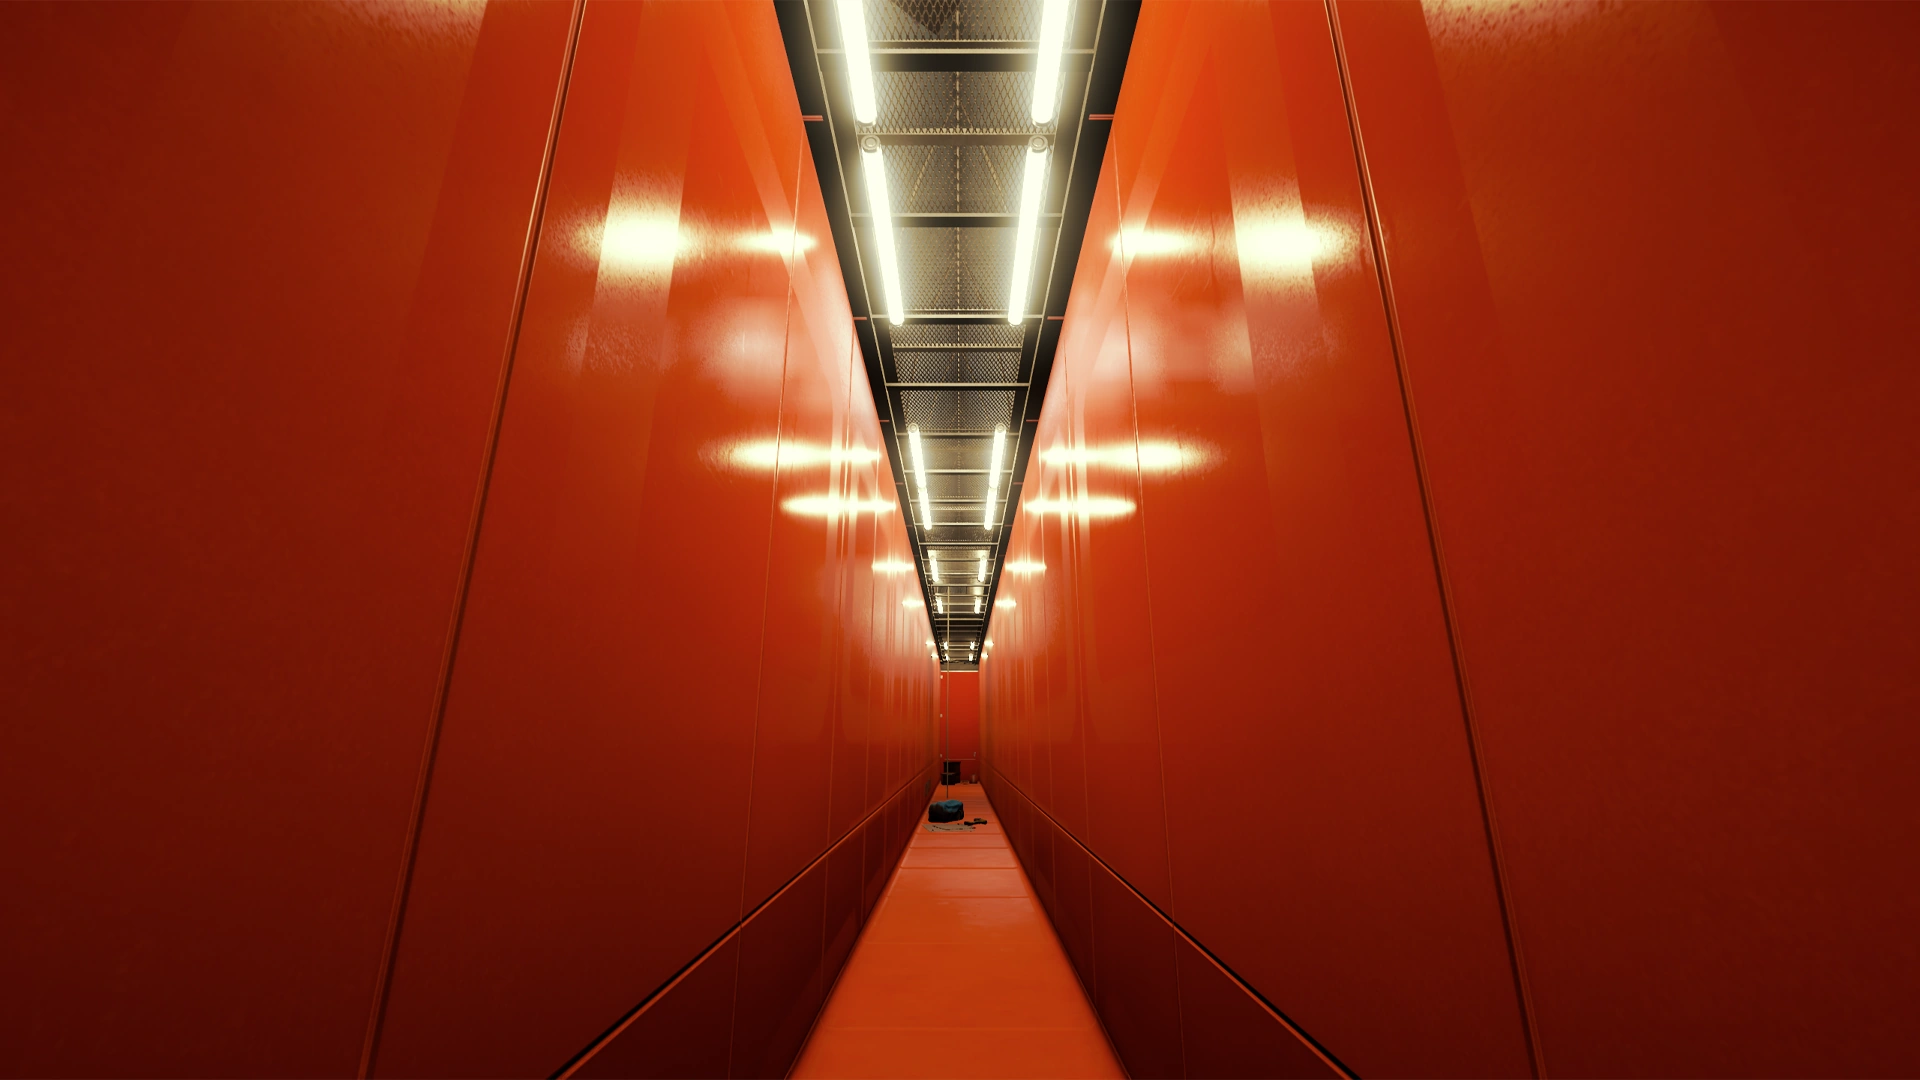
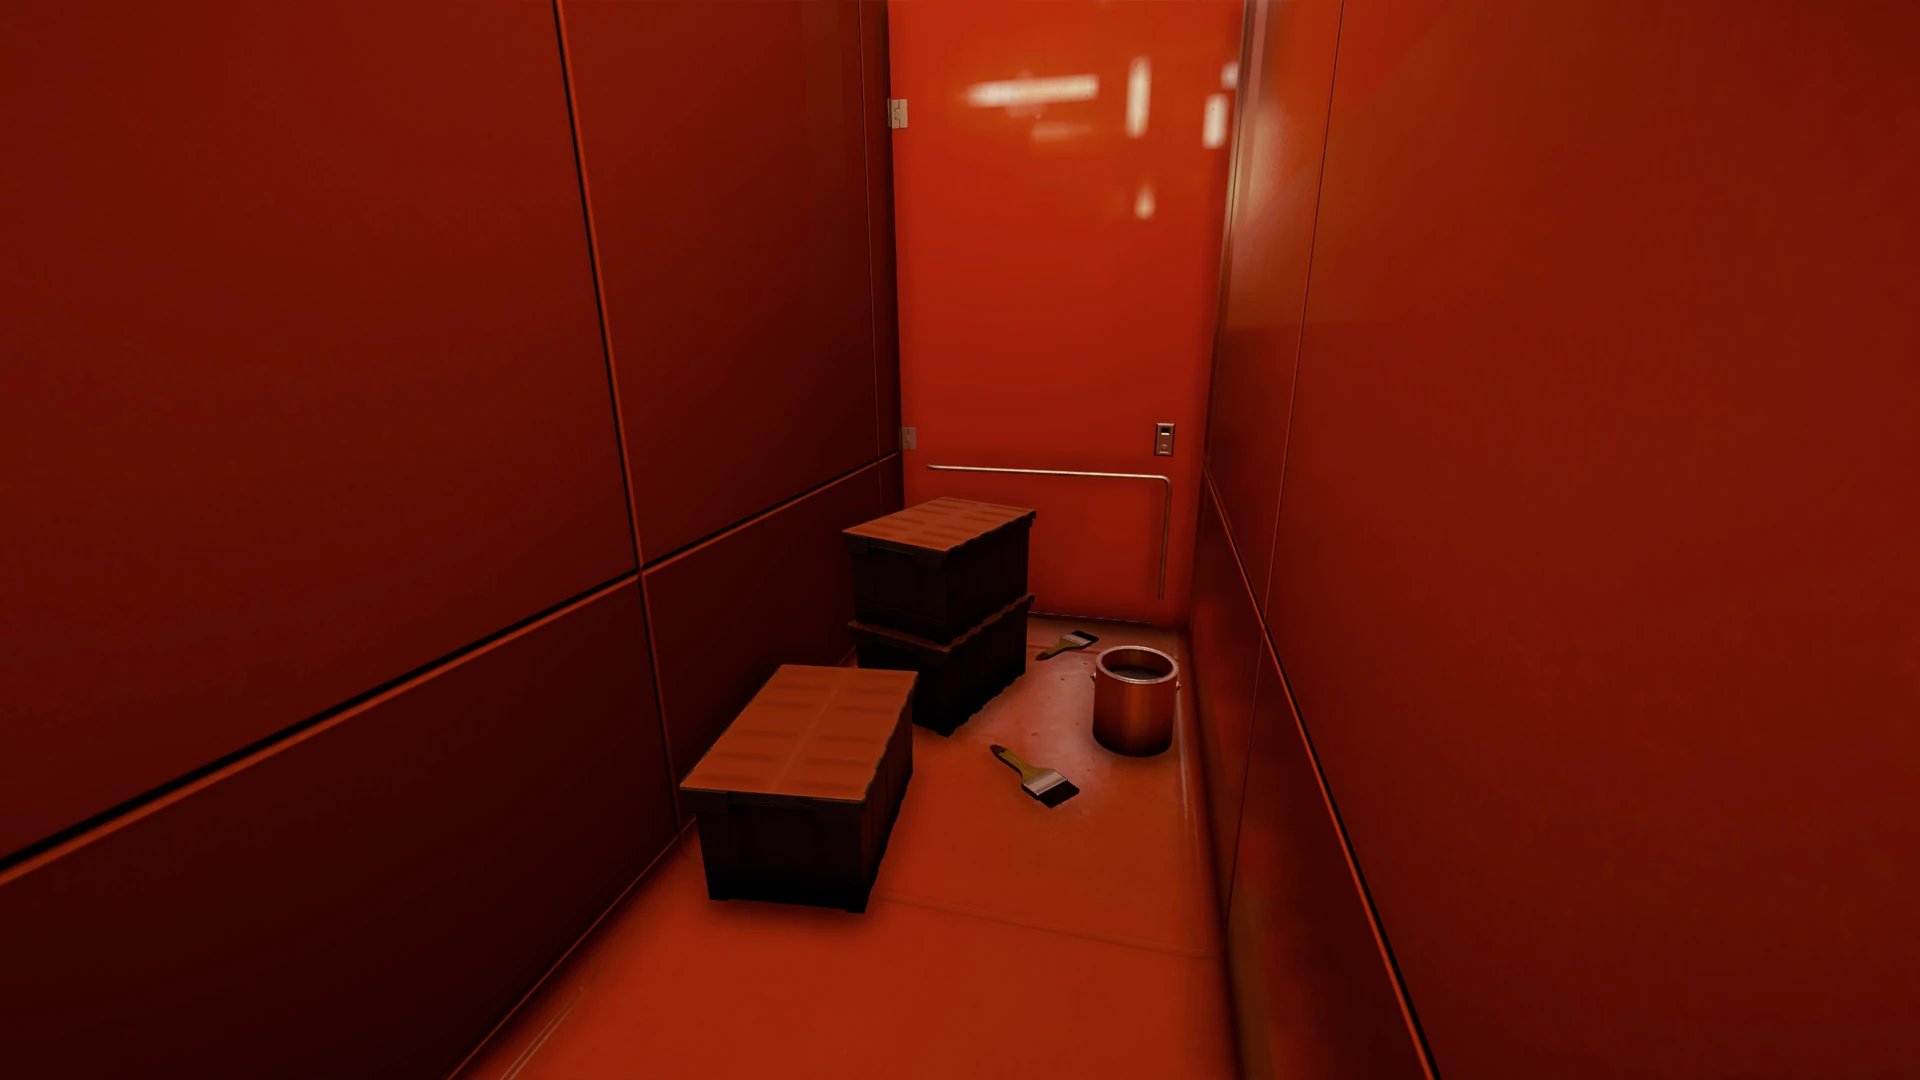
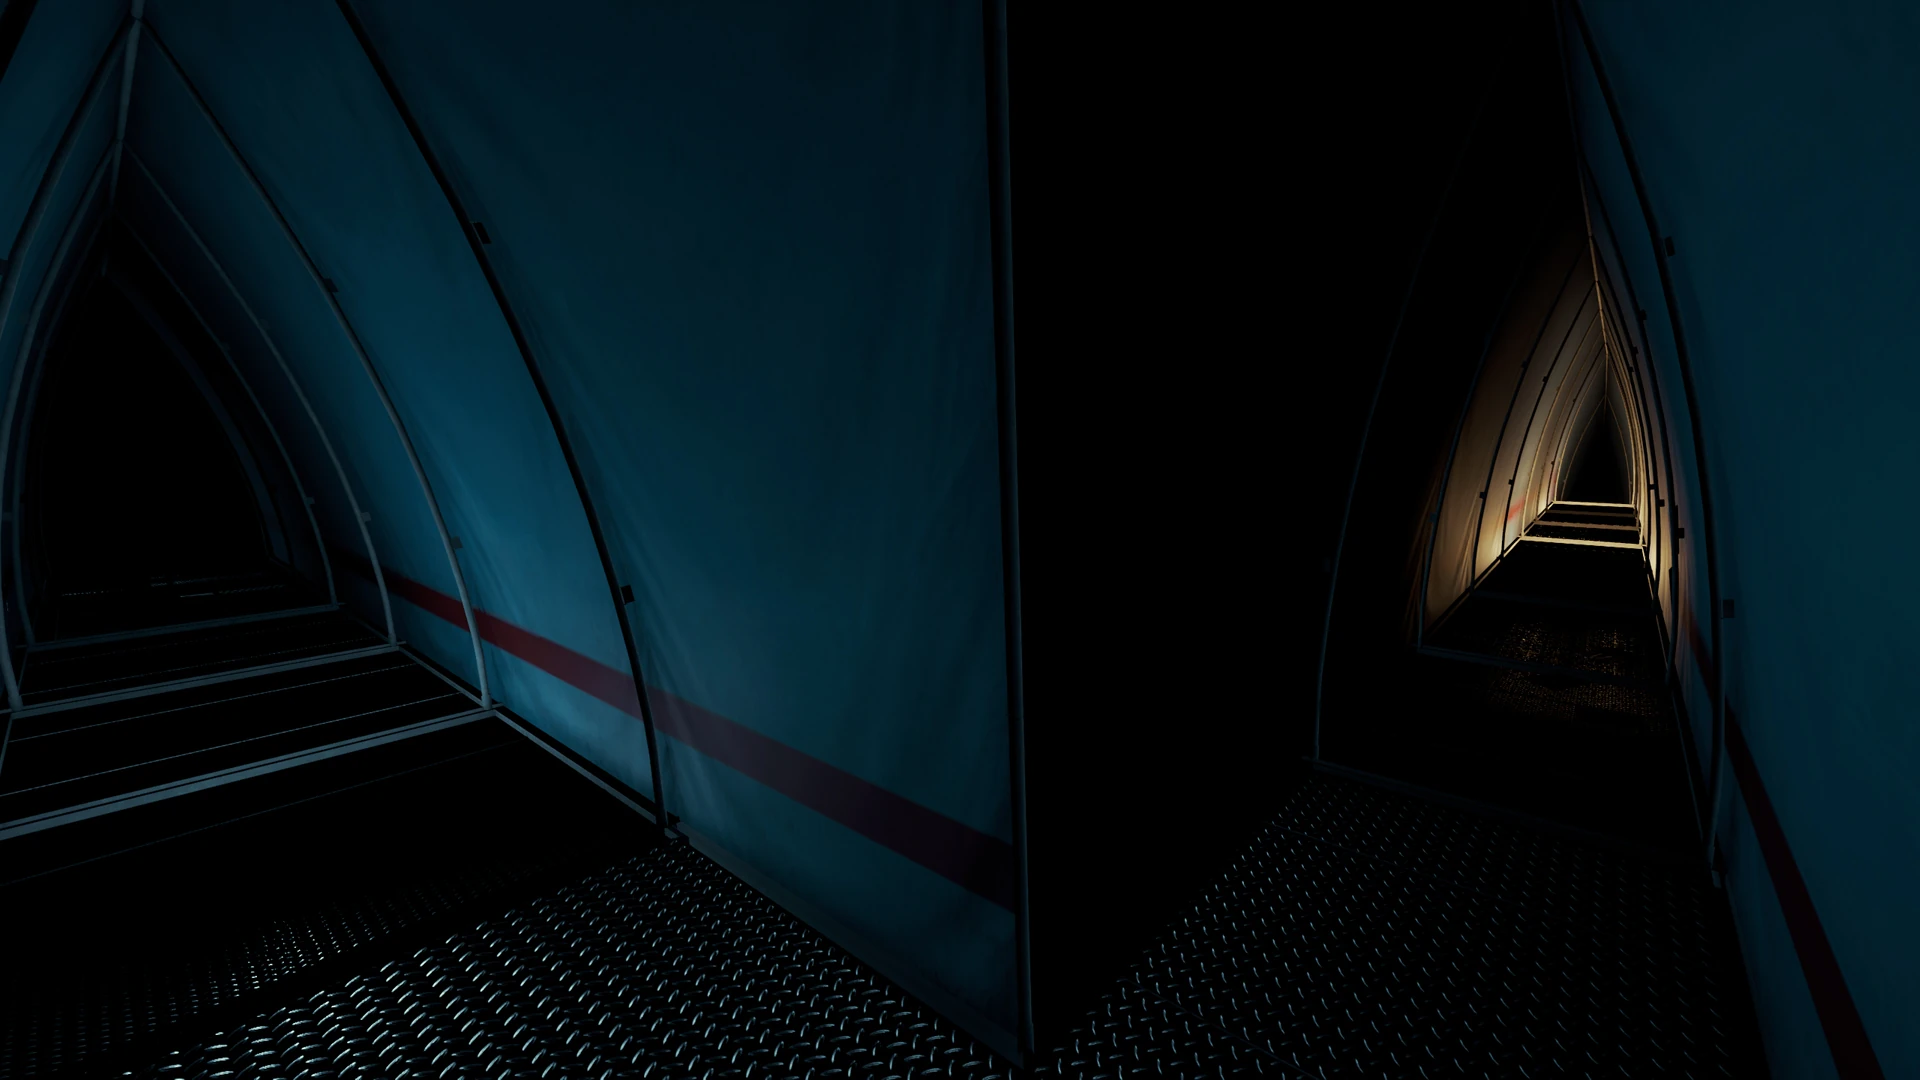
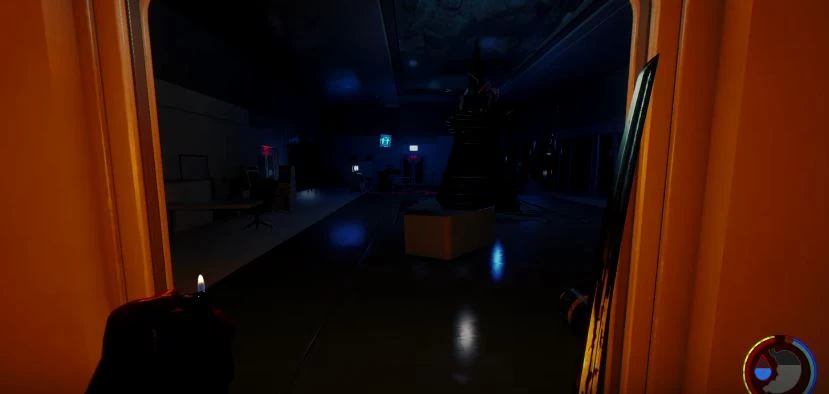
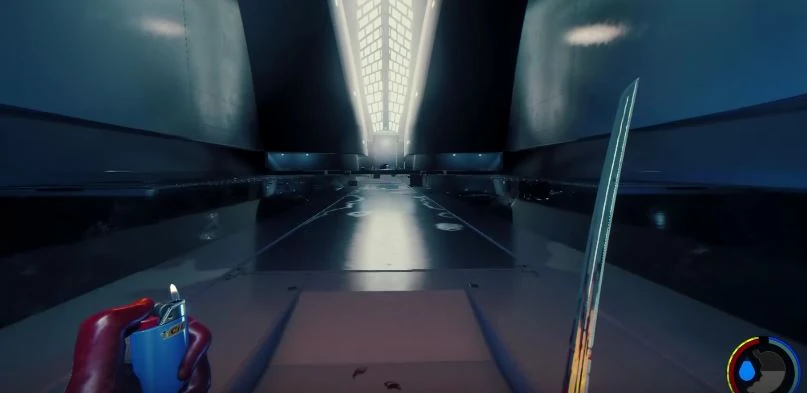
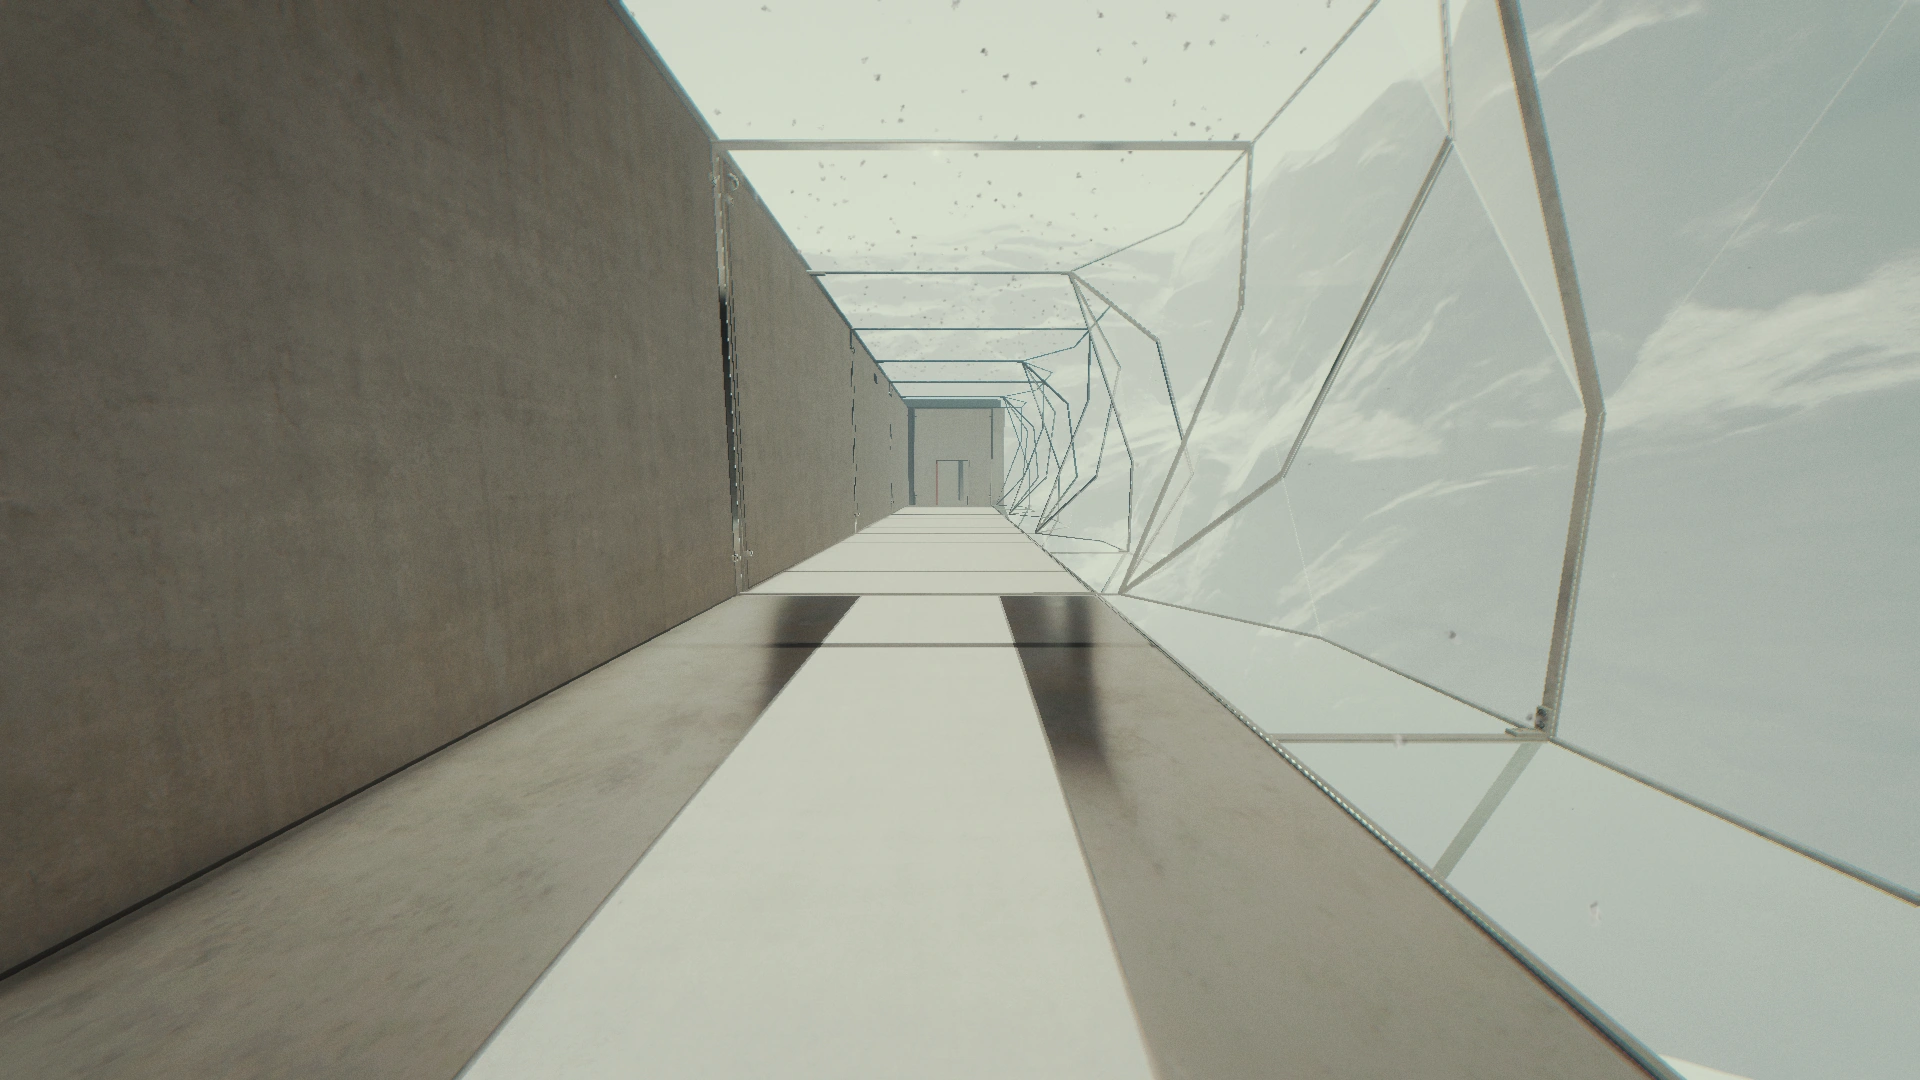
Entrance Hallway[]
Also known as "red room" or "entry hall". First room after the Vault Door painted in red color possibly to scare off any enemy that could somehow break through the Vault door. Timmy has made his last drawing from this room. There is a climbing rope leading to the catwalk above the hallway.
- Items
![]() Red Paint at the end of the hallway
Red Paint at the end of the hallway
The entry hall for the lab

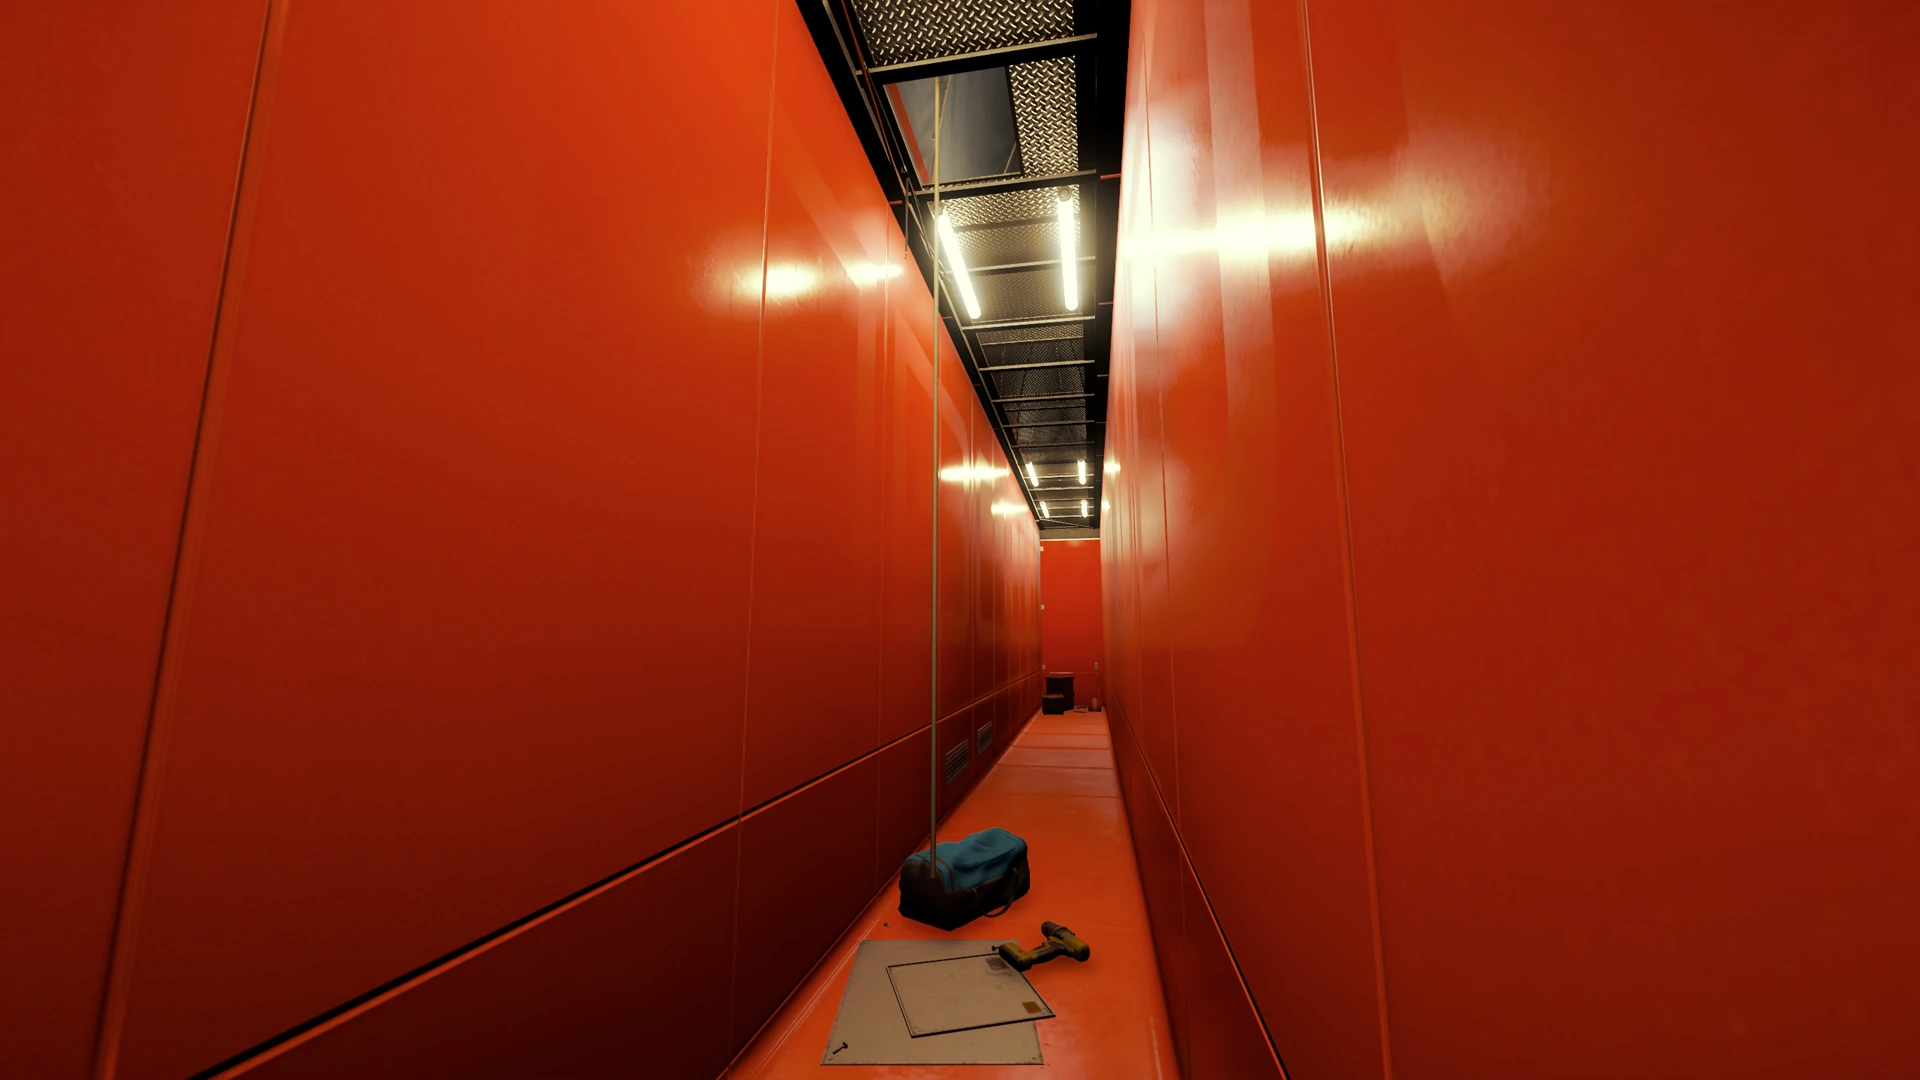
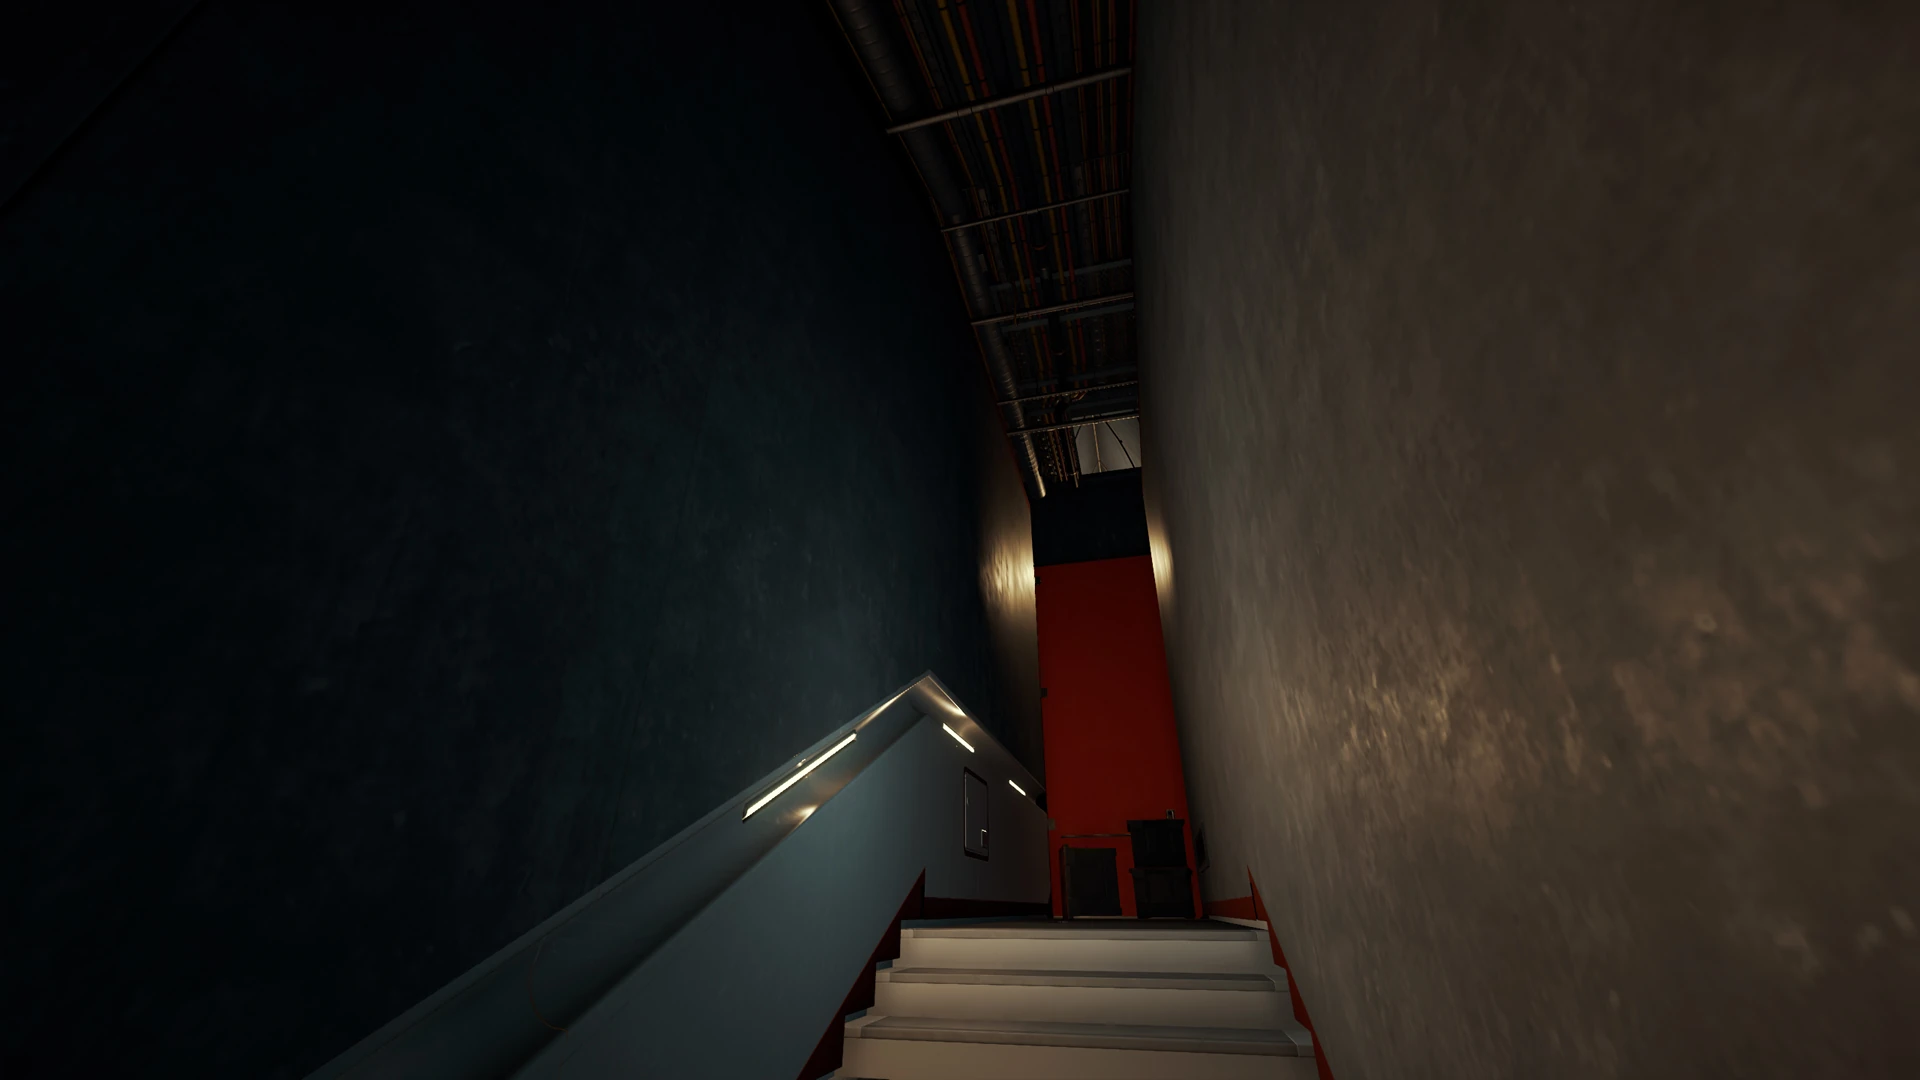
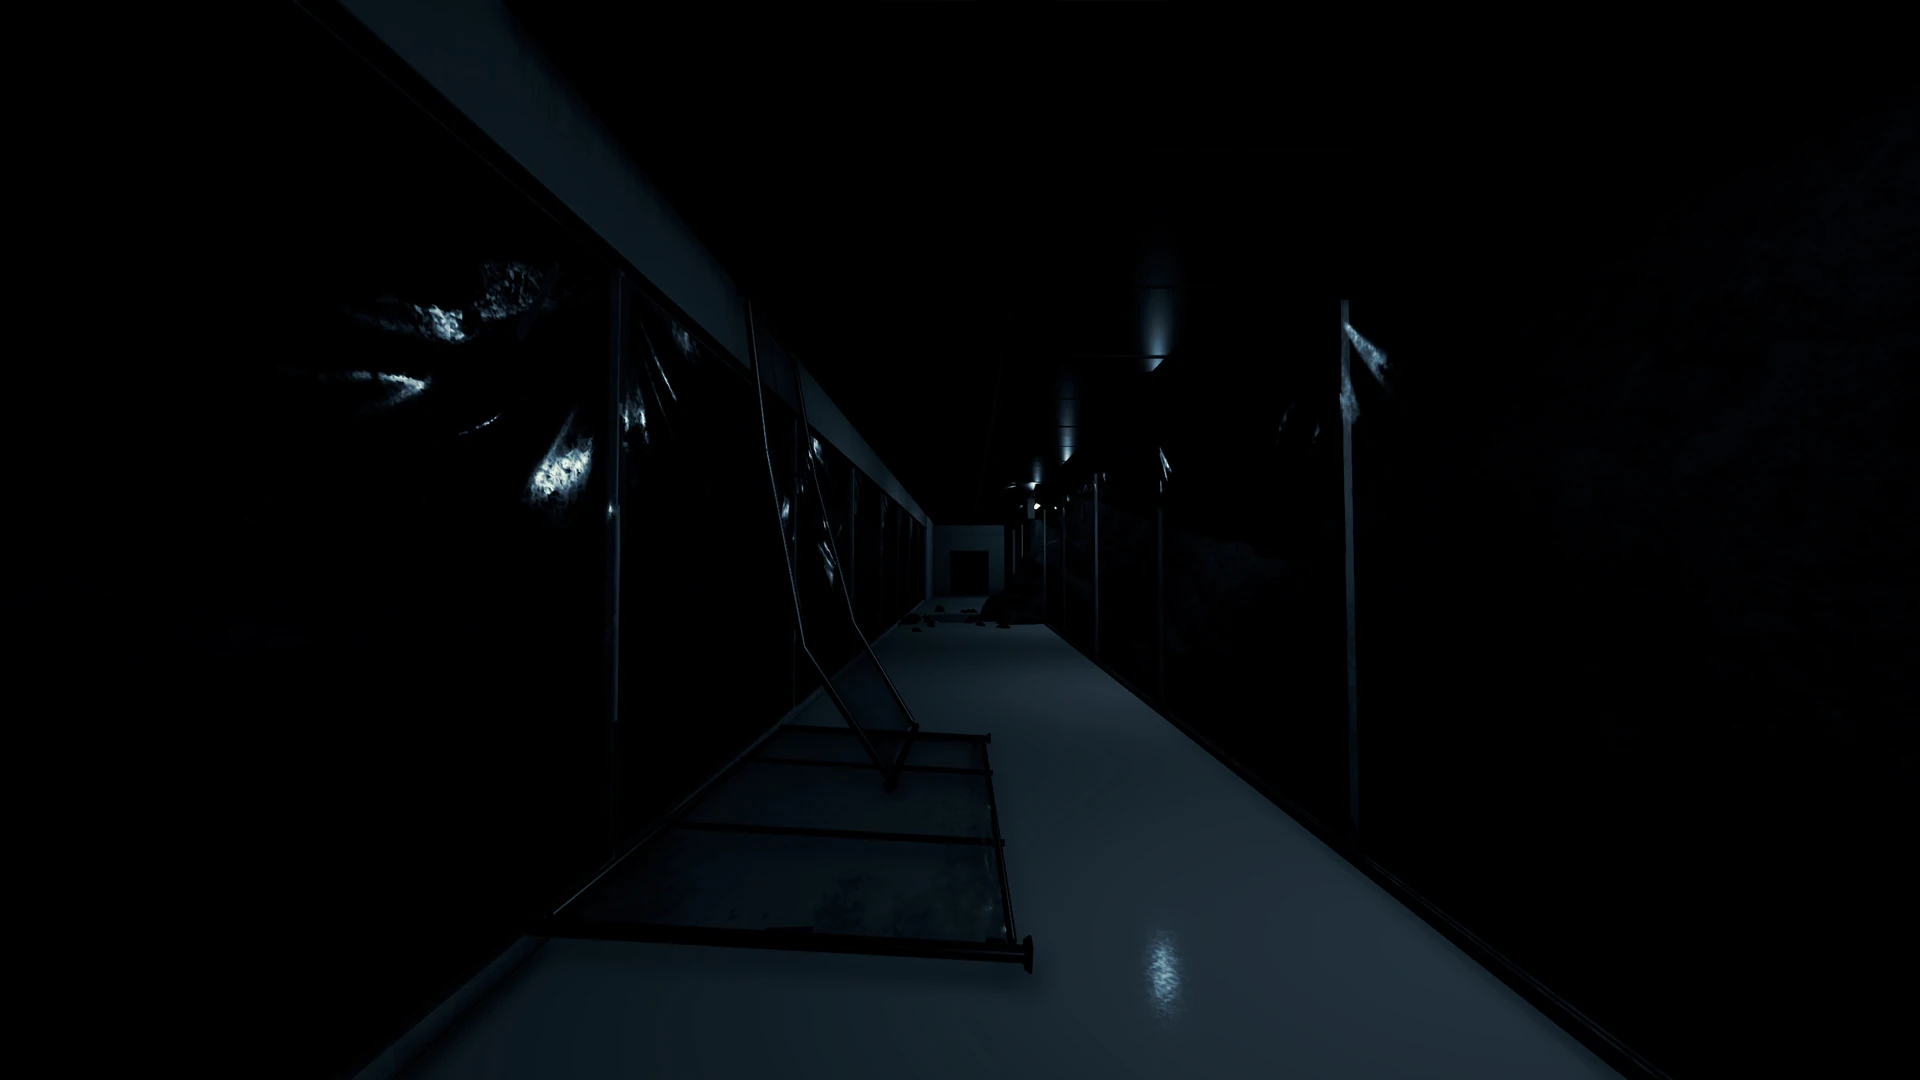
Entrance Catwalk[]
This catwalk can only be accessed using a climbing rope in Entrance Hallway. I goes above the entire red entrance hallway and another red hallway that is not accessible by the player. It leads to Access Corridor 7 - Level G and cannot be accessed again once dropping down to the access corridor.
- Items
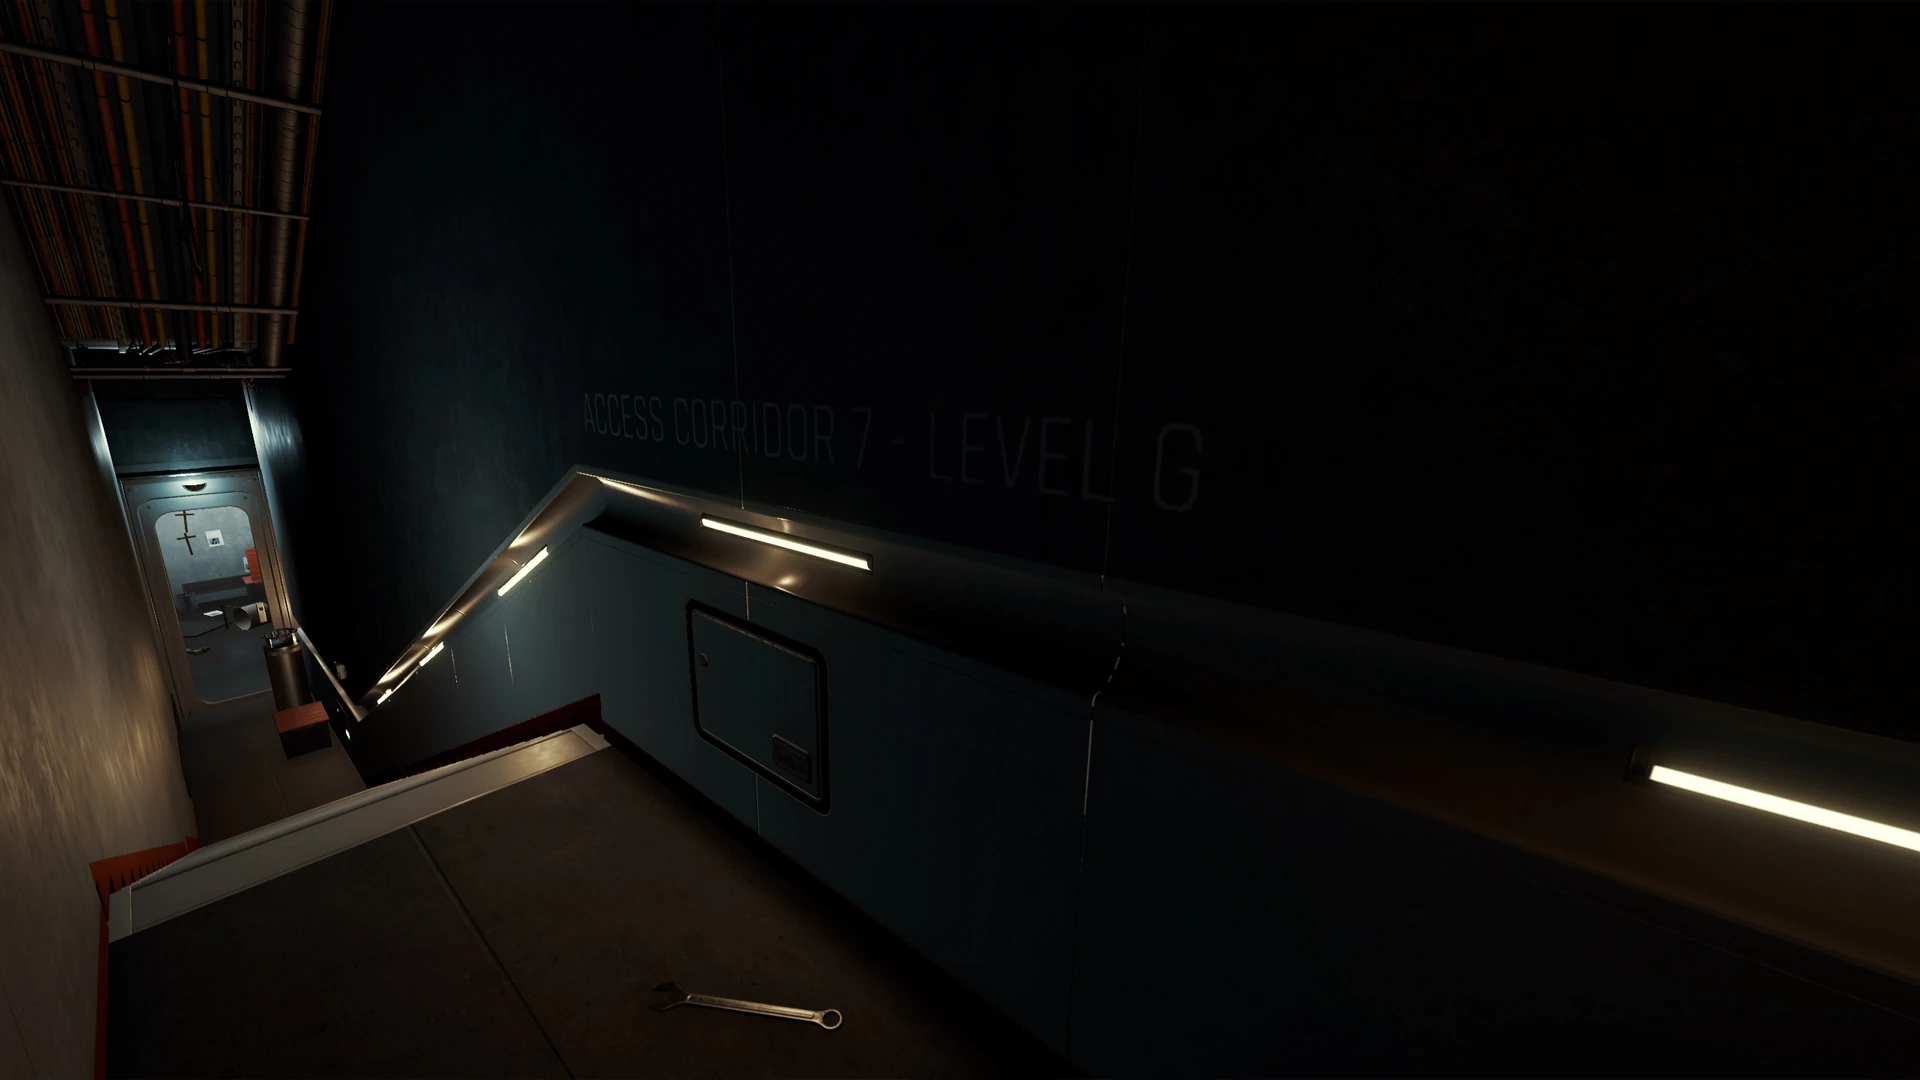
Access Corridor 7 - Level G[]
Corridor is accessed by dropping down from the catwalk and has stairs that lead to the utility room.
- Items
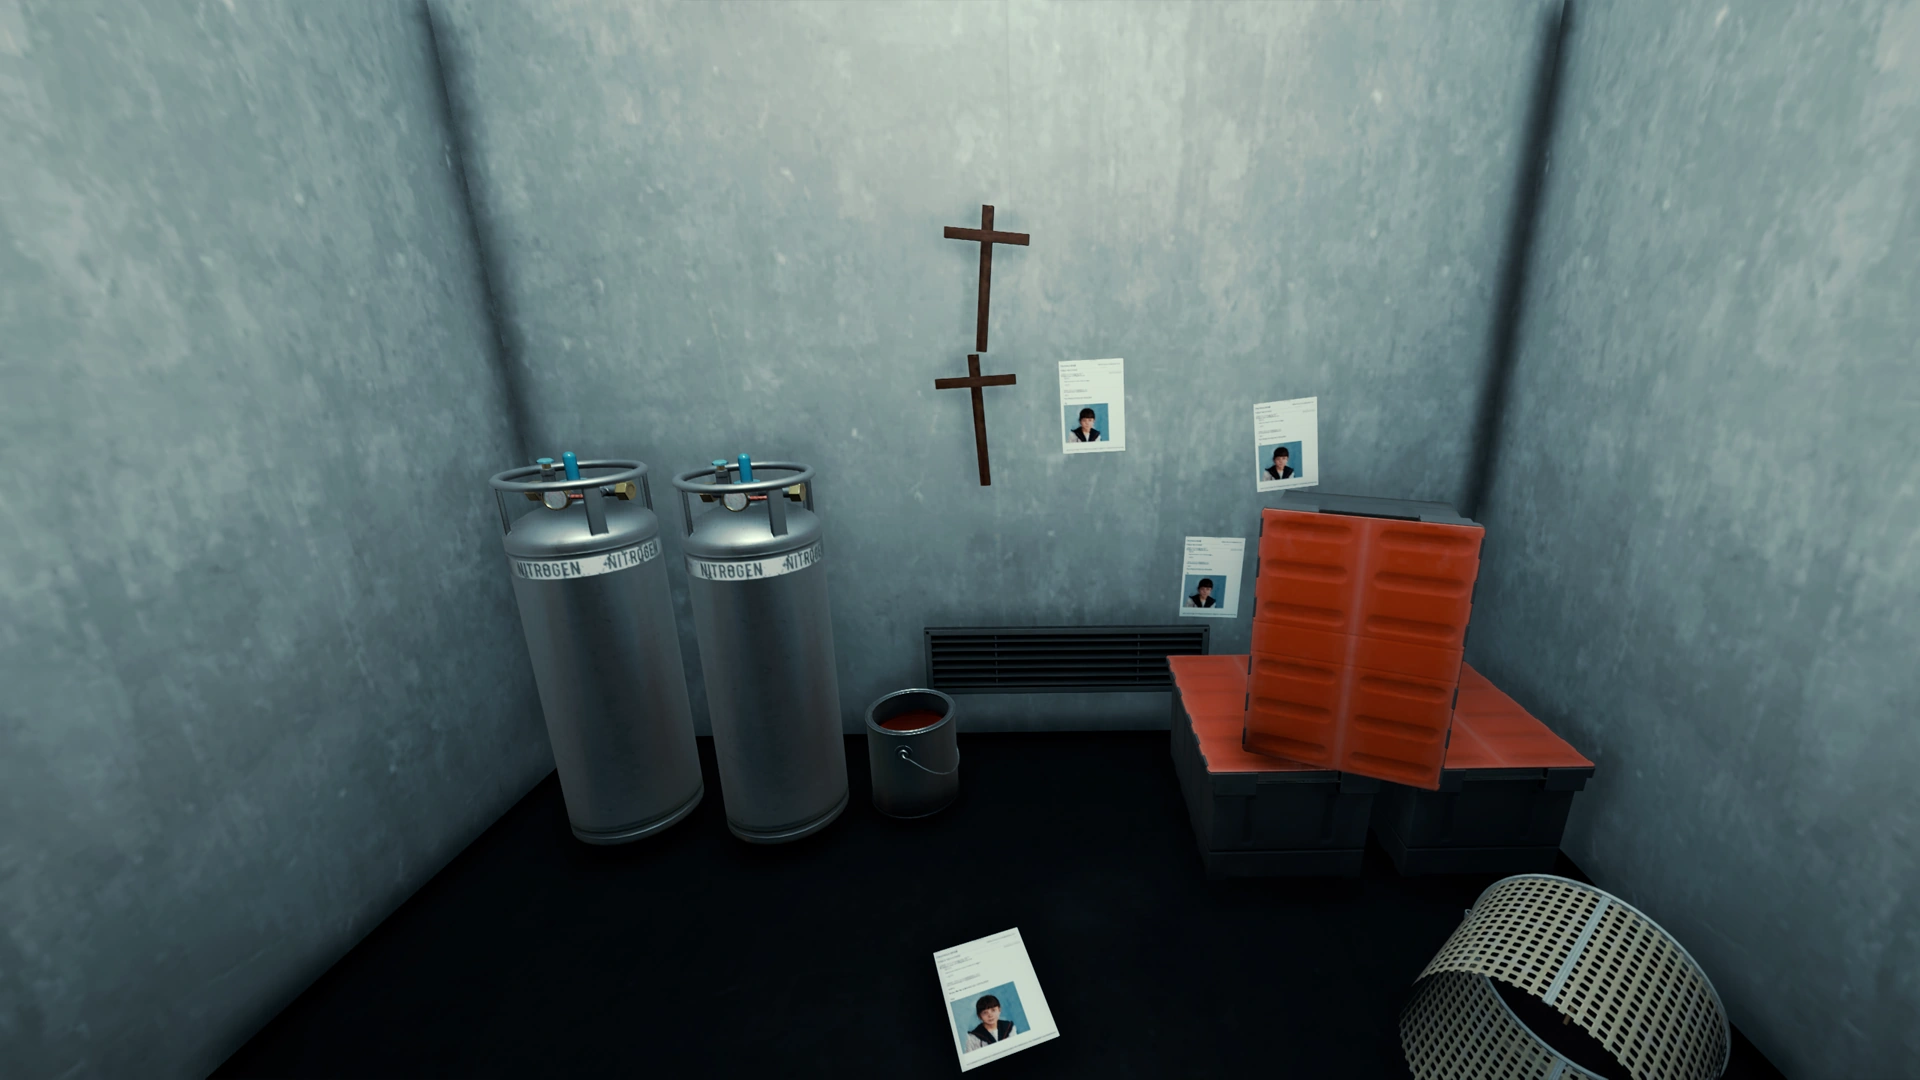
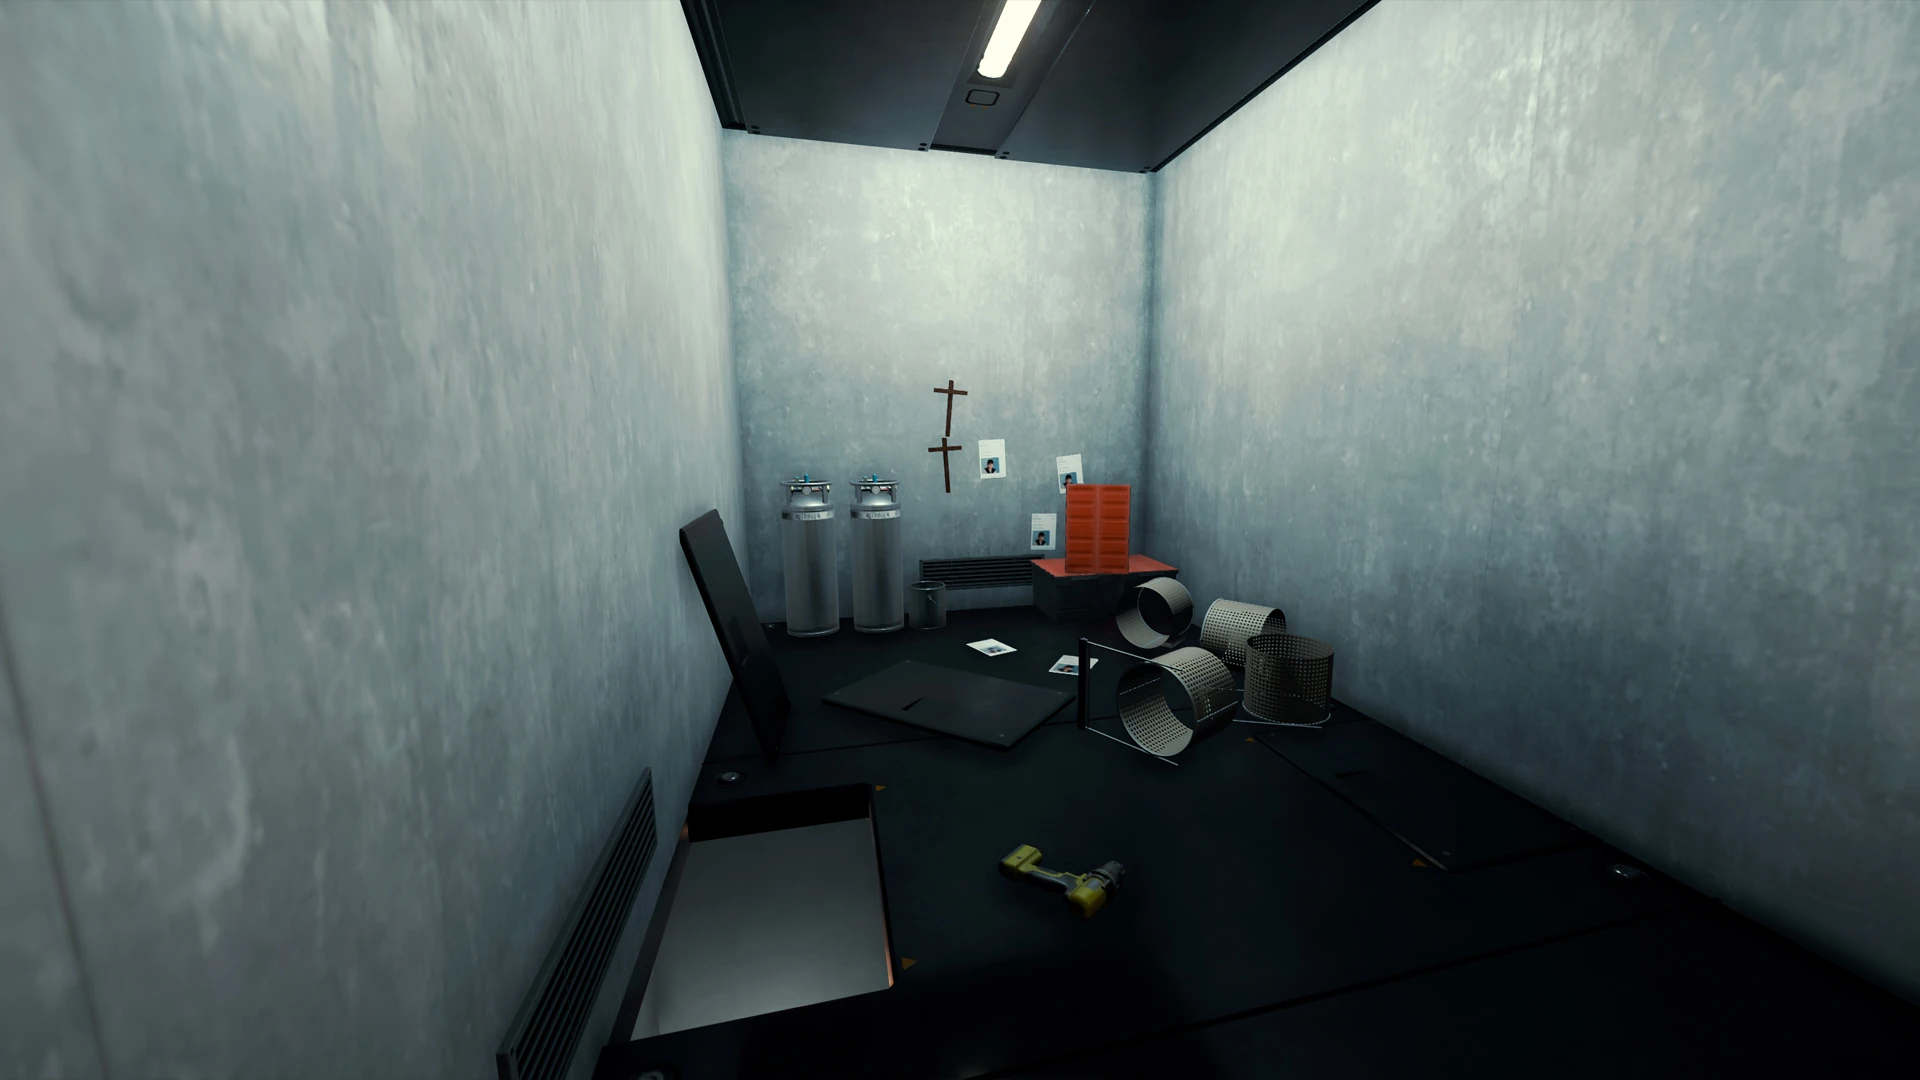
Utility Room[]
Room containing a few toolboxes and ventilation parts and it leads to the "Crawl Space/Ventilation Shaft" and cannot be accessed again after dropping down to the shaft. The room was later used by Dr. Mathew Cross who made a "Megan shrine" by using crosses and pasting a couple of Megan Emails on the wall.
- Items
![]() 2 Nitrogen Tanks
2 Nitrogen Tanks
![]() Email - Megan
Email - Megan
![]() Red Paint
Red Paint
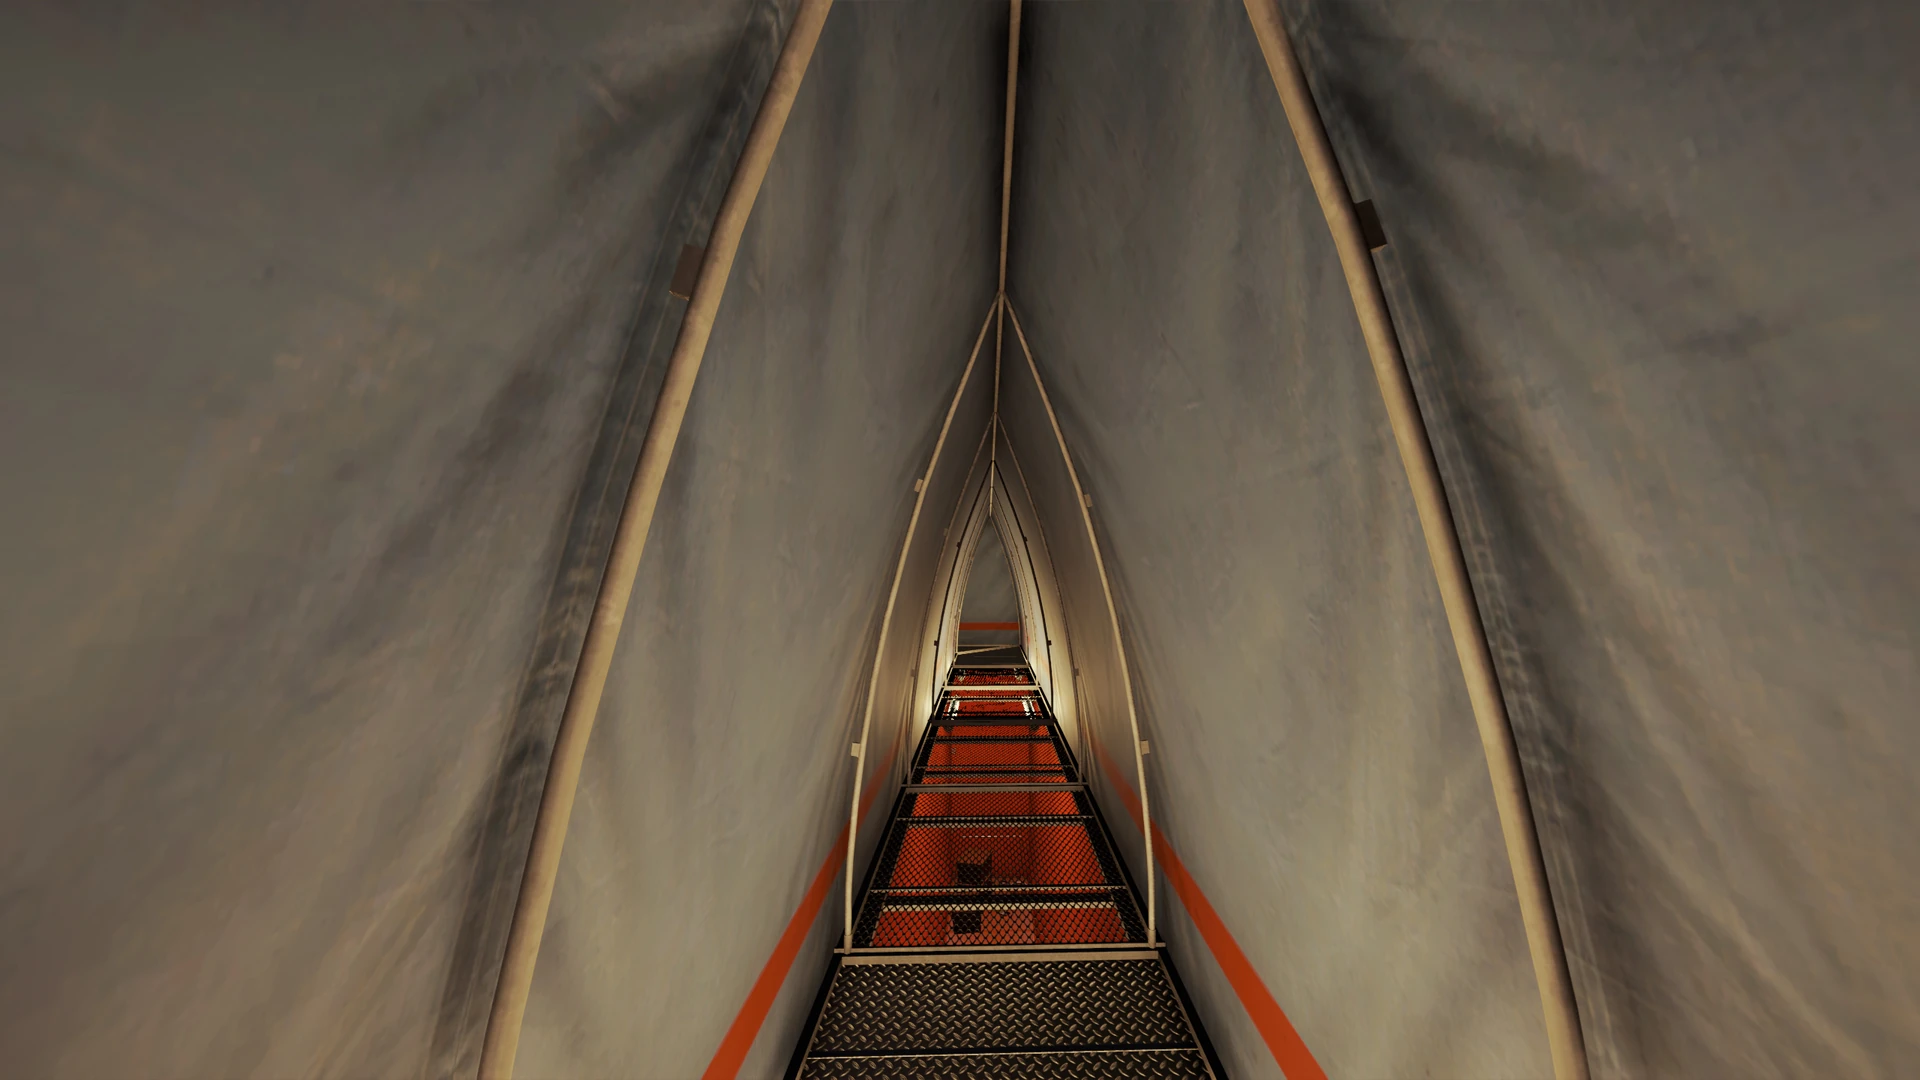
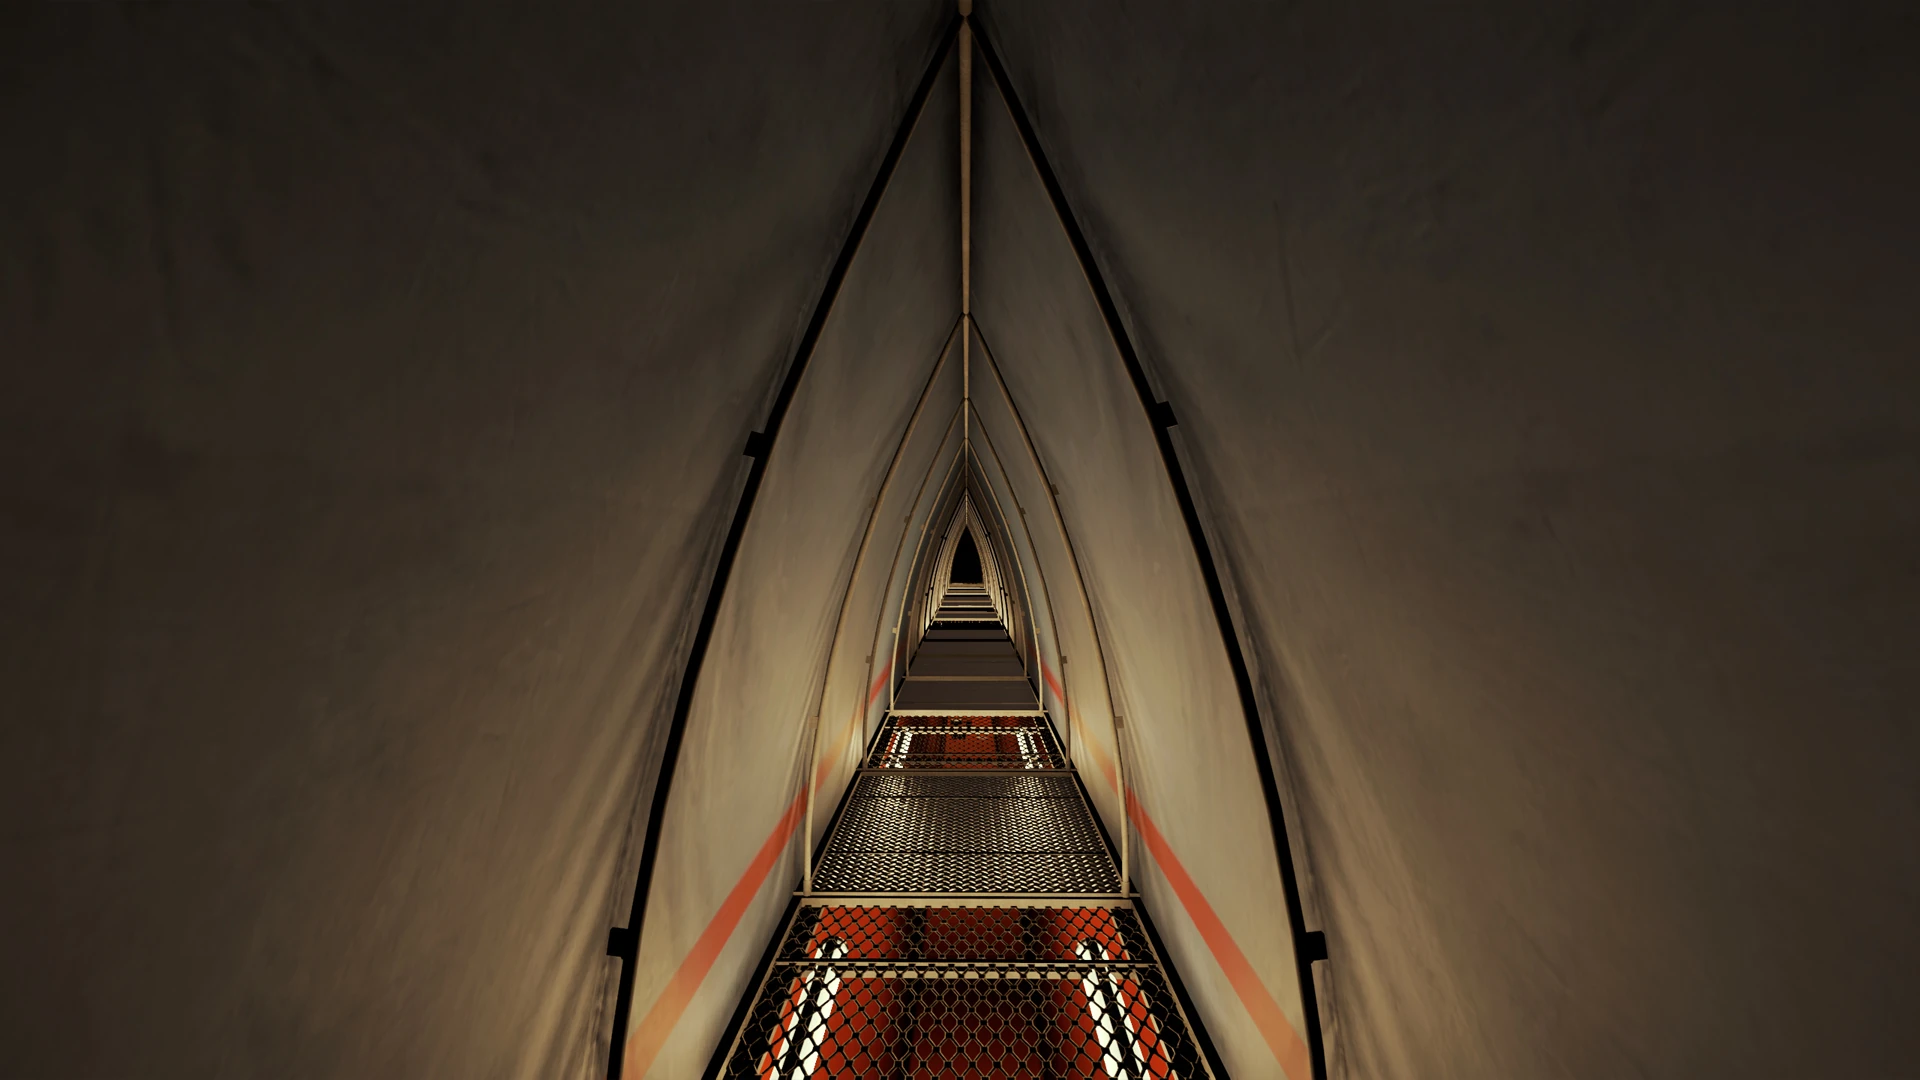
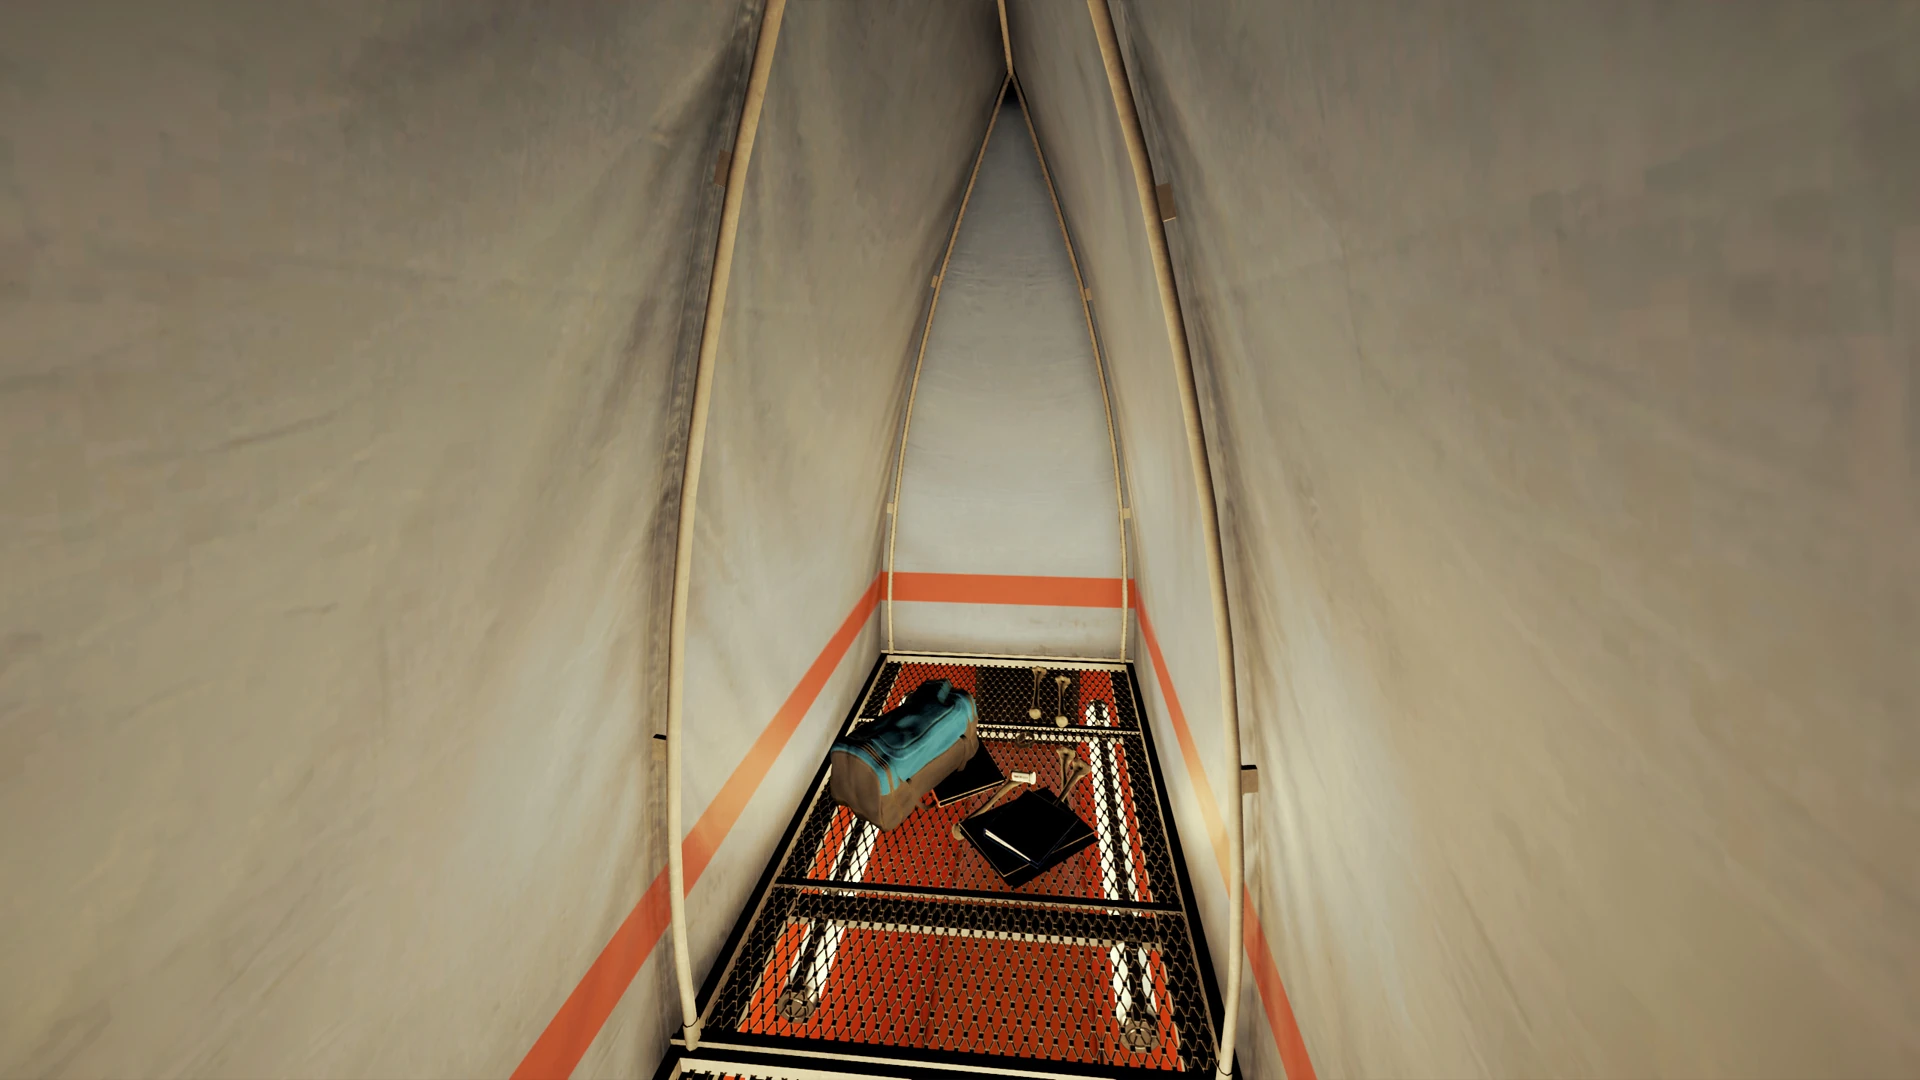
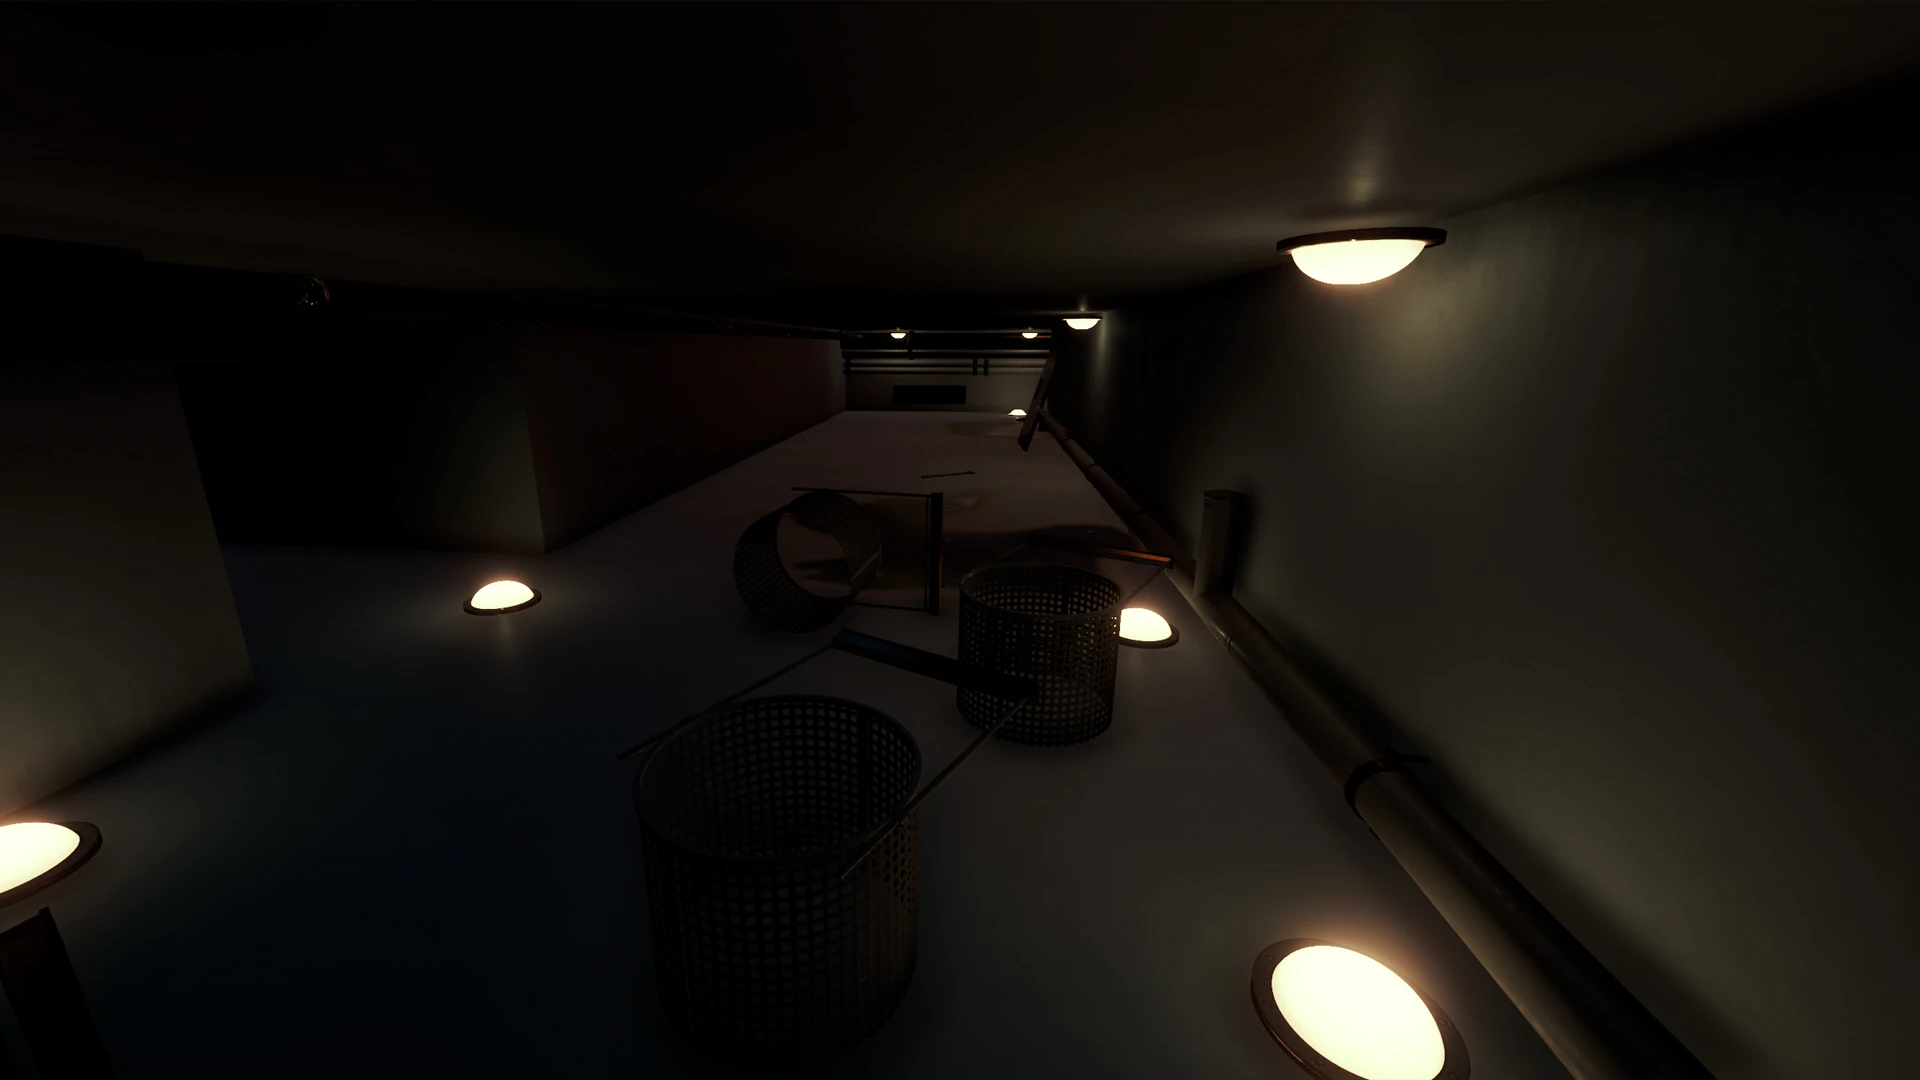
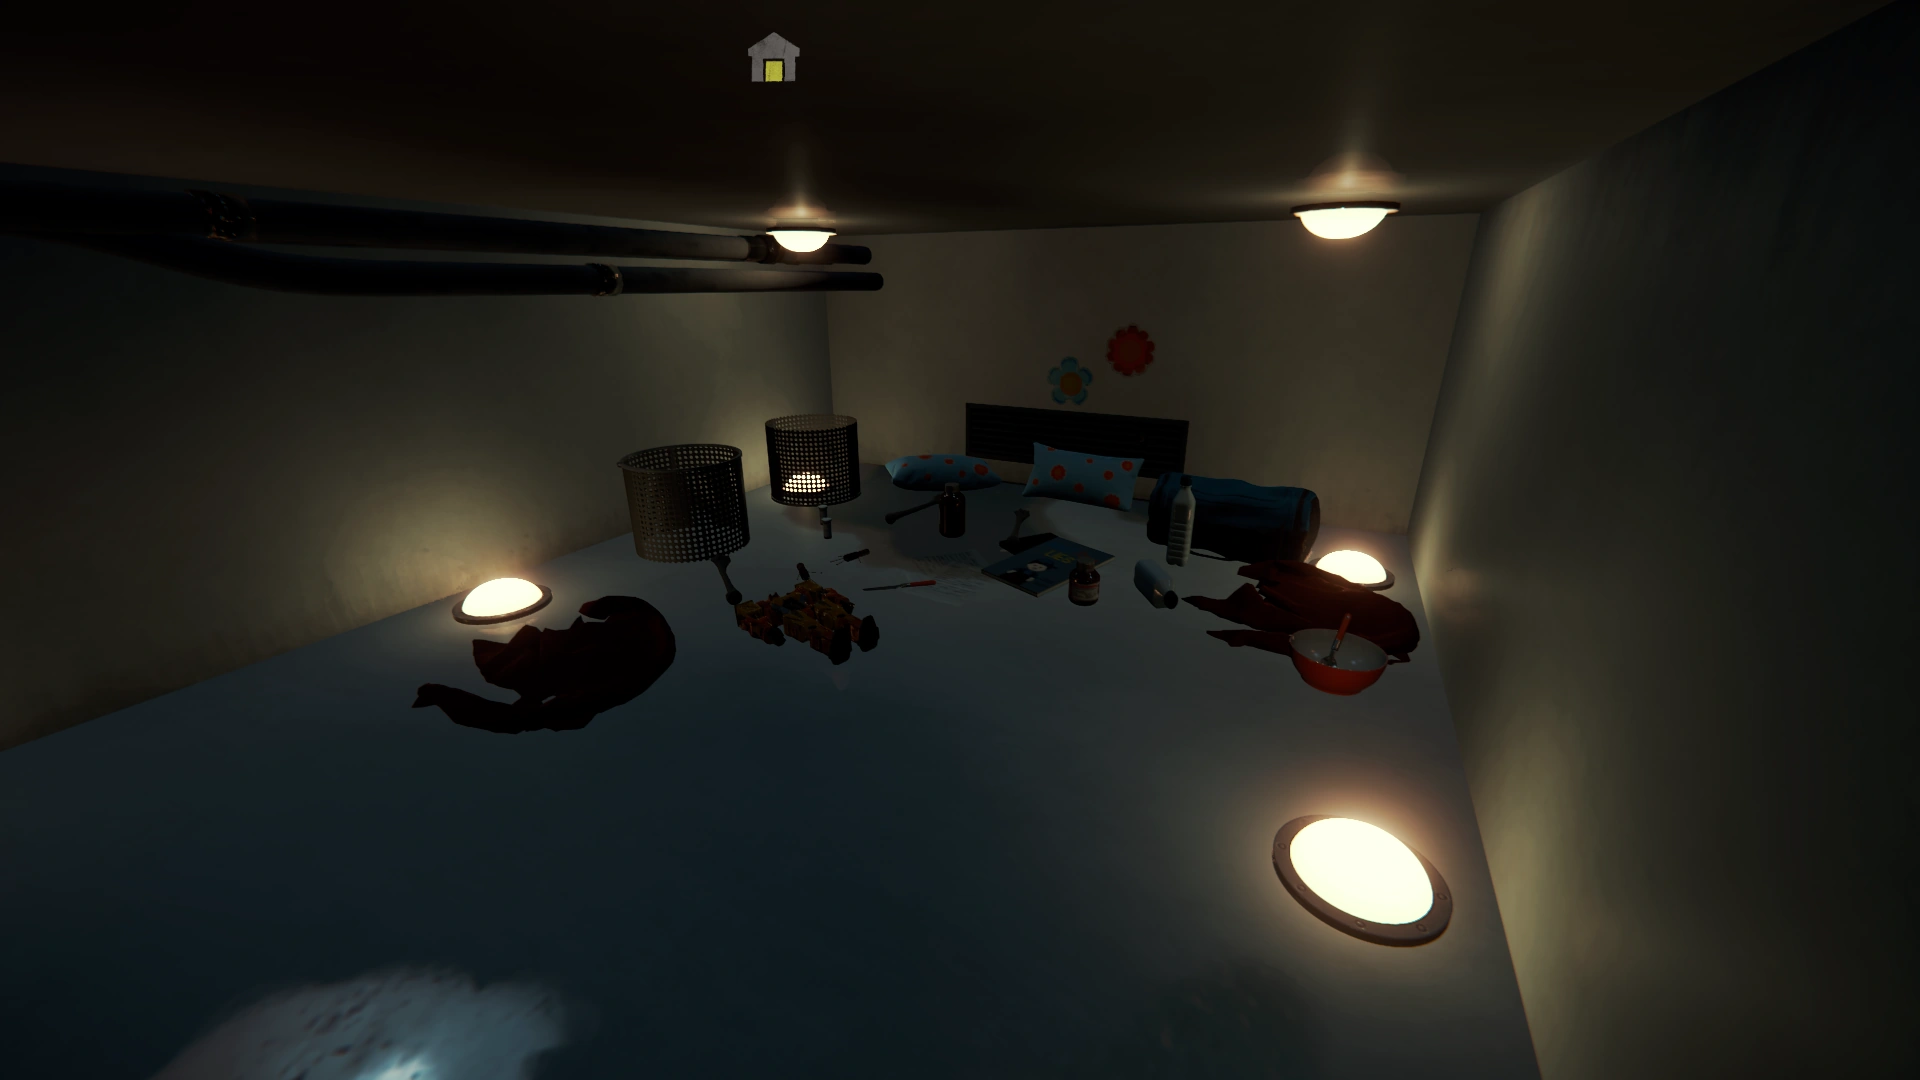
Crawl Space[]
This maintenance crawl space or ventilation shaft can be accessed by dropping down from the Utility room and cannot be exited the same way. It contains some piping, lighting and tools. A part of it was used by unknown child as a secret hideout. The end of the shaft has climbing rope that leads to the Cafeteria.
- Items
A secret hideout, possibly belonged to a child
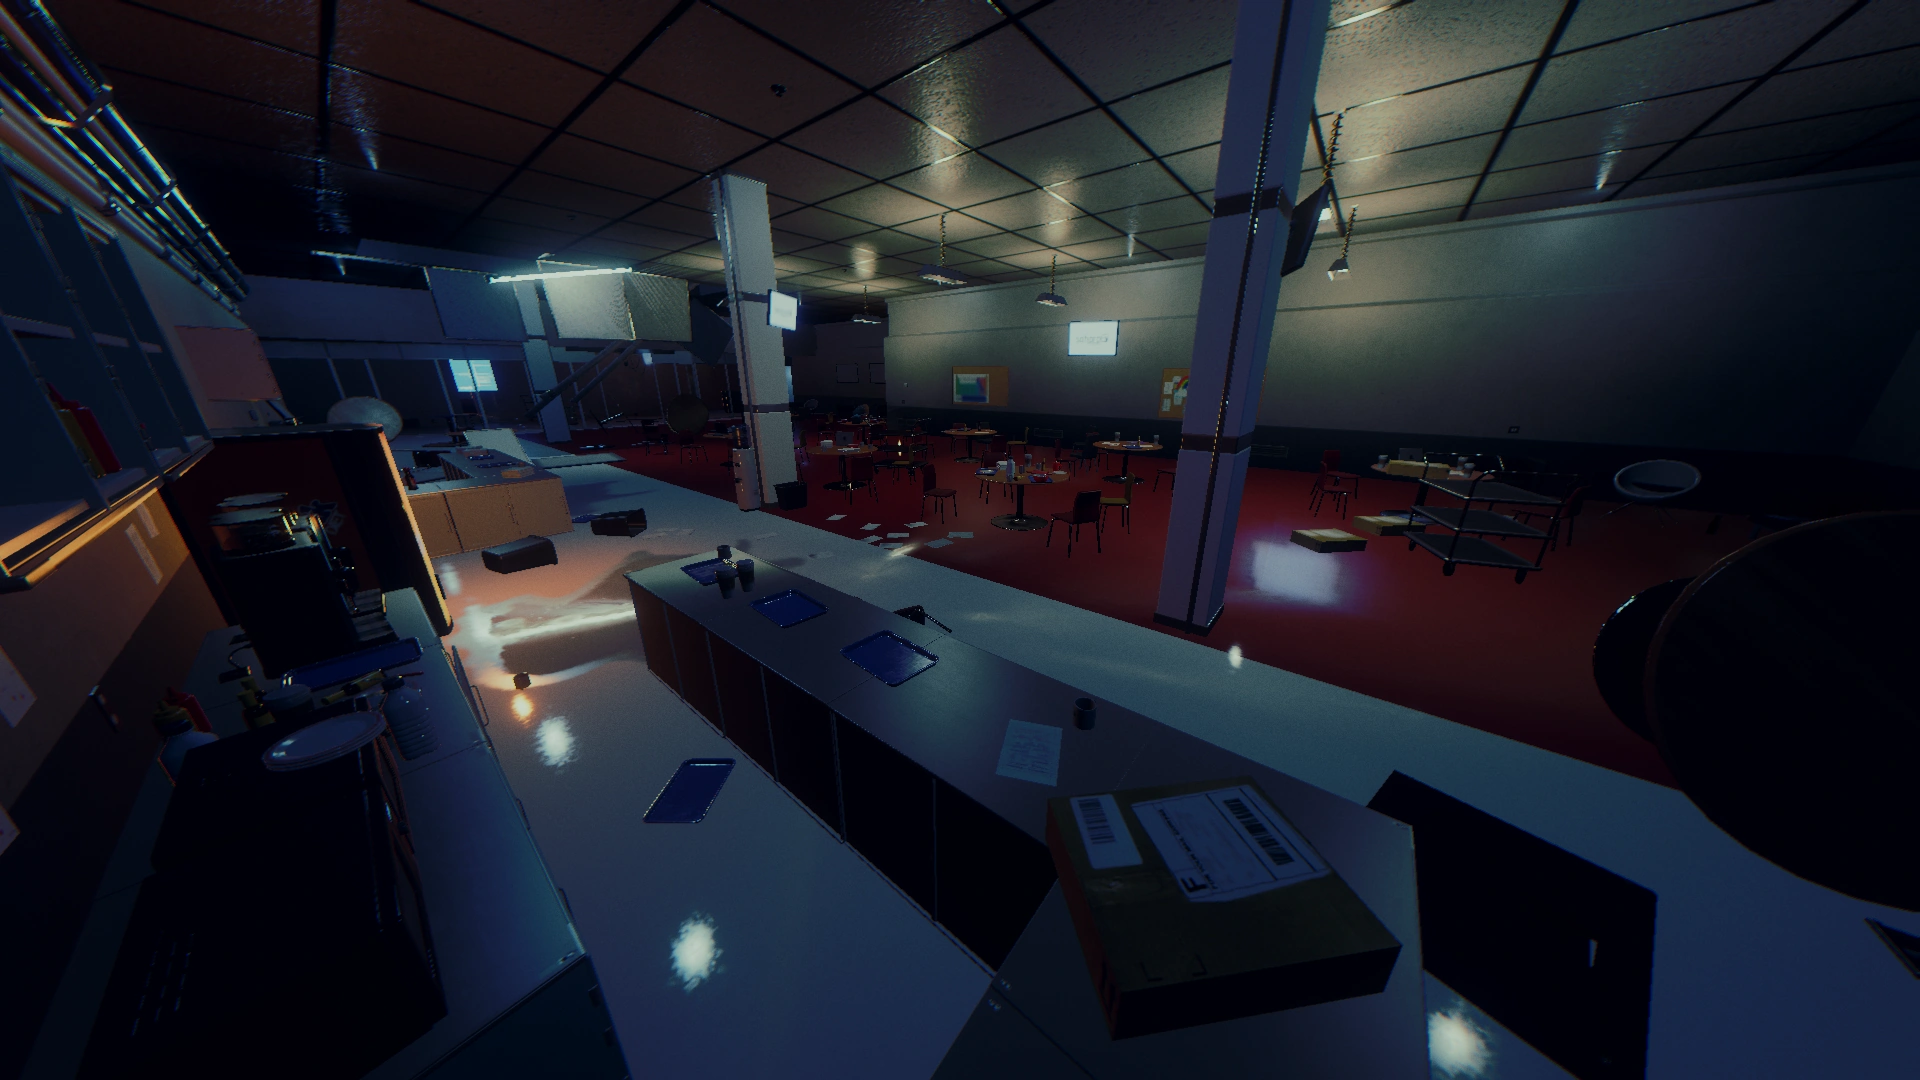
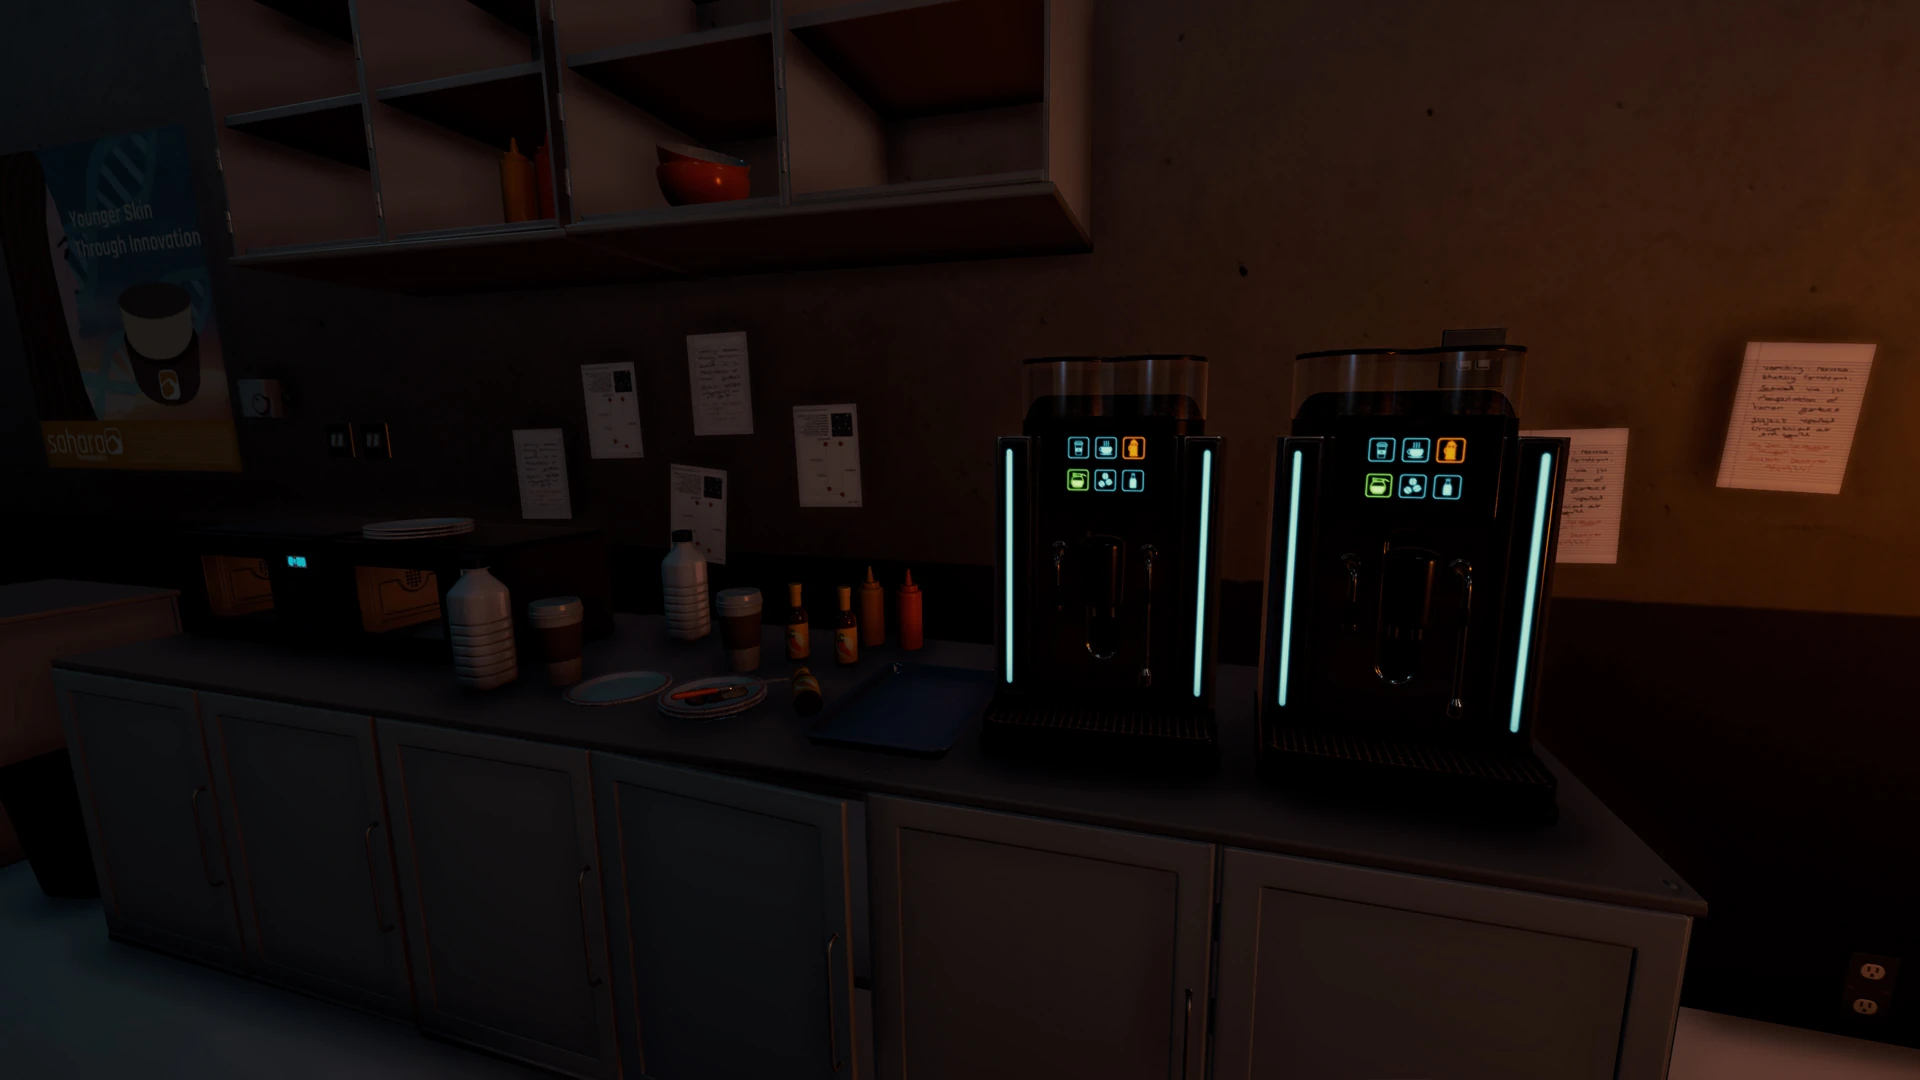
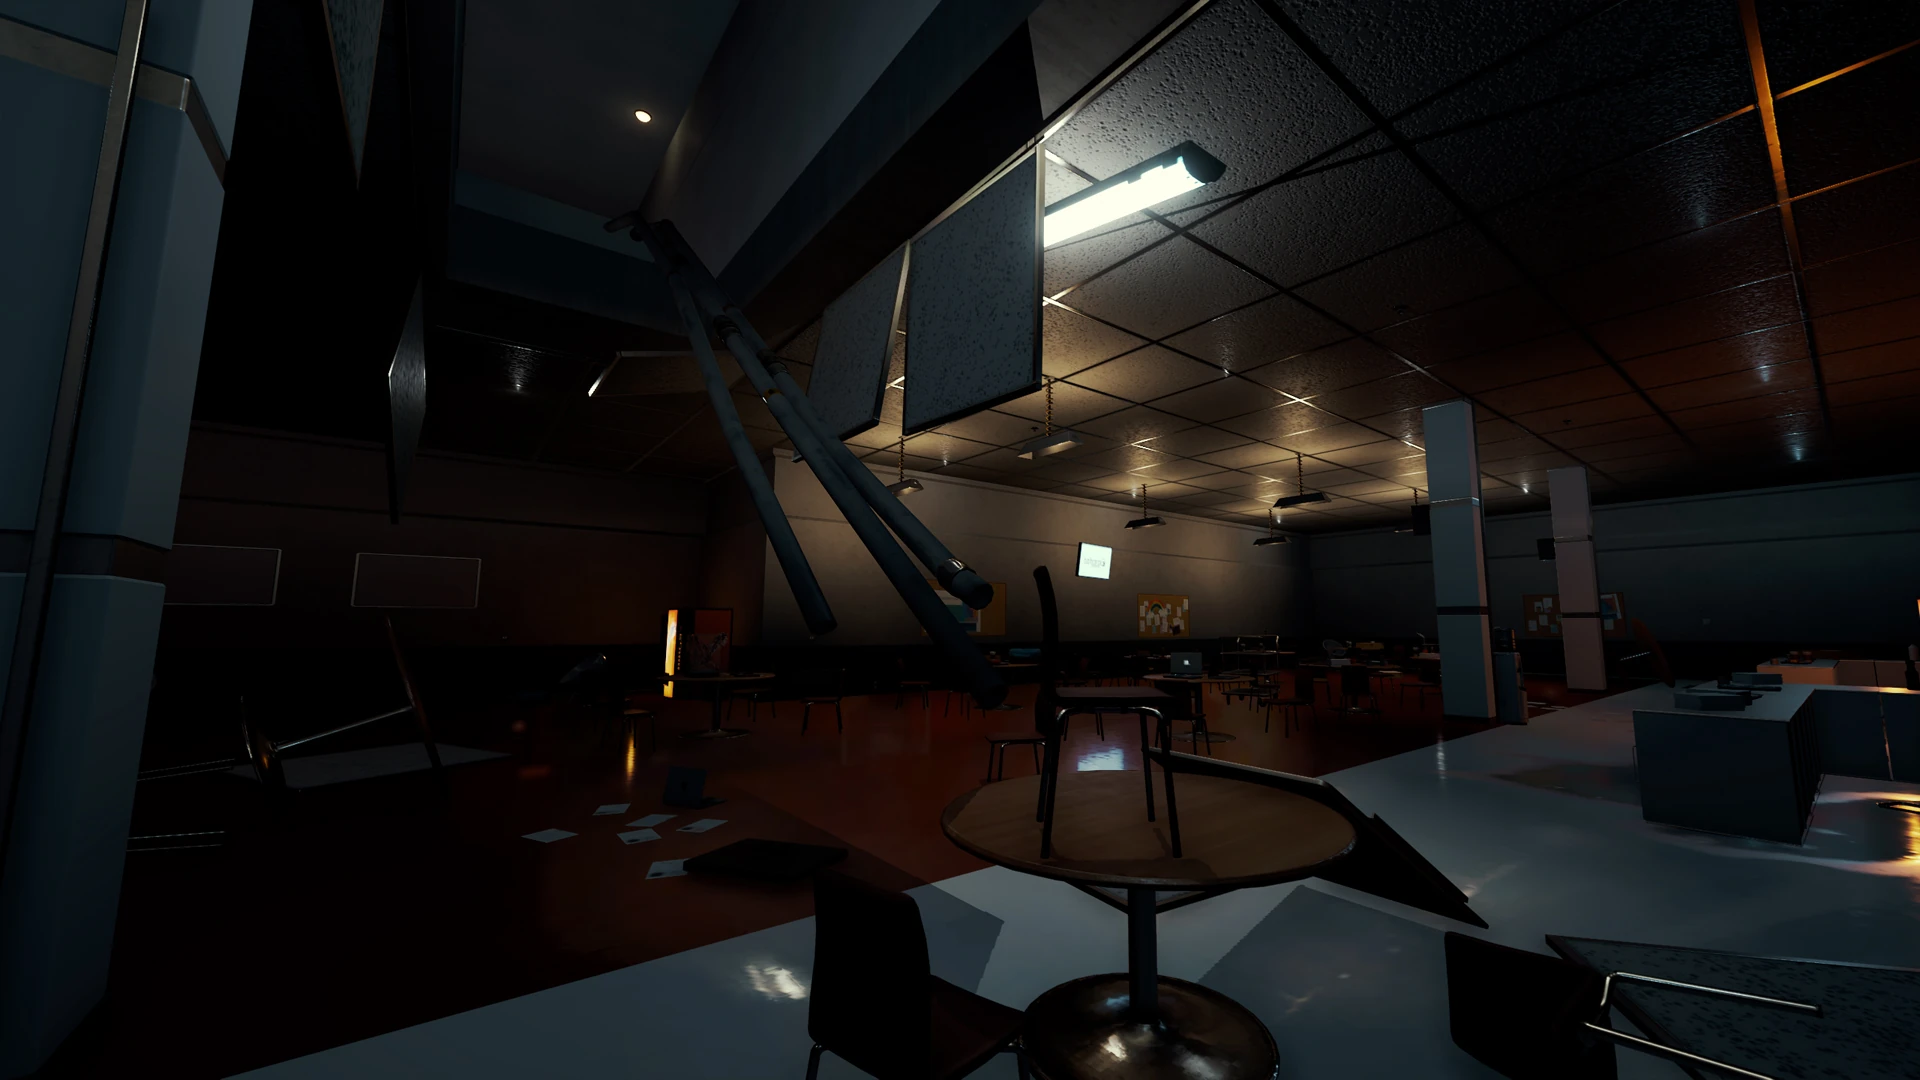
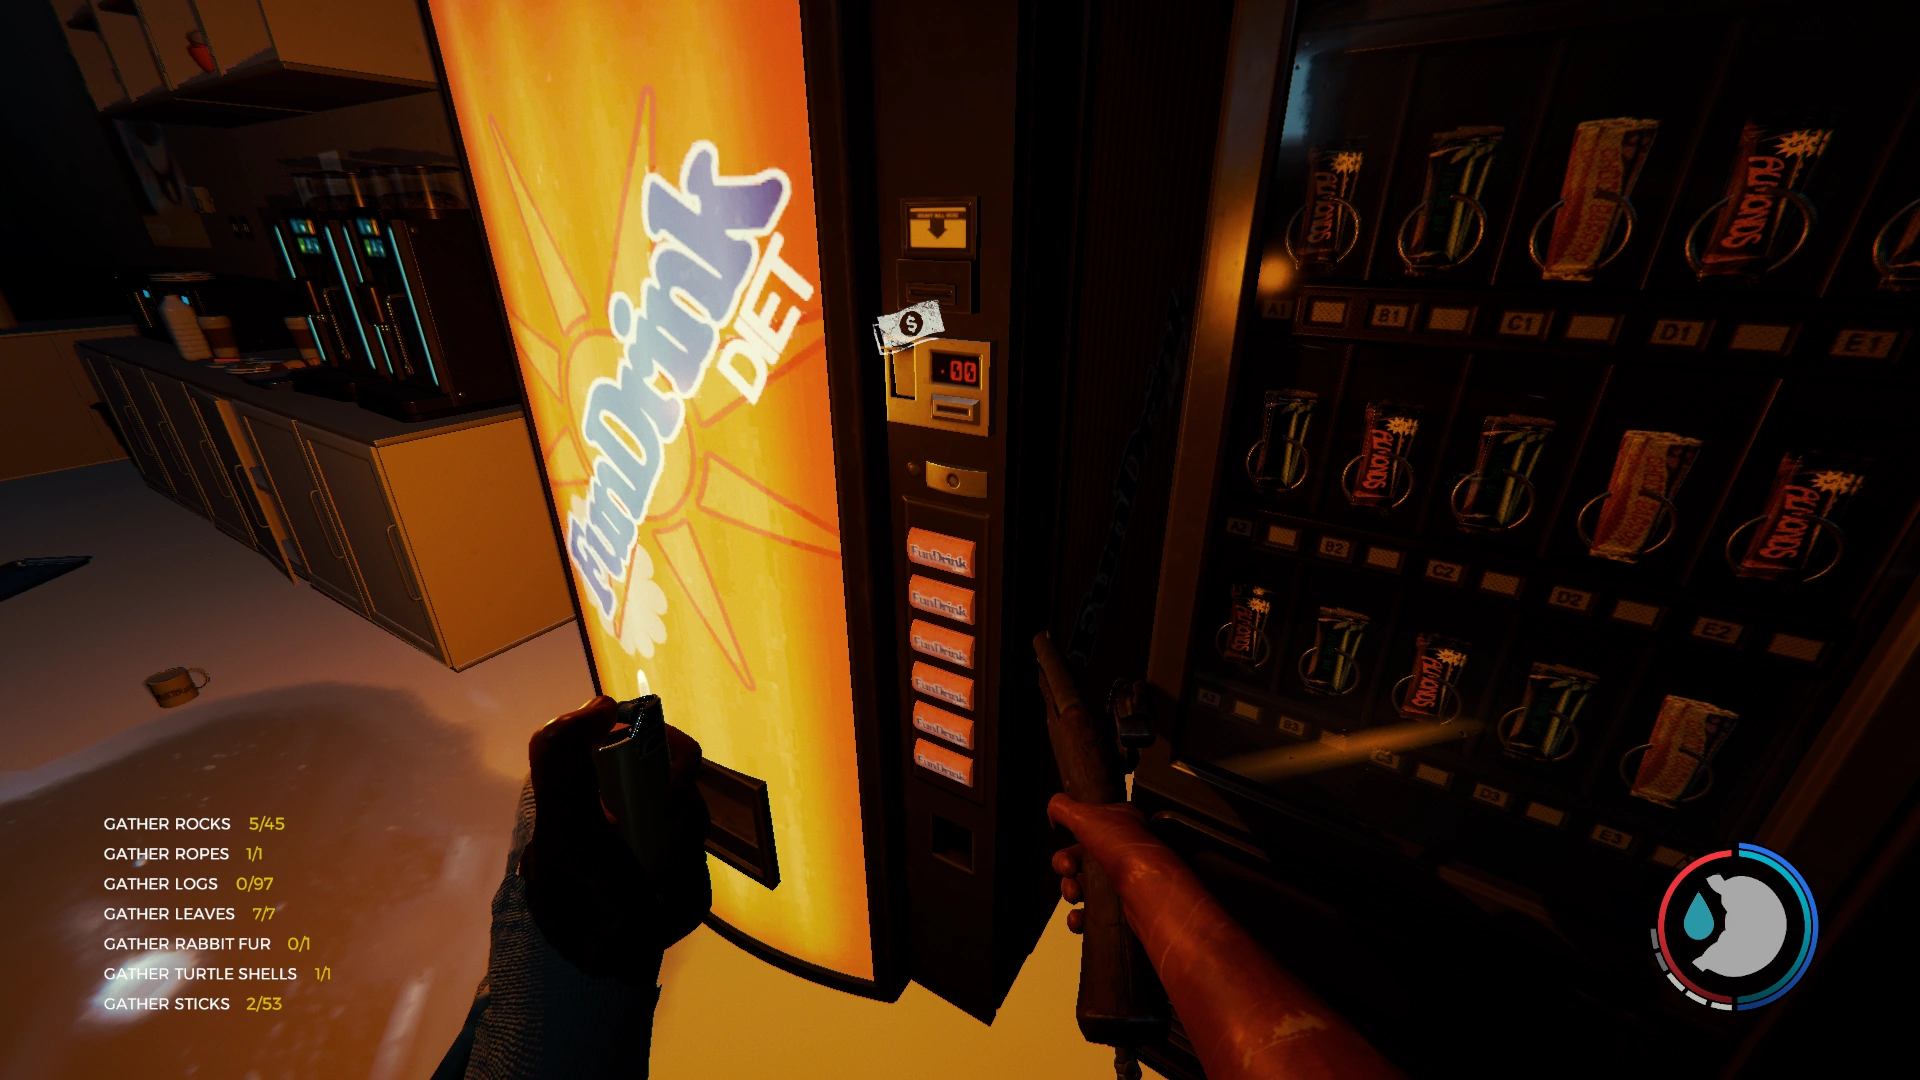
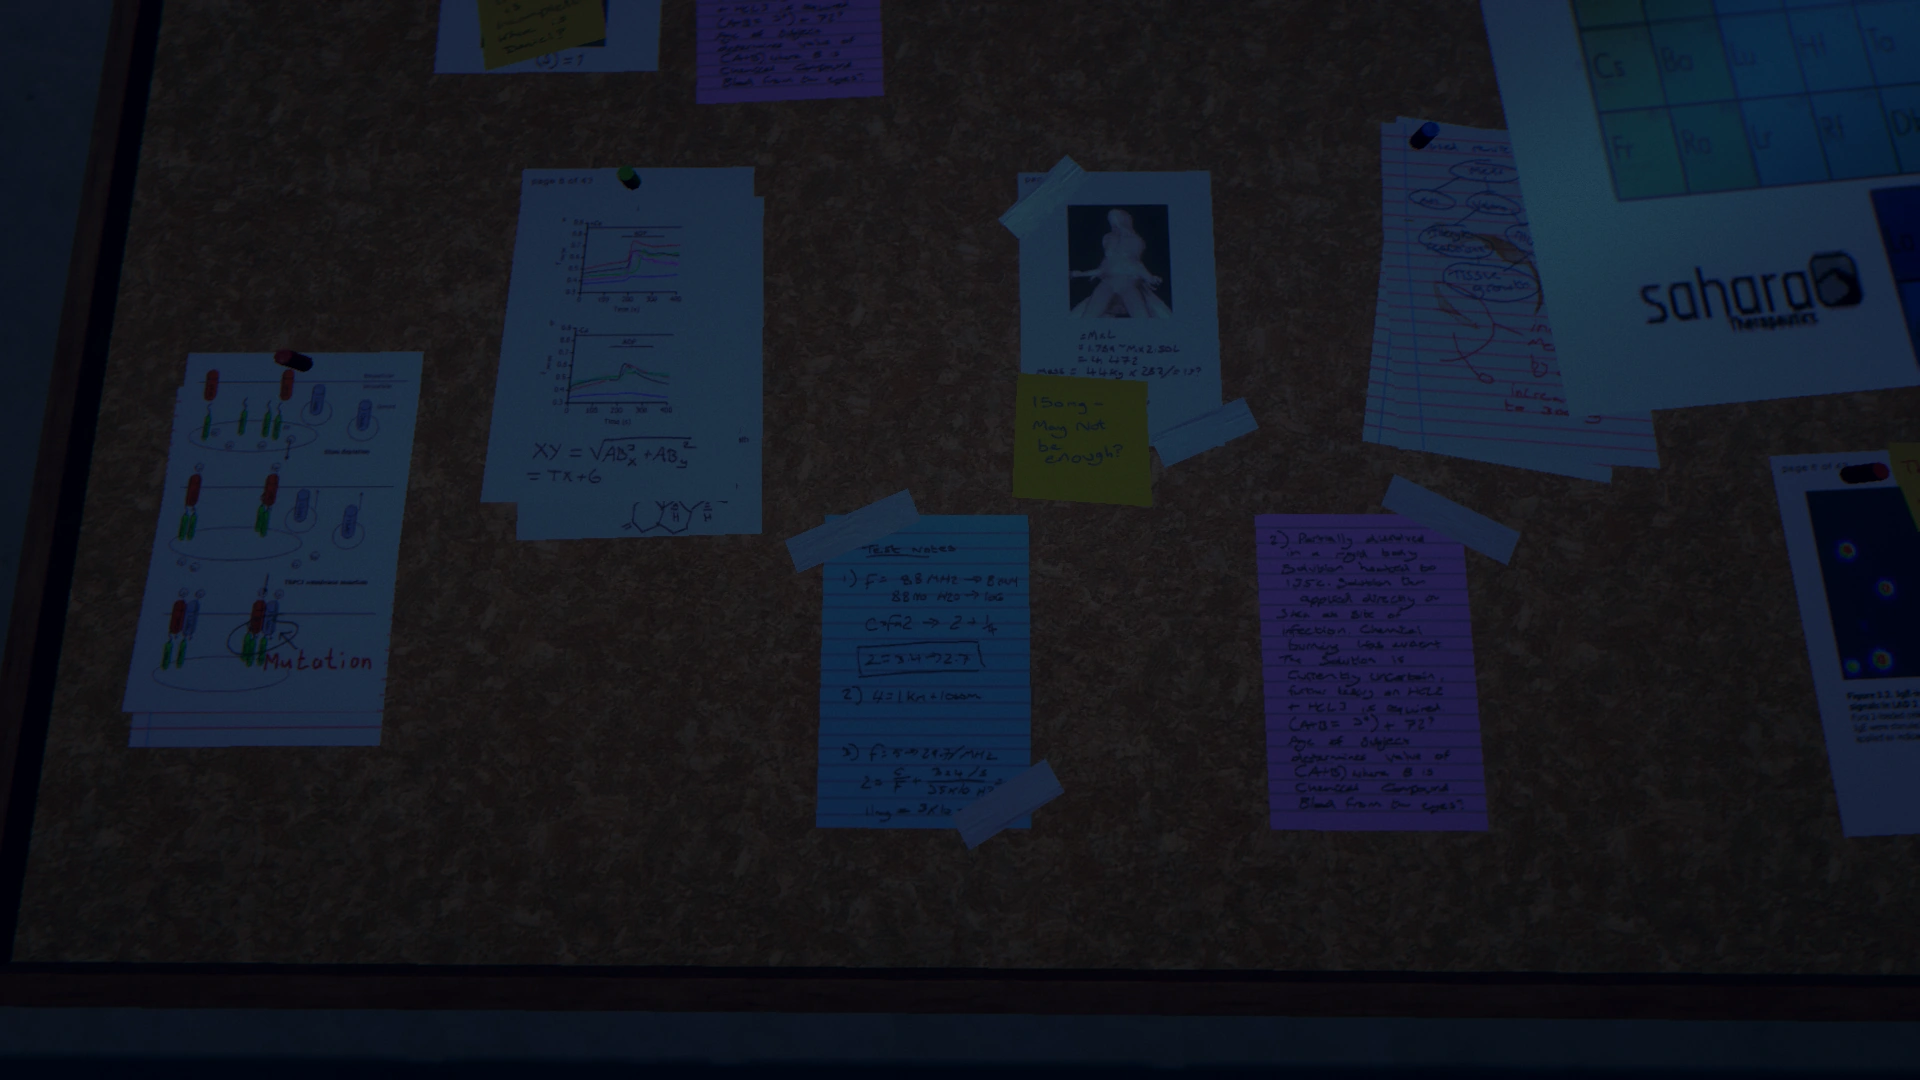
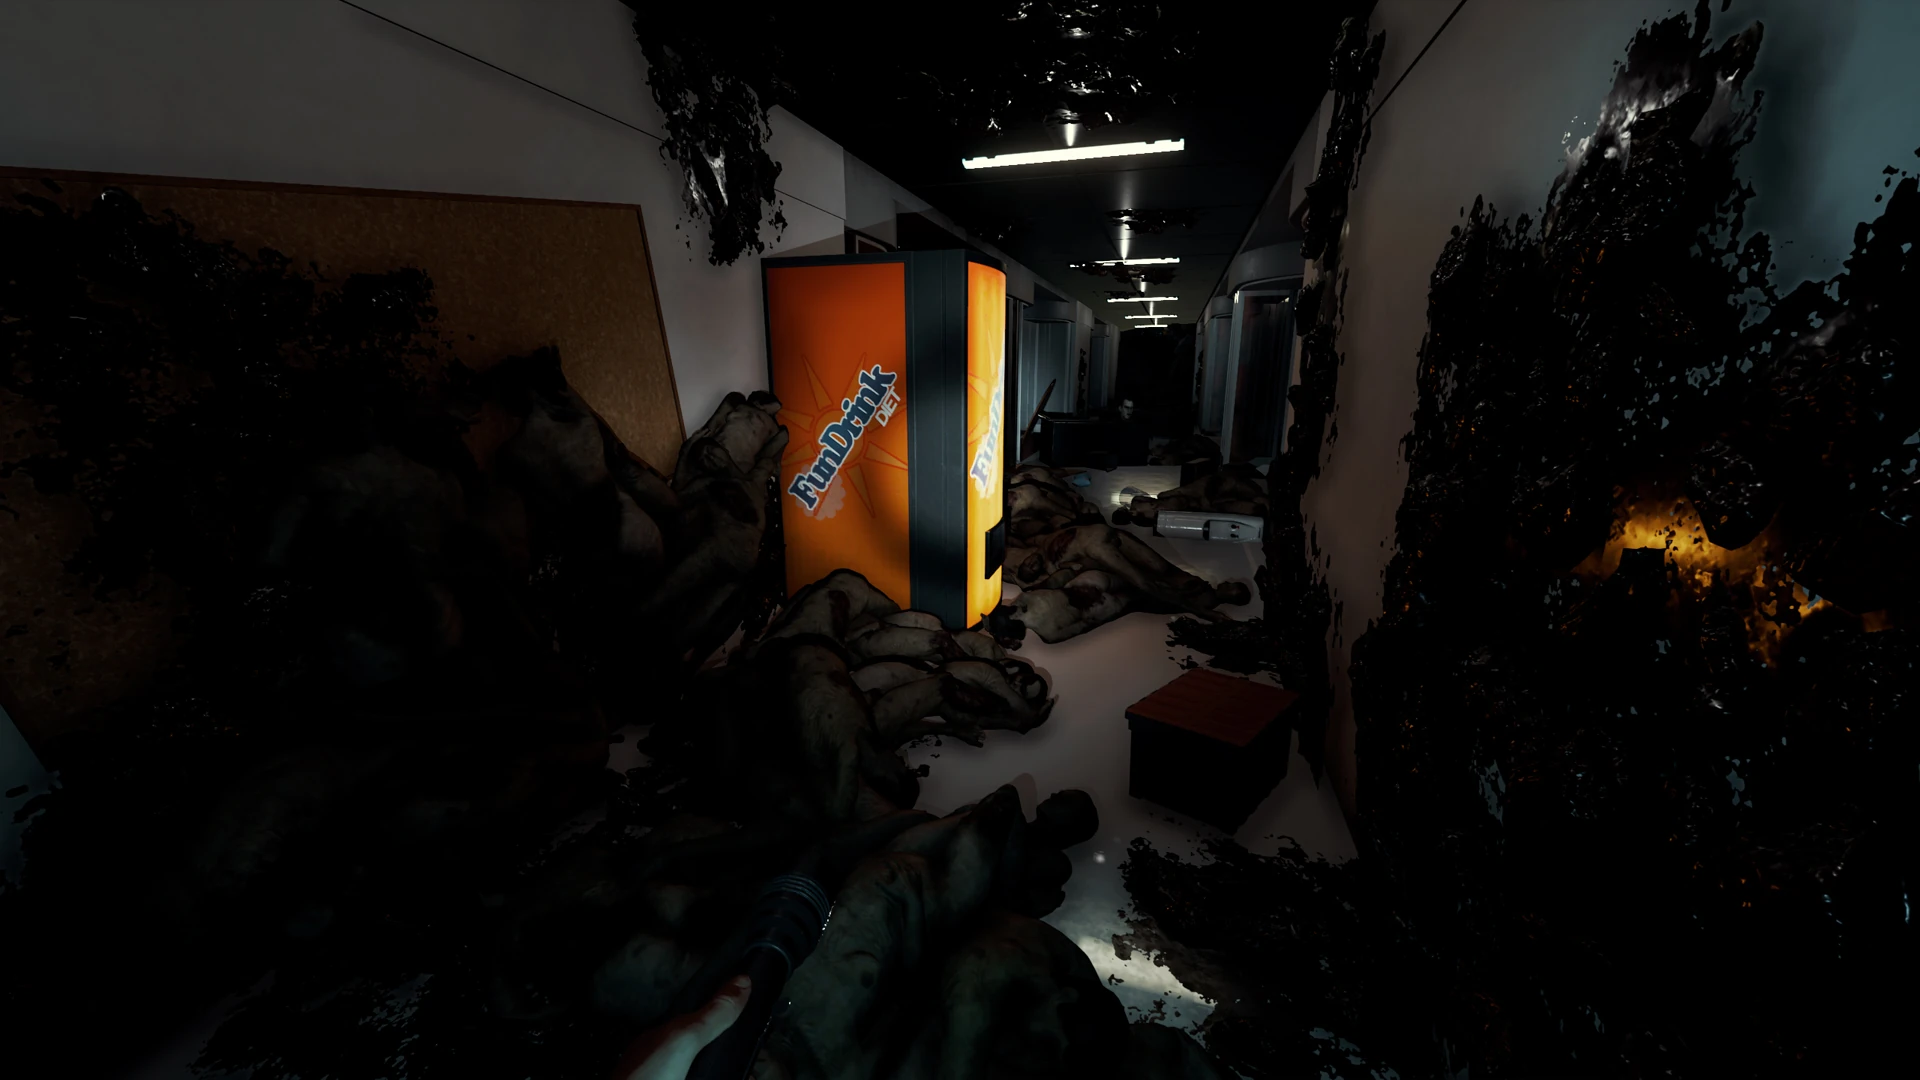
Cafeteria[]
The cafeteria is accessed using a climbing rope from the ventilation shaft under it. It contains tables, vending and coffee machines and other consumables. Walls and tables are packed with scientific pages, books and experiments. It is a great place for players to stock up with supplies. Broken ventilation shaft at the far end of the cafeteria can be used to progress further. "Active" Cafeteria can be seen in Camcorder tape Lunch with Megan.
- Items
|
- Achievements
![]() Big Spender - Buy a soda and candy from vending machine
Big Spender - Buy a soda and candy from vending machine
![]() Daily Grind - Drink from coffee machine
Daily Grind - Drink from coffee machine
The cafeteria
Various science materials
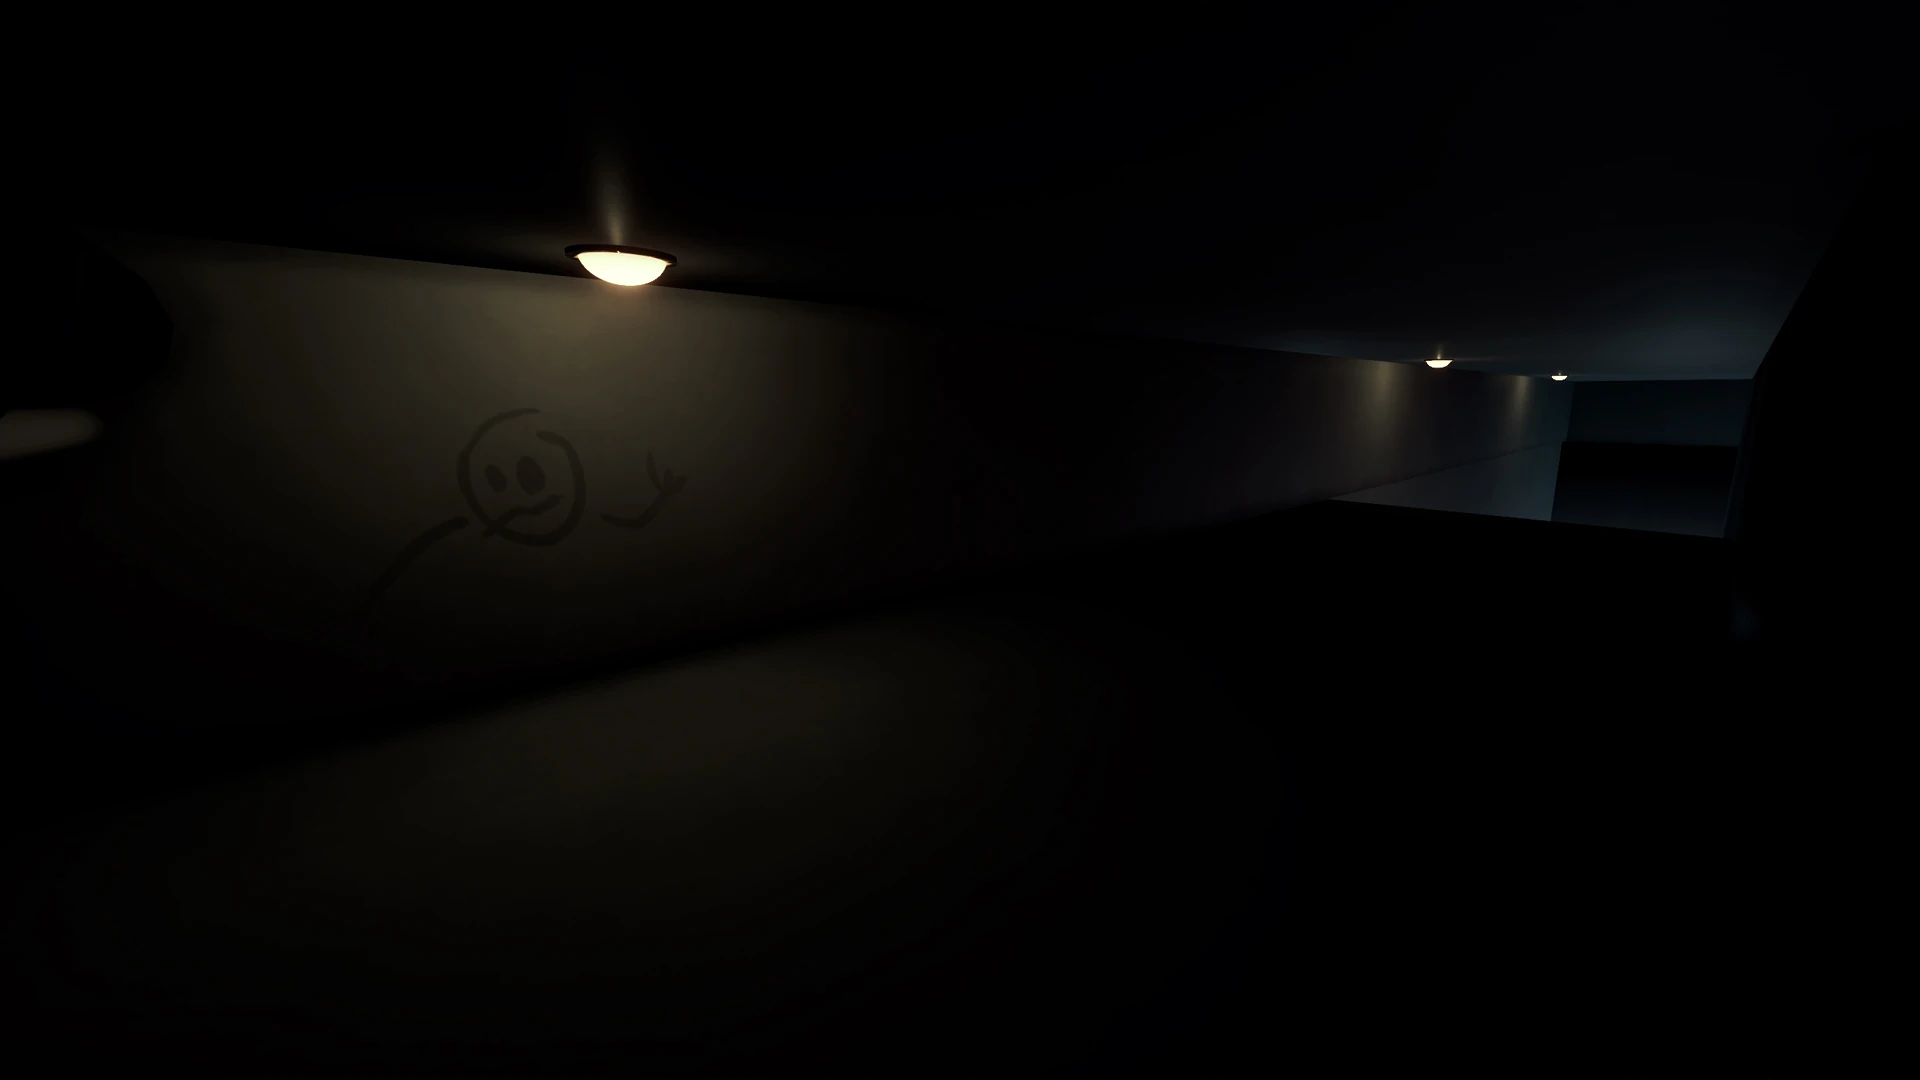
Ventilation Shaft[]
Ventilation shaft that can be accessed from its broken part above the Cafeteria, above the inaccessible hallway and leads to the Children's Ward. It is very dark and only has a drawing of unknown origin.

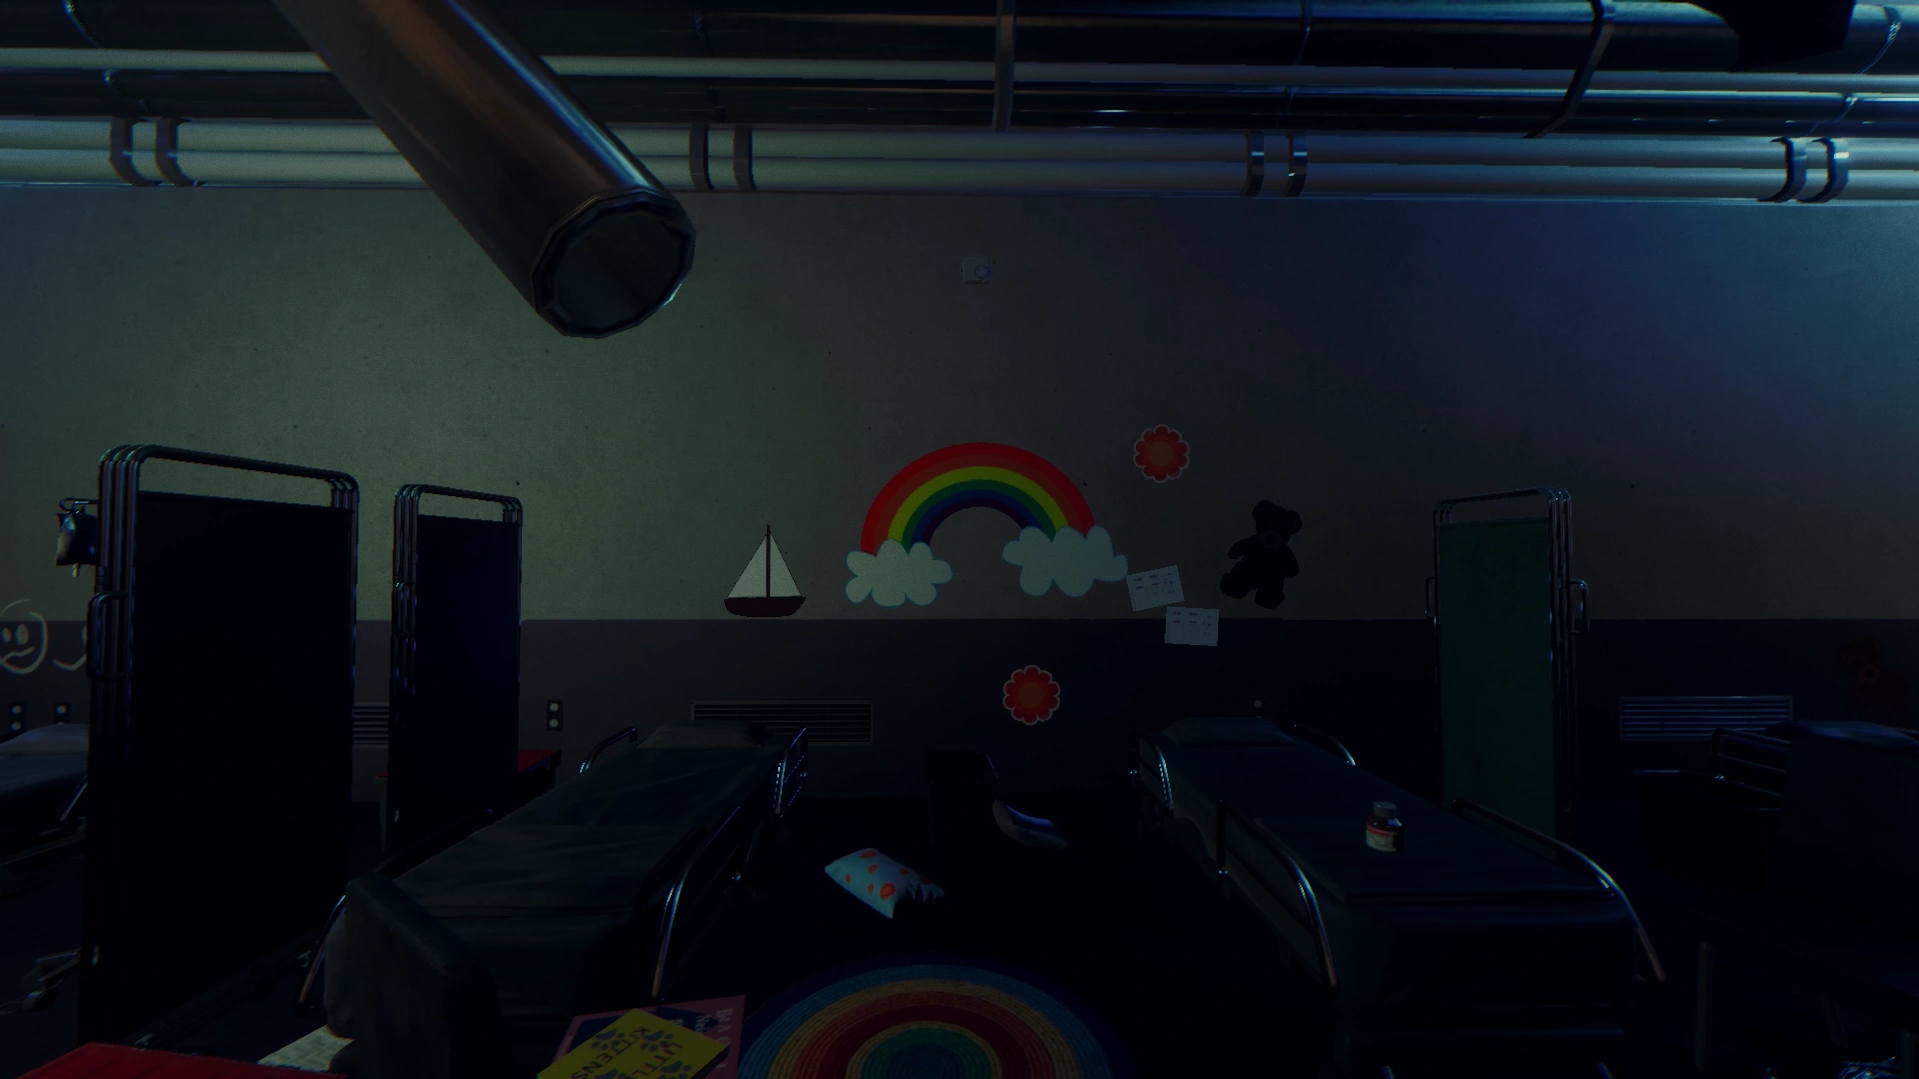
Children's Ward[]
This room contains children's bed, children's books and toys, scientific papers and magazines, medical tools. The room is accessible from the Ventilation shaft and cannot be exited from the same way. Children's ward leads to the hallways with Observation rooms.
- Items
![]() 3 Cloth
3 Cloth
![]() Magazine - Ethical Scientist
Magazine - Ethical Scientist
The children's ward
The ward from another angle

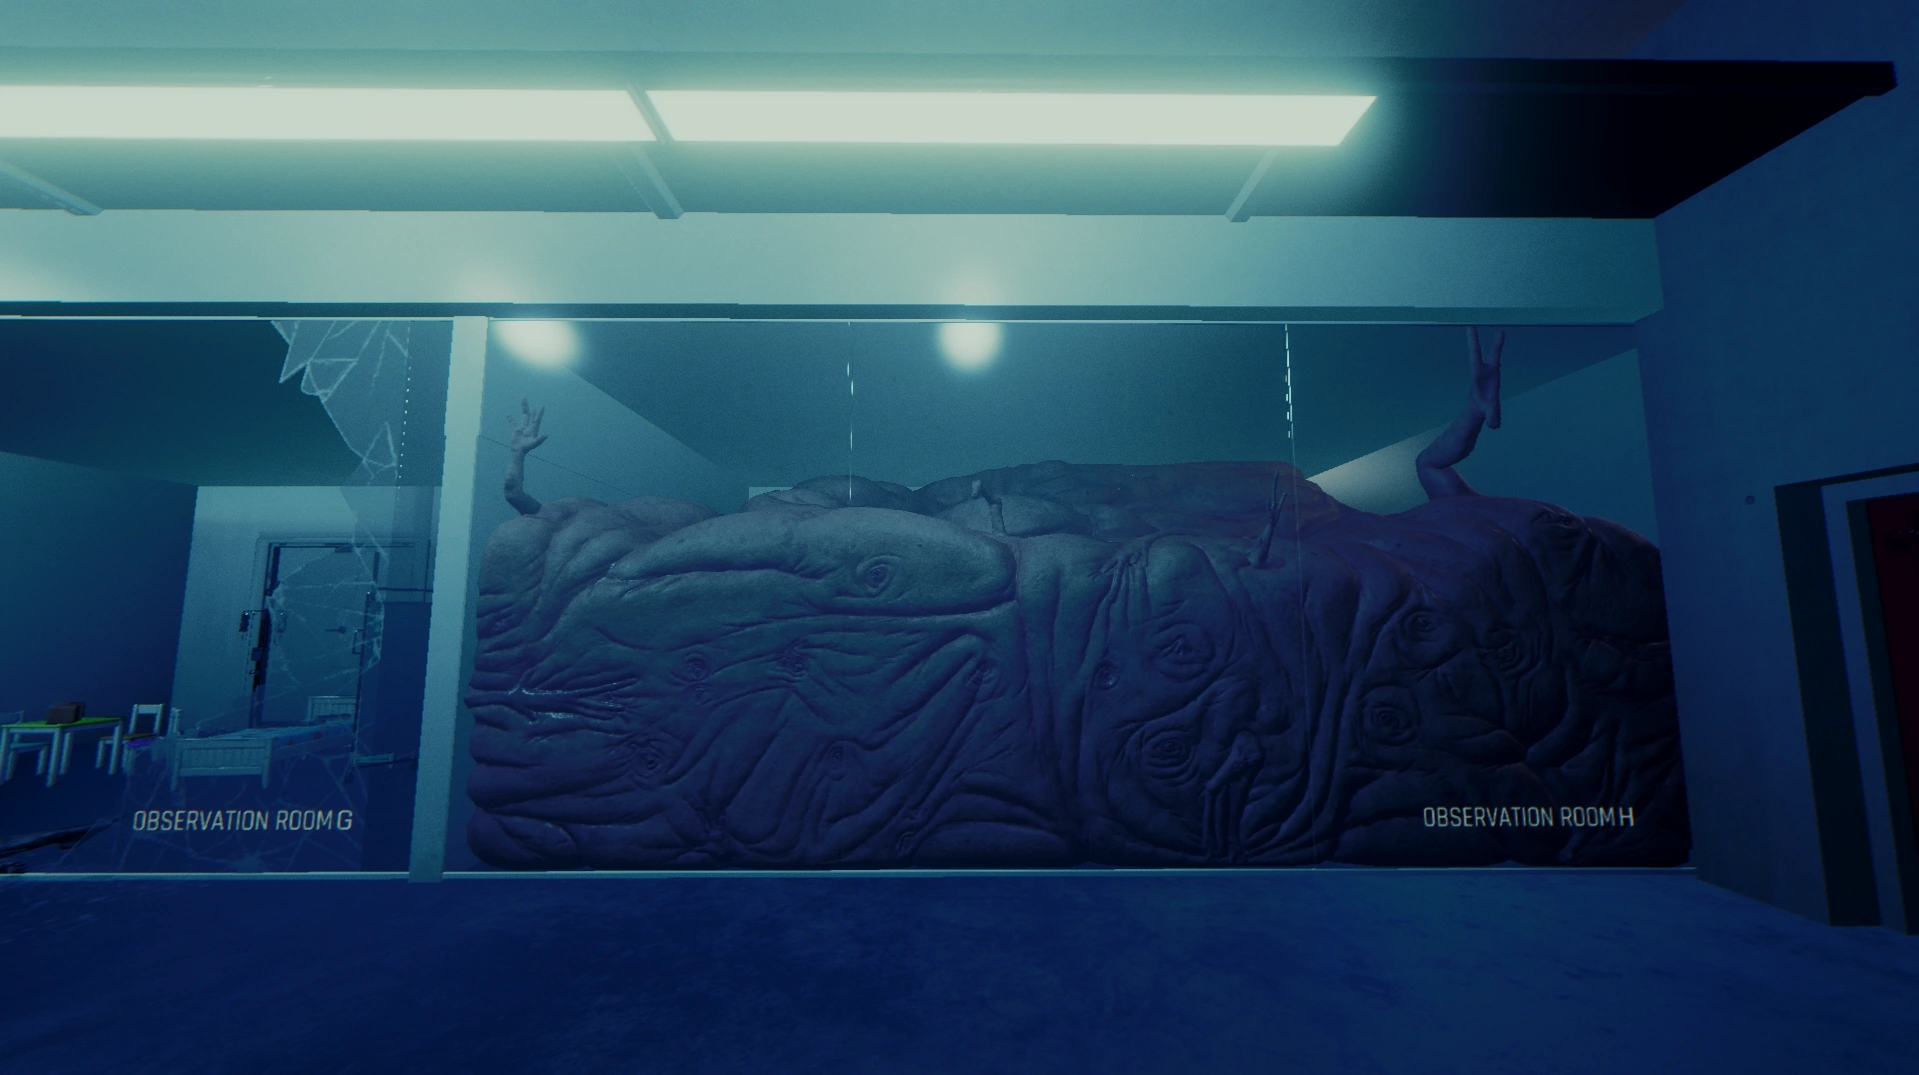
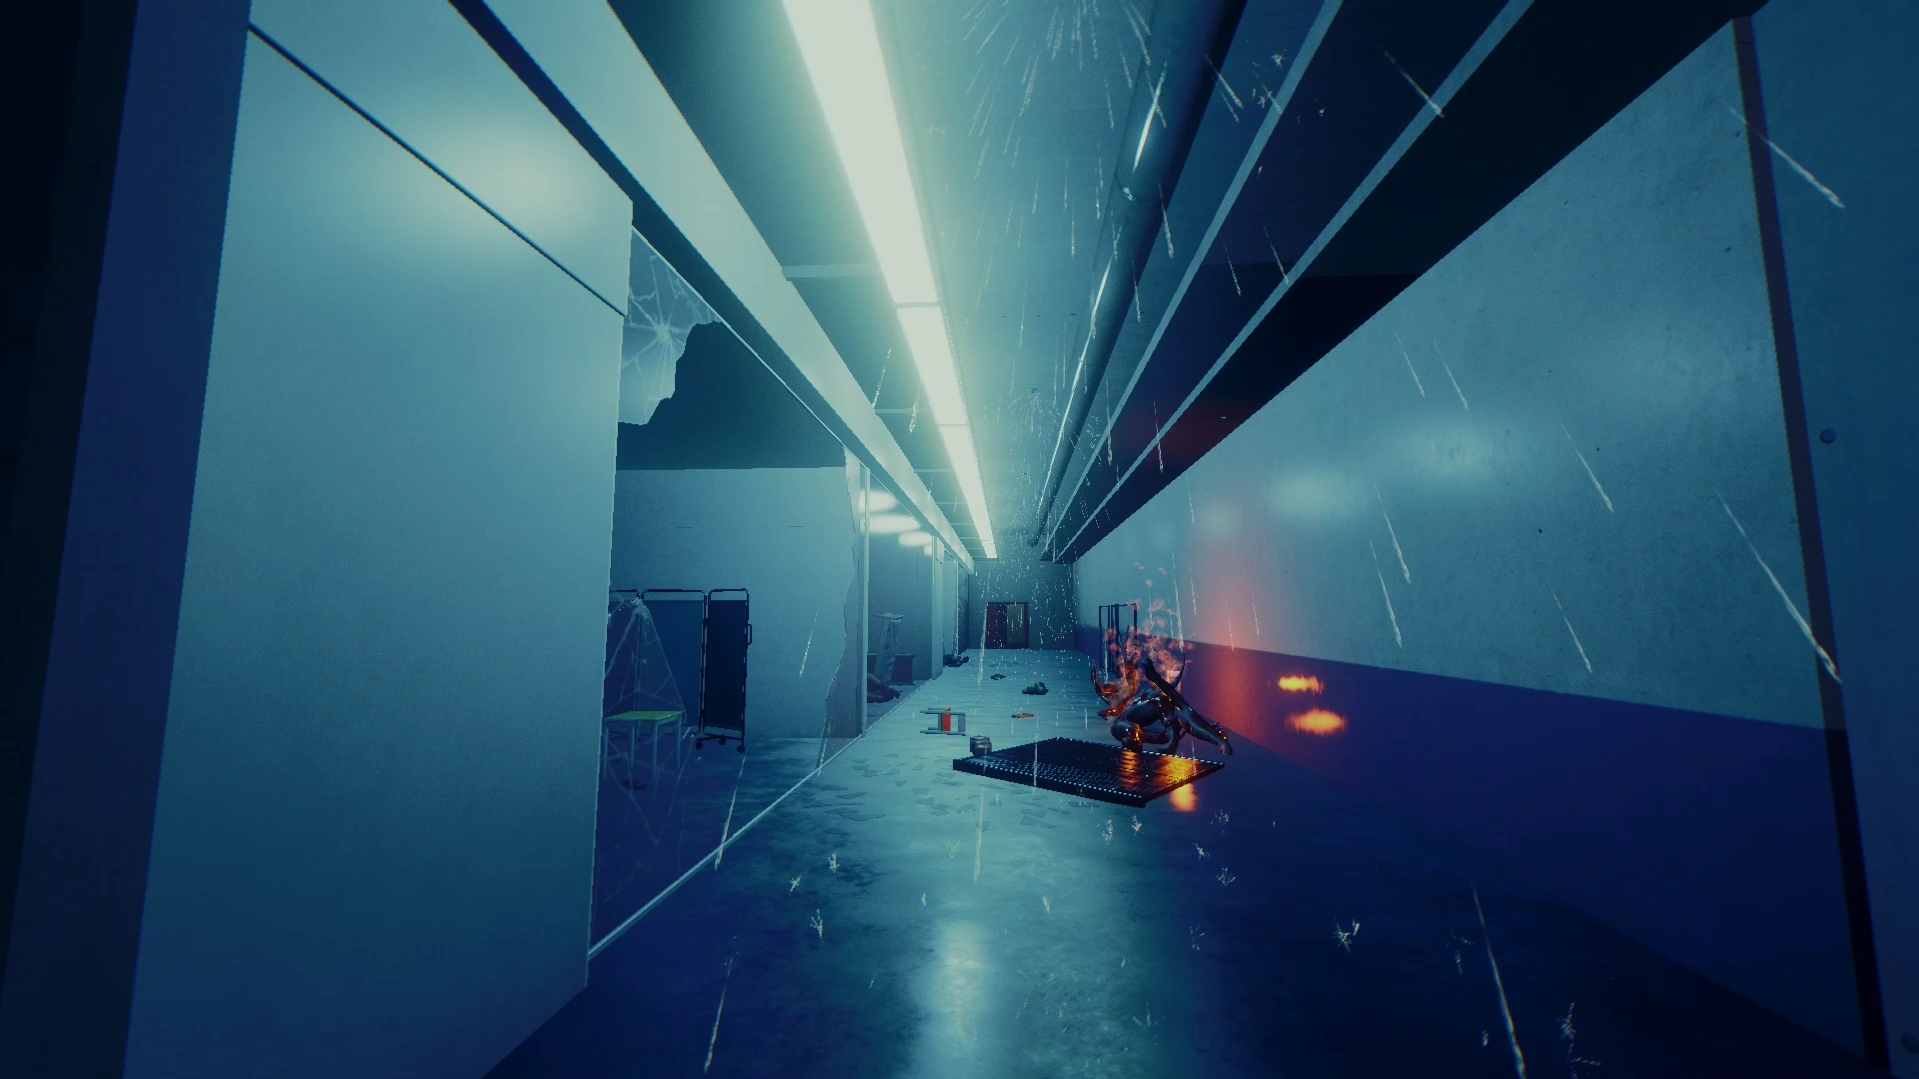
Observation Rooms[]
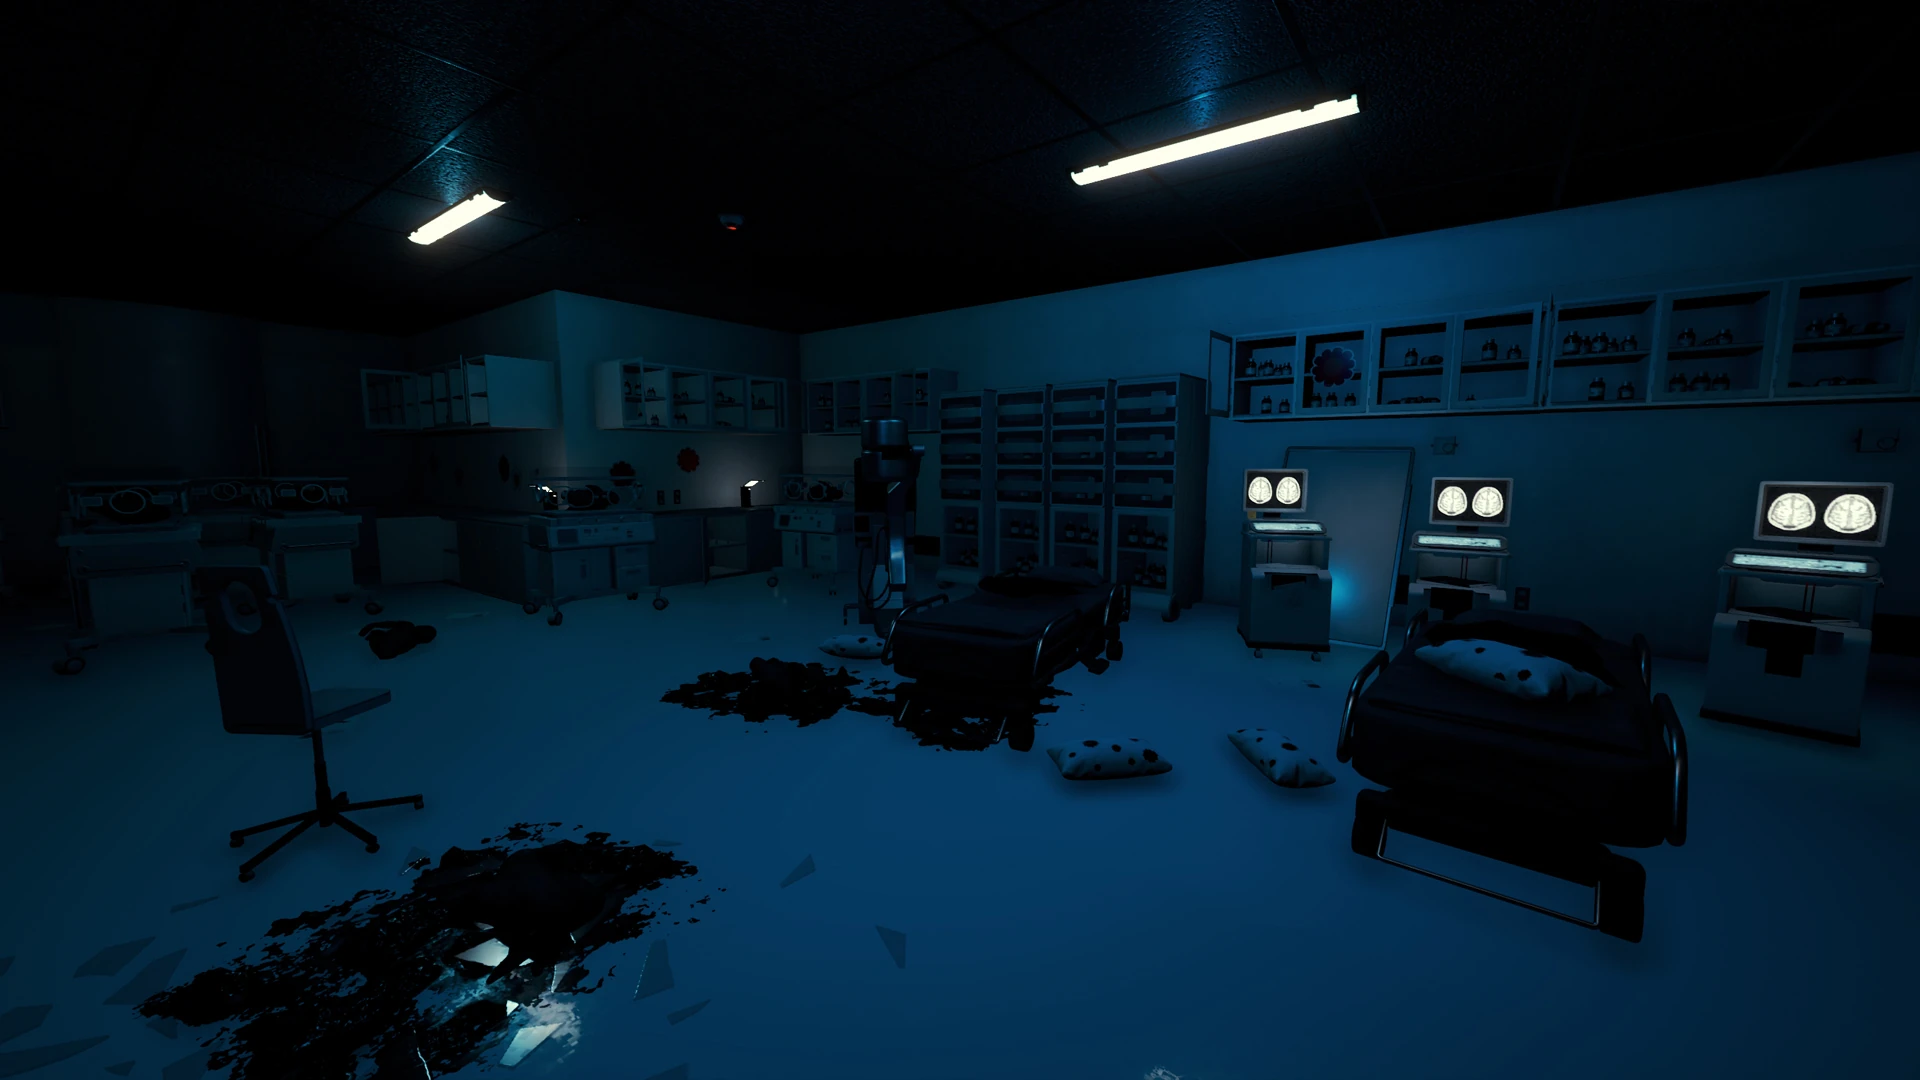
Observation rooms are accessible from Children's Ward and lead to the broken catwalk. Observation rooms consists of 2 Main hallways, 2 access rooms, 2 back-hallways labeled as 258 (1 accessible) and rooms labeled "Observation Room A-H". Access rooms and Main hallways are equipped with sprinkler system that can be activated with fire. Rooms labeled as "Observation Room A-H" are children's rooms containing children's toys, books, beds and other furniture are were used to observe the process of mutations as seen in Camcorder tape Side Effects. Most of the rooms were violently destroyed in attack like an attack seen in Camcorder tape Armsy Breakout.
- Enemies
- Items
- Achievements
![]() Make it Rain - Set off the sprinklers in end game
Make it Rain - Set off the sprinklers in end game
A normal observation room
Mutated bodies fills the room
Sprinkler system

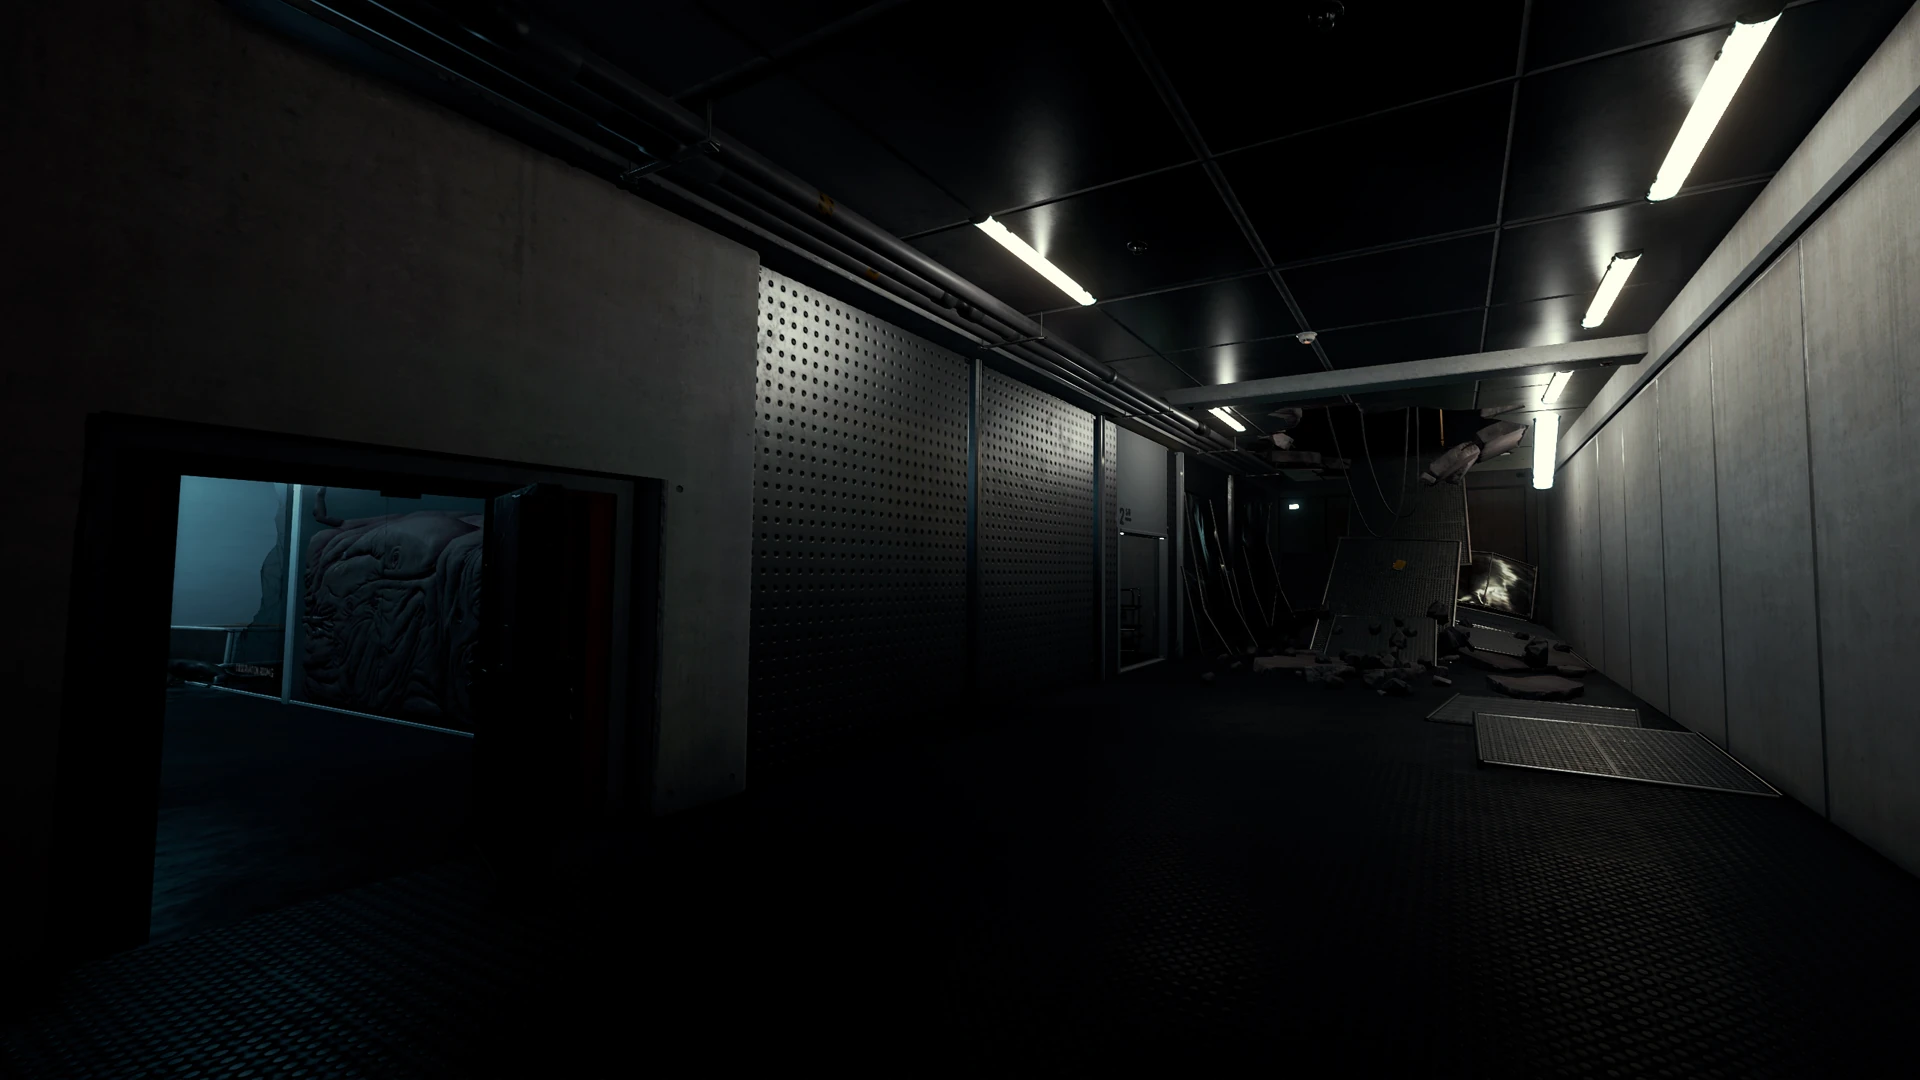
Catwalk[]
This short catwalk connects the Observation rooms with Laboratory Offices. Entry of the catwalk starts from the broken part of the observation access room and leads to the Orientation Room B.
- Items
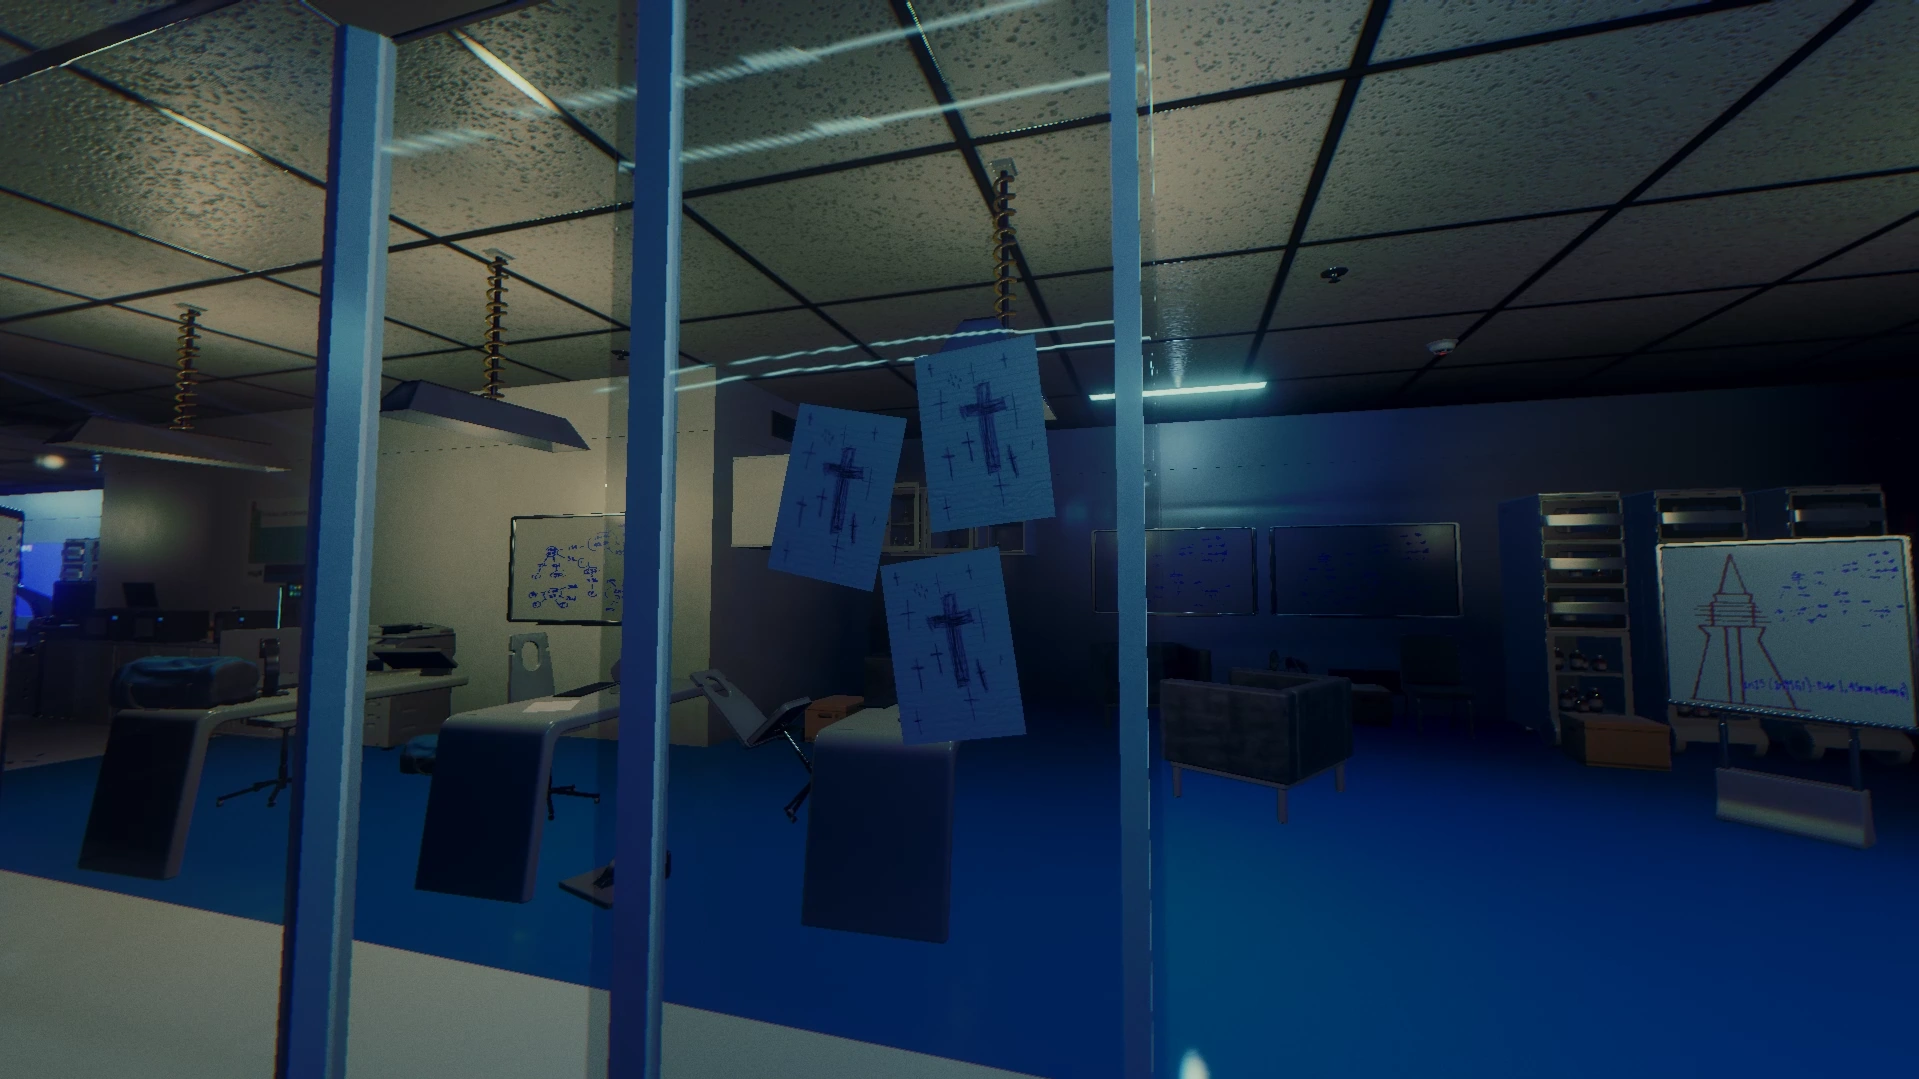
Laboratory Offices[]
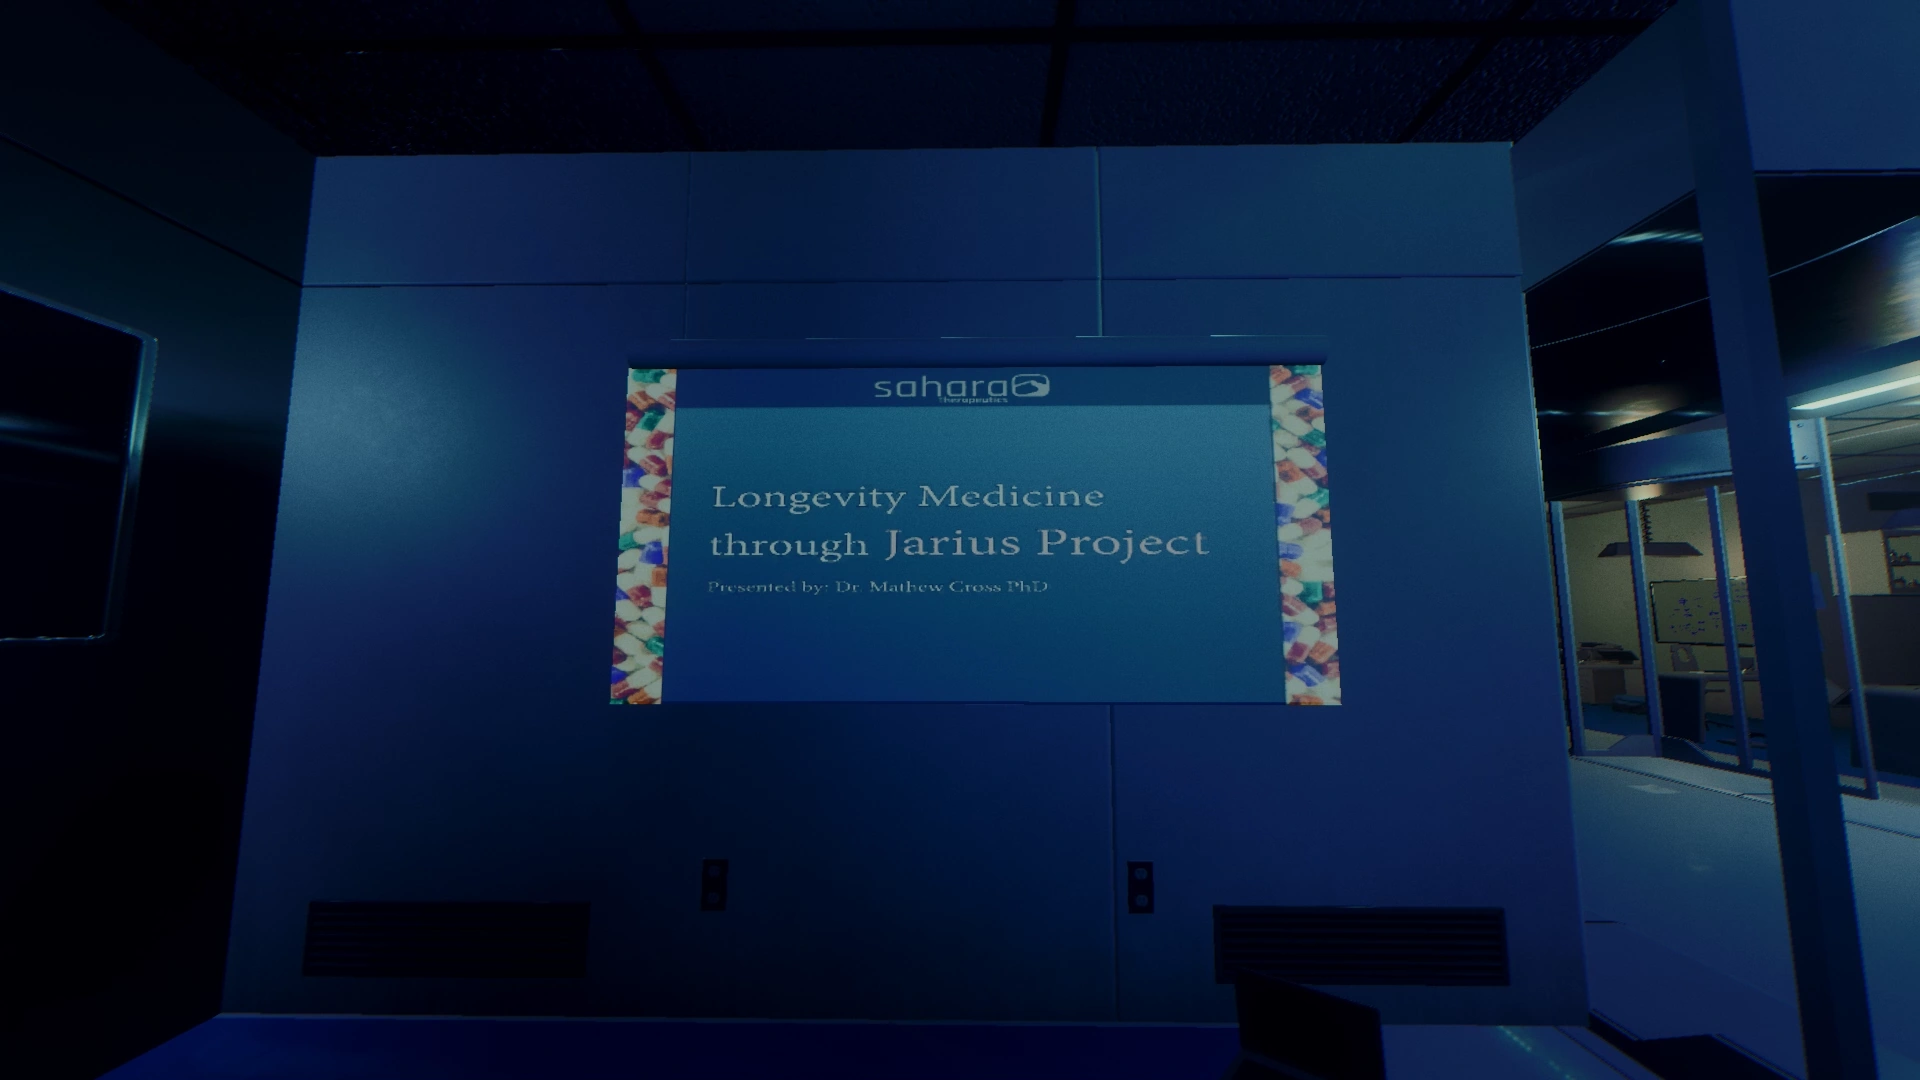
Accessed by dropping down into the Orientation Room B from the catwalk and cannot be exited the same way. Orientation Room B was last used by Dr. Mathew Cross who was presenting his Orientation Slideshow #2 that is still running. As any office, these rooms and furniture were packed with paperwork, scientific and technical objects. Offices and hallway are equipped with sprinkler system.
- Enemies
- Items
|
Crosses can be found all over the place
Hanging scientist
A barricade made by the hanging scientist
Jarius Project slideshow
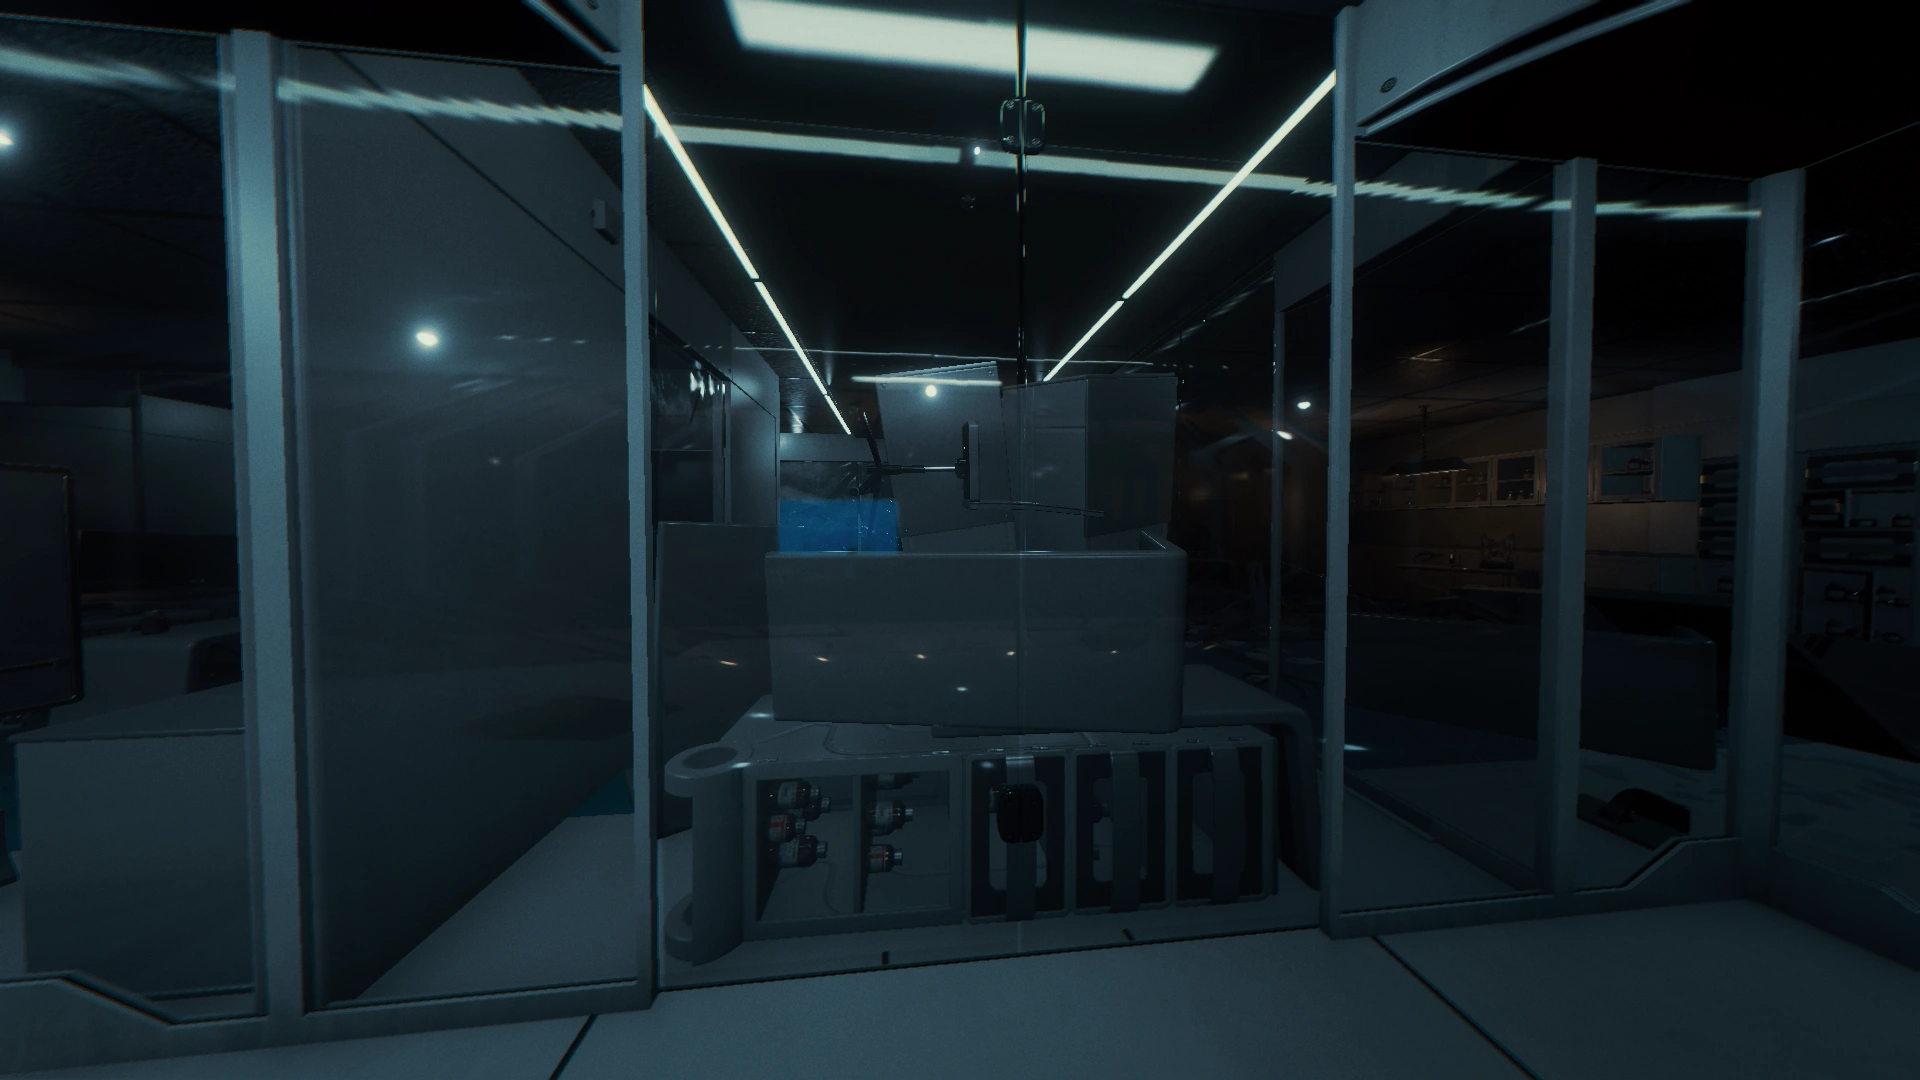
Incubation Rooms[]
Rooms containing infant incubator equipment and scientific paperwork suggest that these rooms were used to incubate and research the mutation process from the beginning before sending subjects to Observation Rooms. Incubation rooms and hallway are equipped with sprinkler system.
- Enemies
- Items
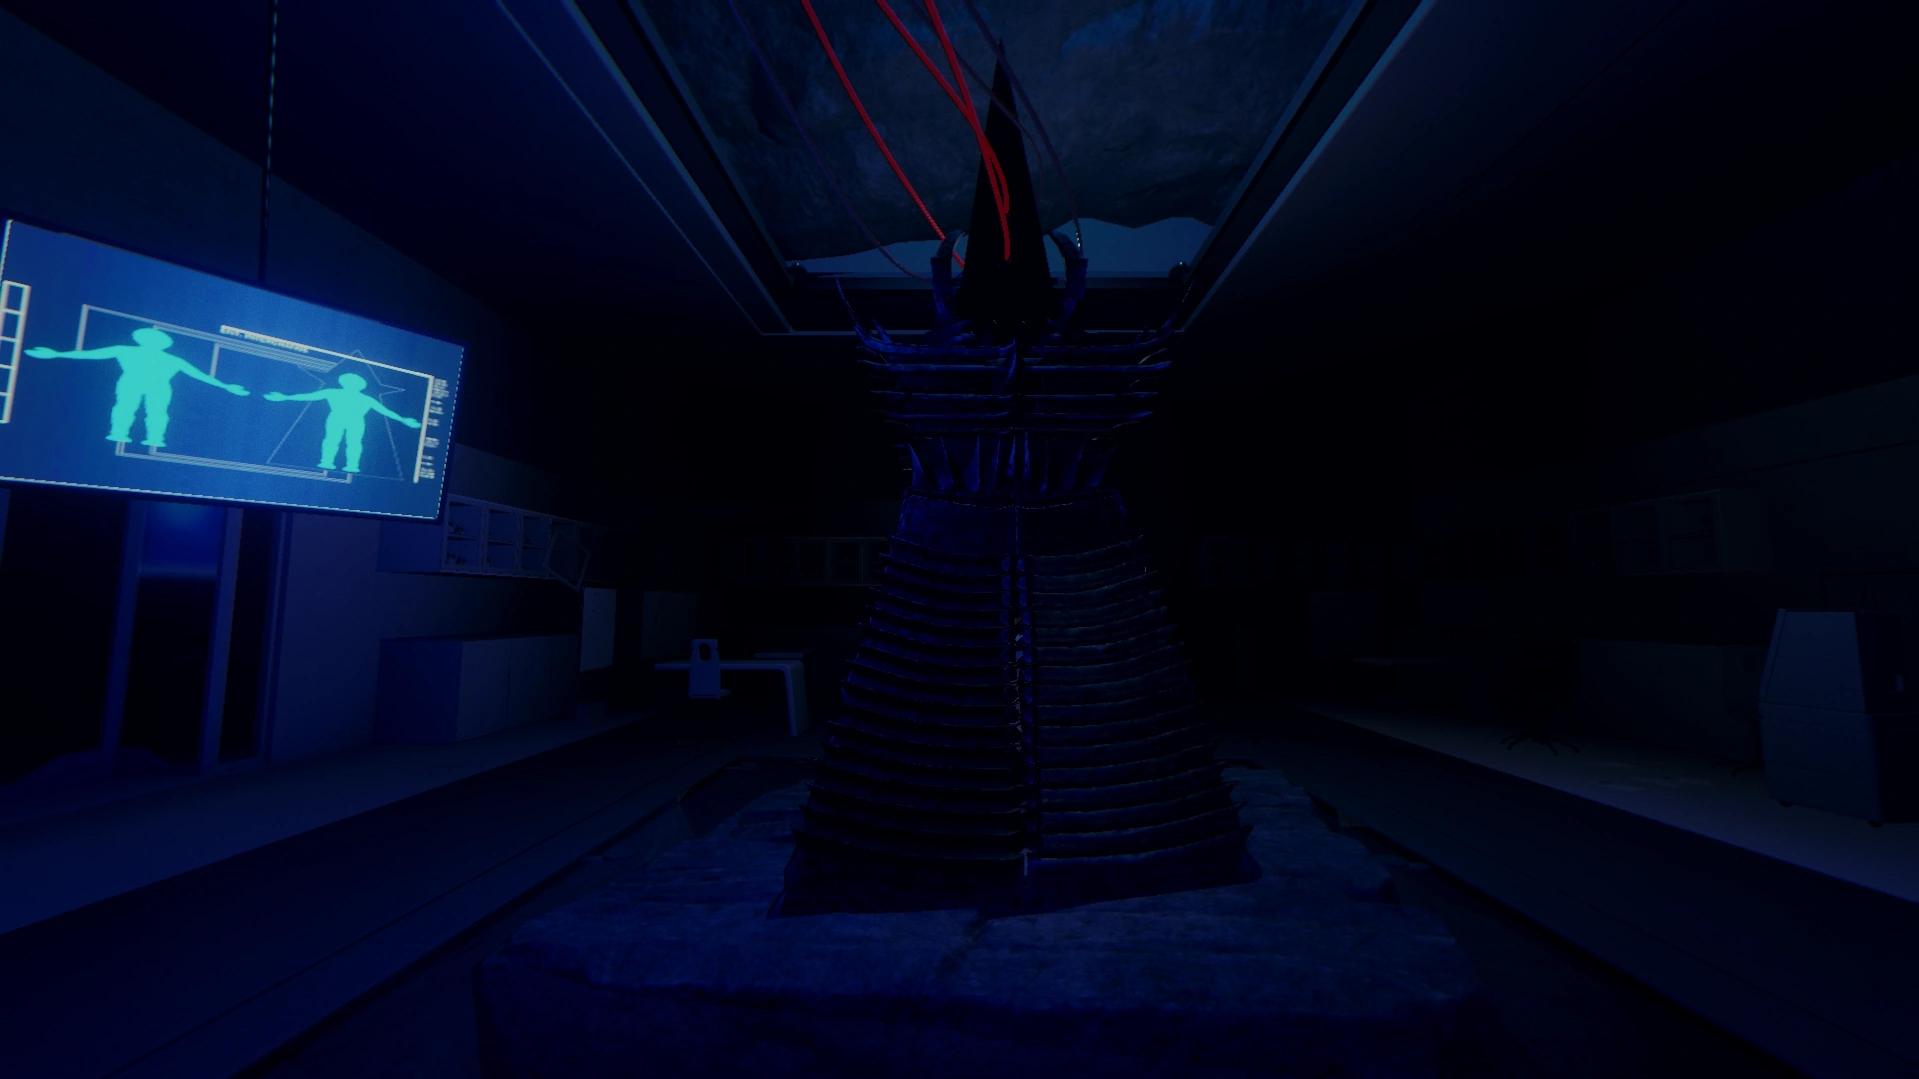
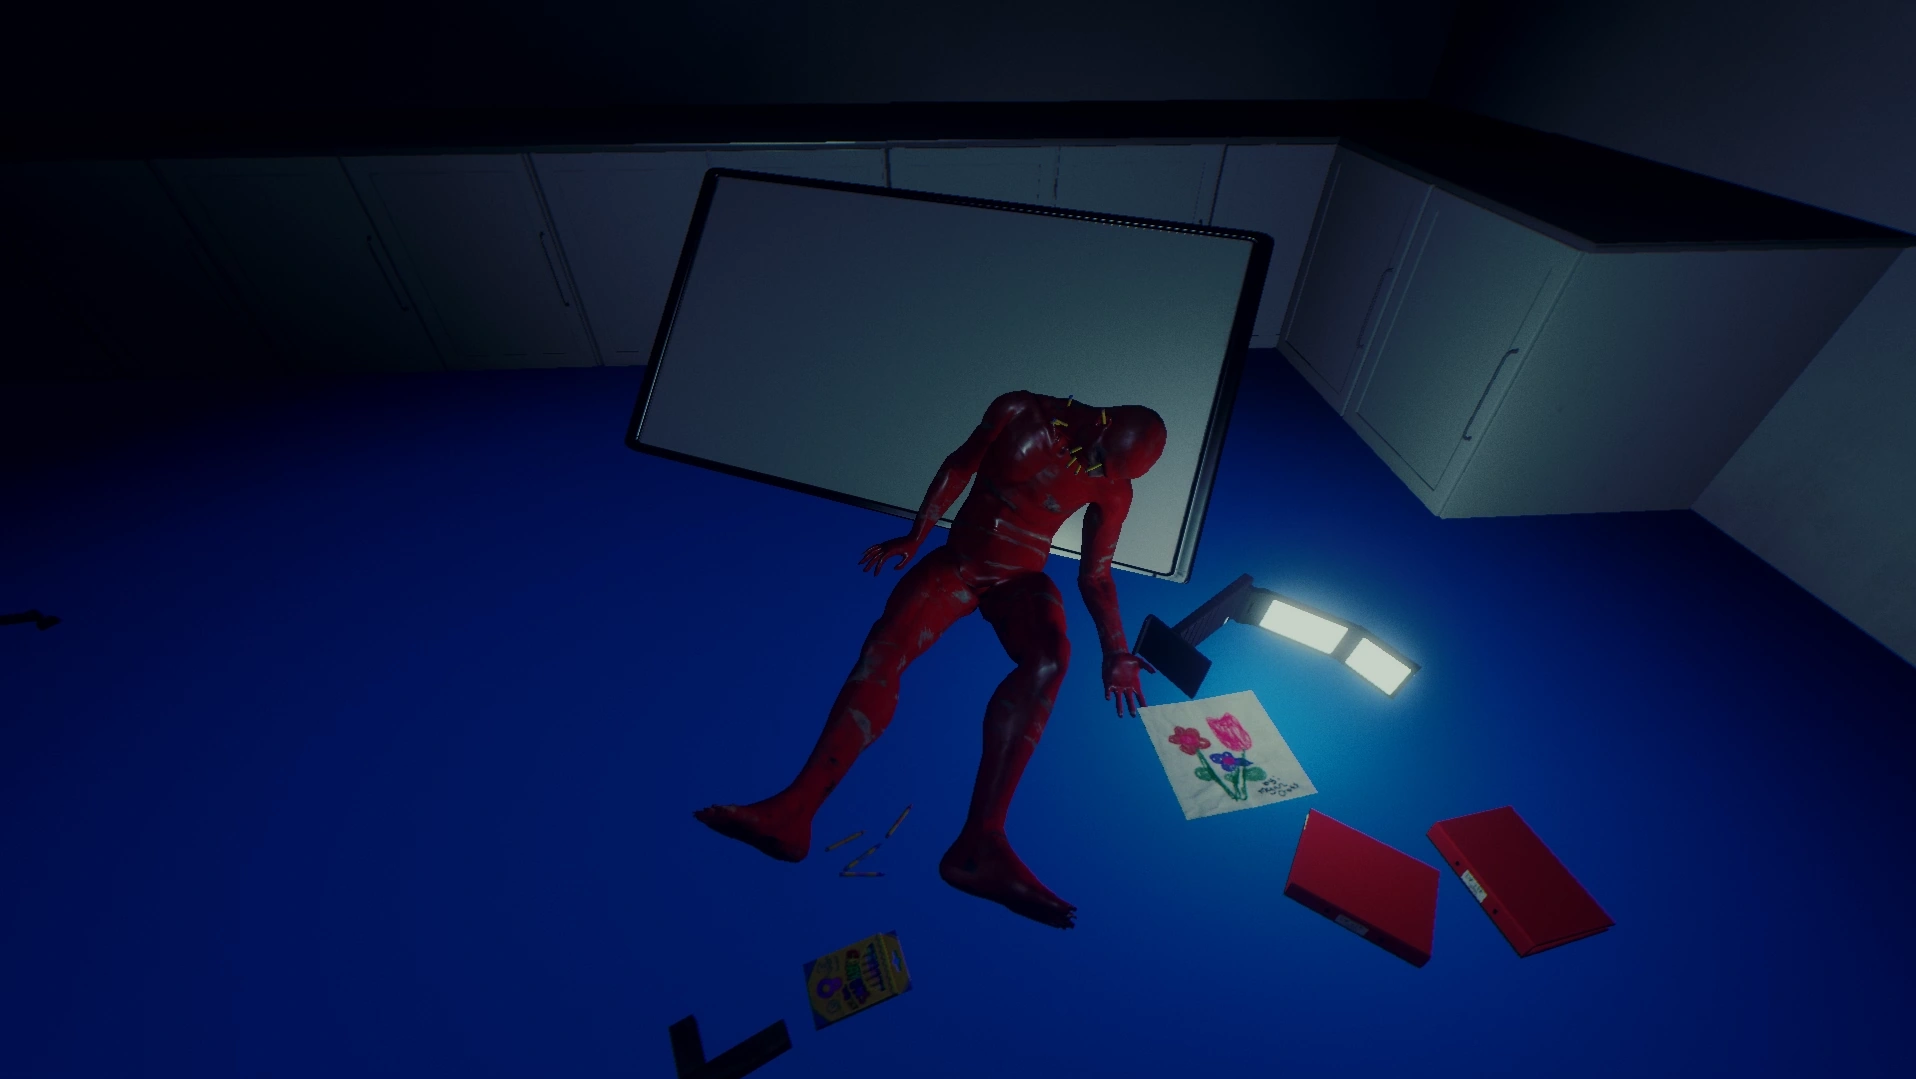
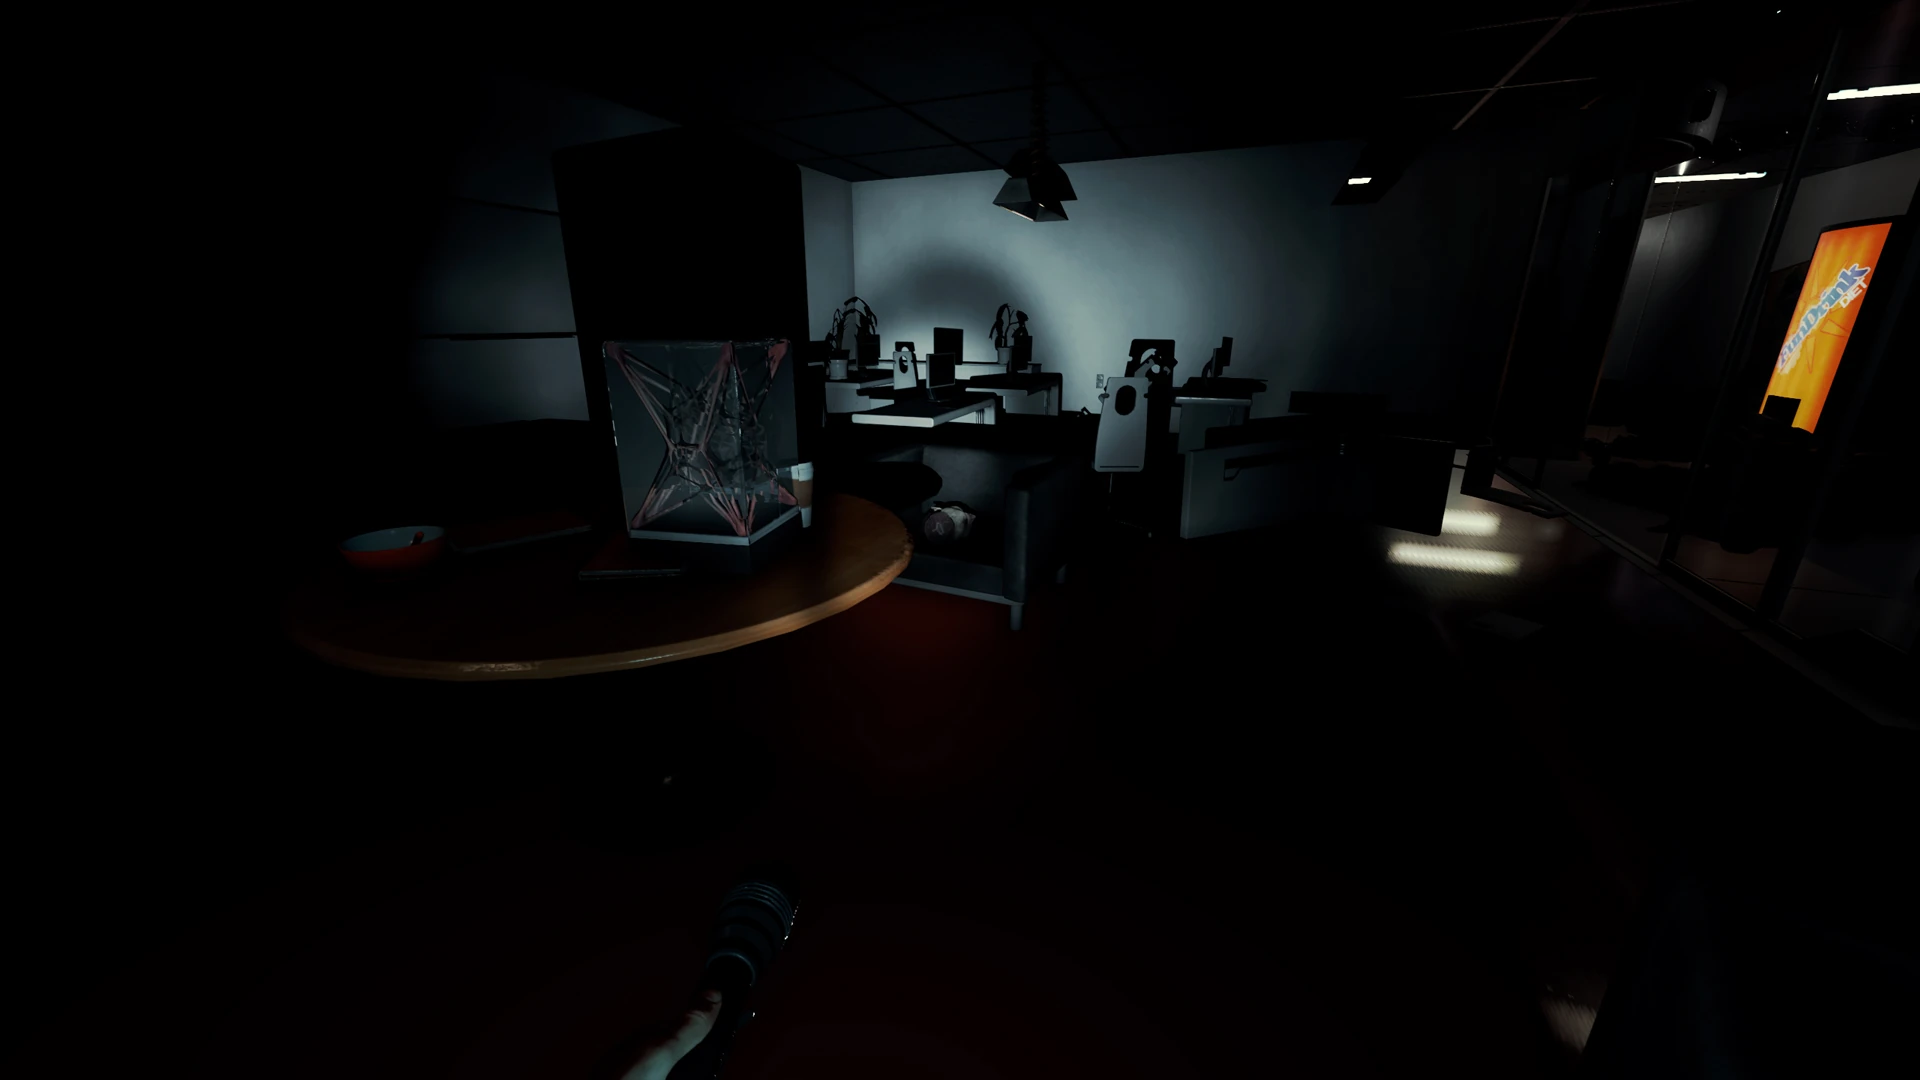
Resurrection Obelisk Room[]
Big room with Resurrection Obelisk and a bed in the middle. Accessed from Incubation rooms and lead to the lounge access hallway and to the hallway requiring Keycard Two. Resurrection Obelisk can be seen in Camcorder tape labeled Opening the artifact. This room is also connected to the smaller incubation room on the right side and small office room on the left side. The room was last used by Dr. Mathew Cross who tried to resurrect his daughter Megan Cross. He can be found dead in the small office room, stabbed to death with crayons by Megan who left bloodied footsteps all the way to the Atrium/Boss Room
- Items
![]() 6 Nitrogen Tanks
6 Nitrogen Tanks
![]() Email - Bring down a plane
Email - Bring down a plane
![]() Camcorder Tape 6
Camcorder Tape 6
Obelisk room
Lounge Access Hallway[]
Hallway can be accessed from Resurrection Obelisk Room after activating Resurrection Obelisk. It has 4 other exits, 3 of which are either closed or blocked, so it only lead into the Lounge Rooms.
- Items

Lounge Rooms[]
There are 2 large lounge rooms, 2 hallways and 1 small utility room. Accessed from Lounge Access Hallway and leads to the Atrium. Great place for a player to stock up with items.
- Enemies
- Items
|
|
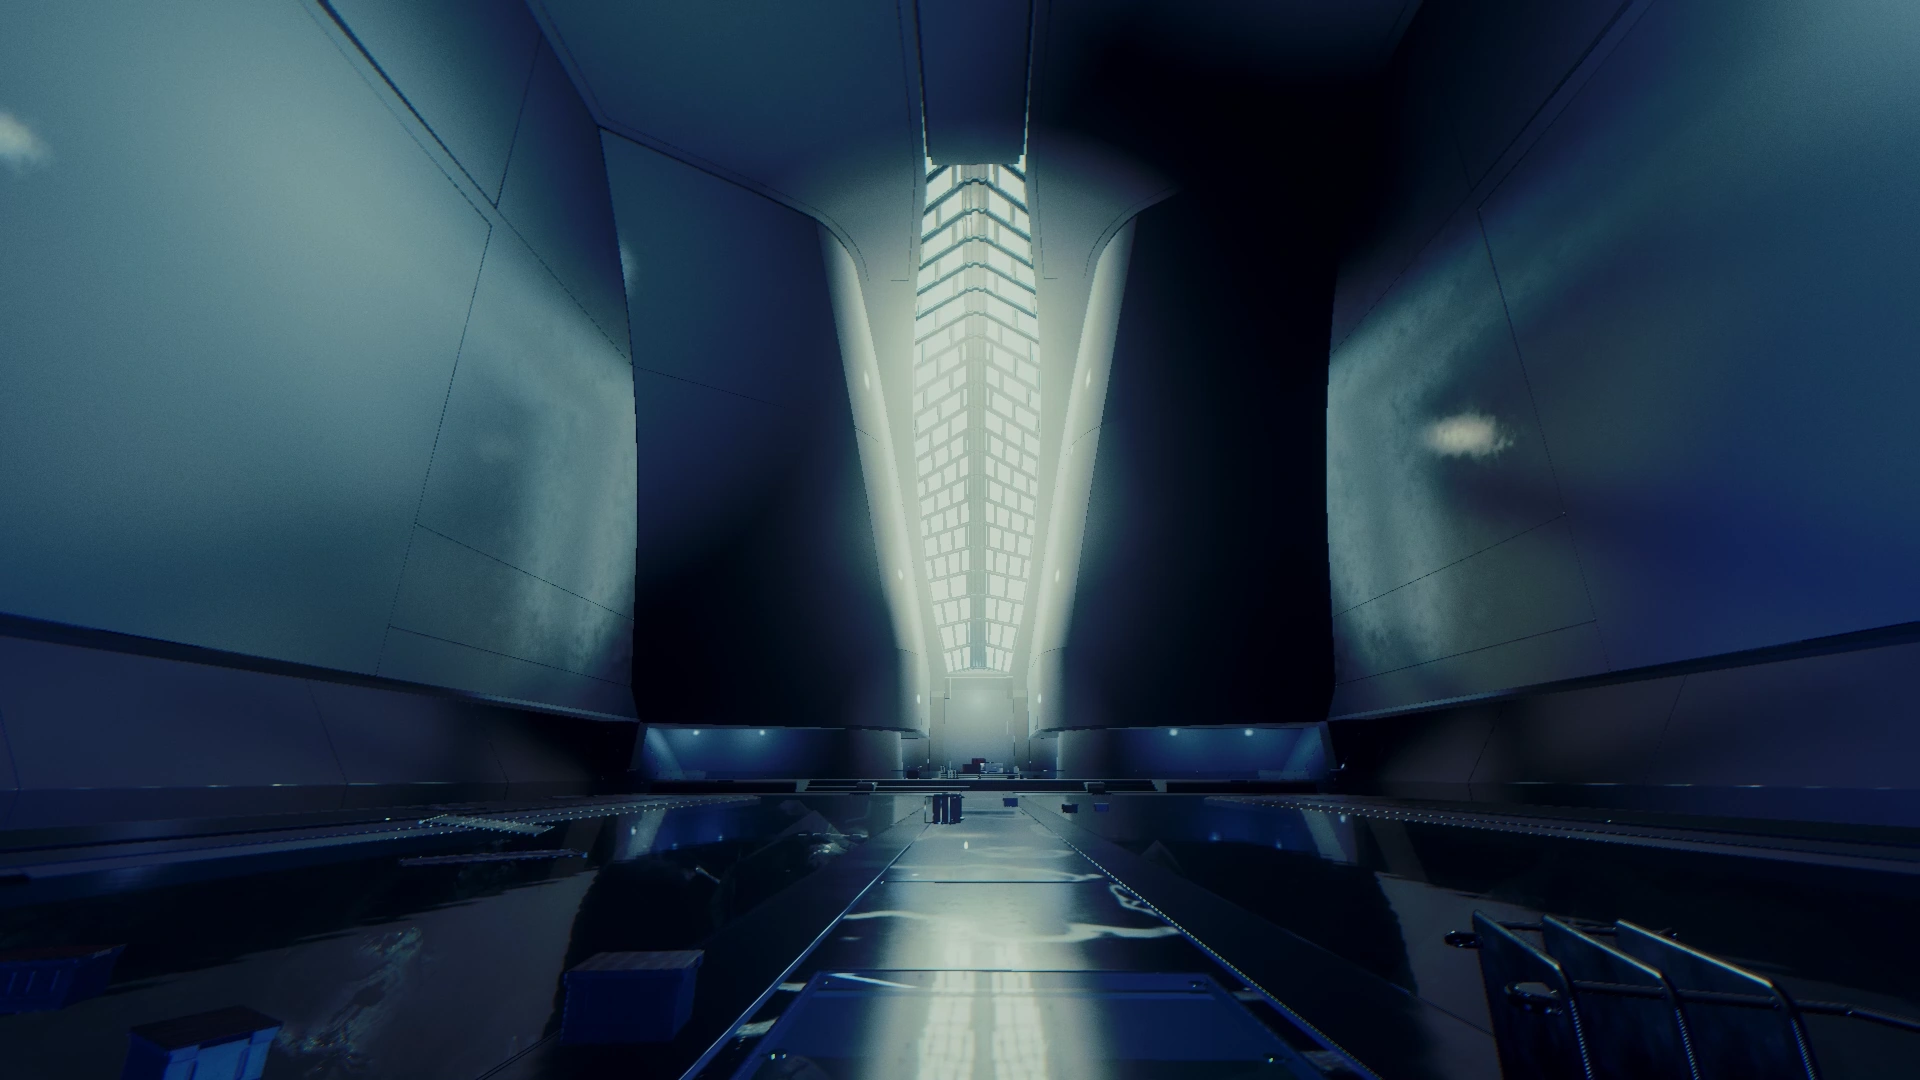
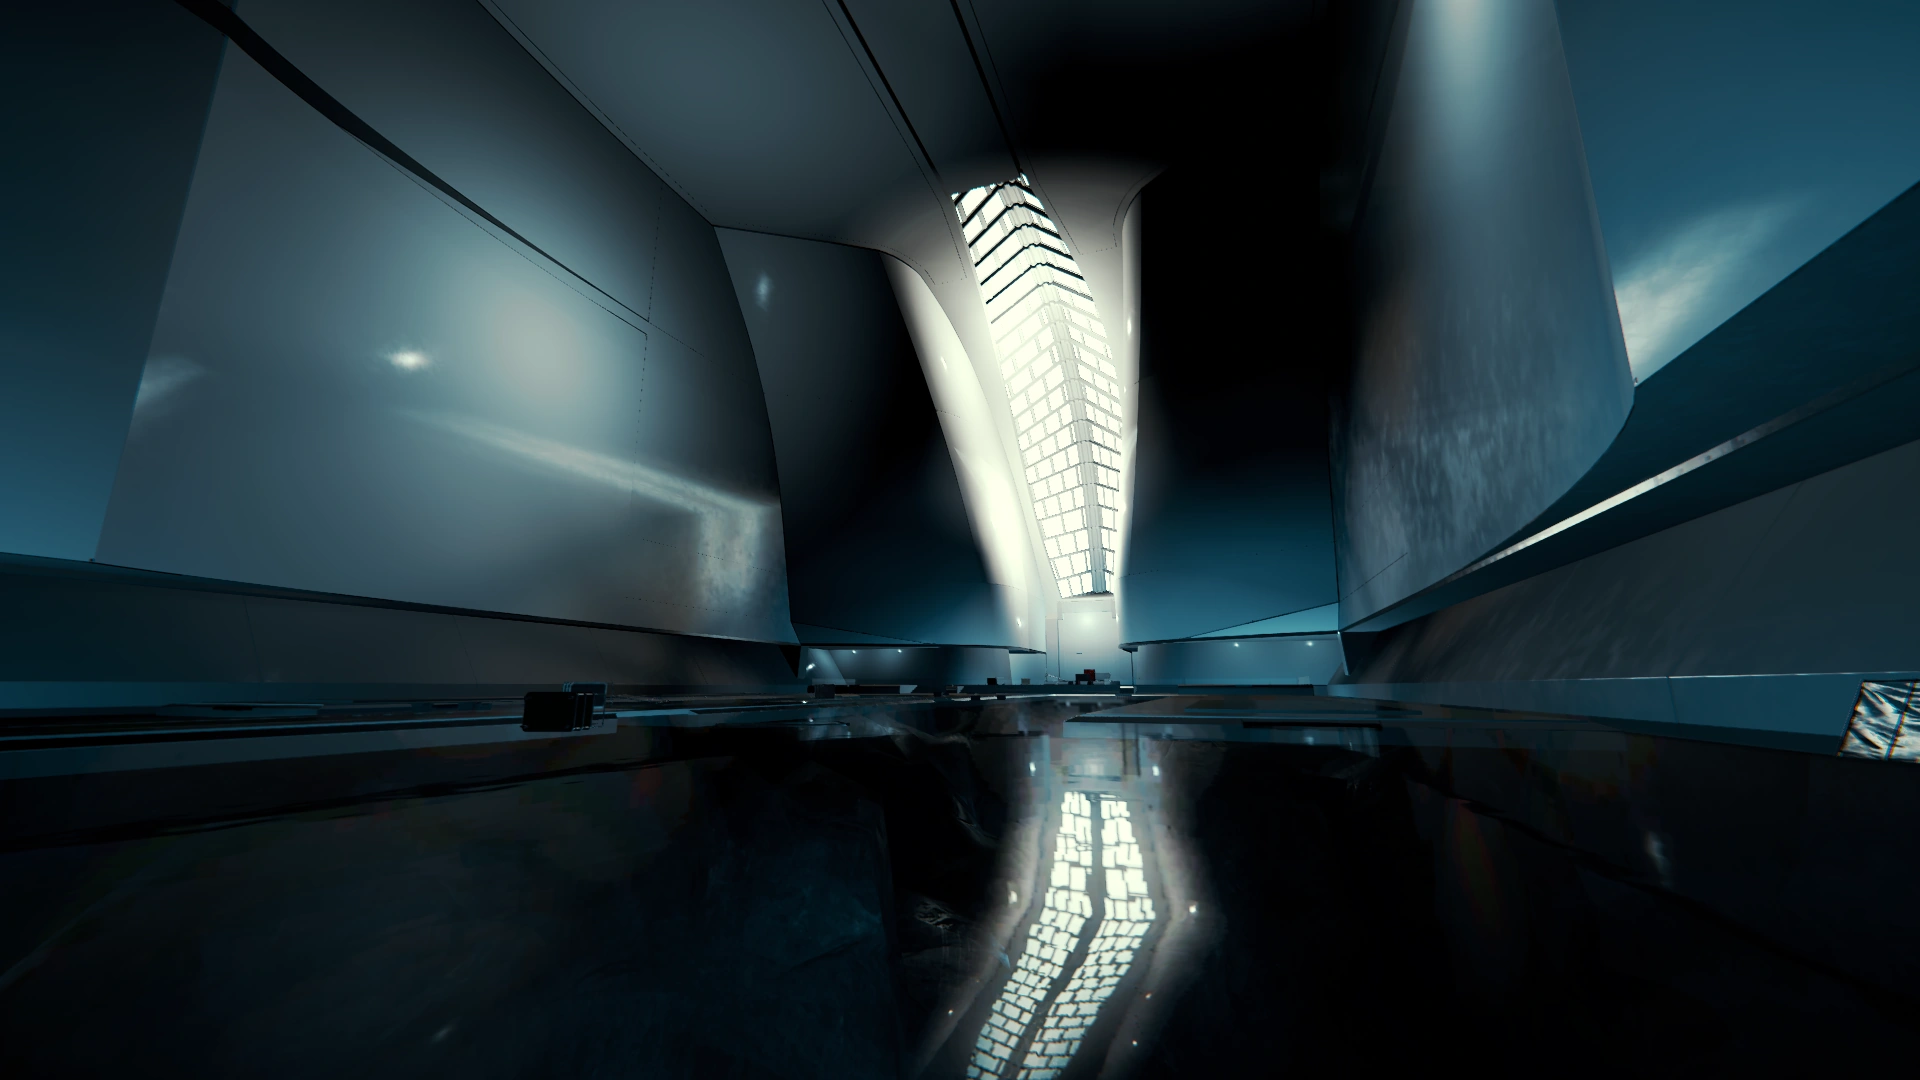
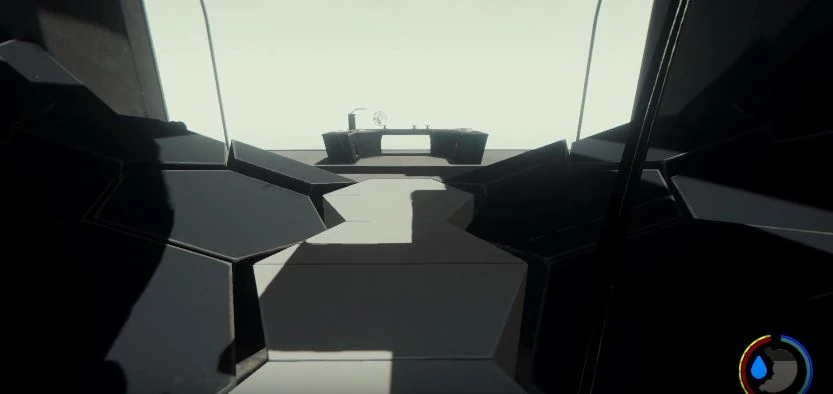
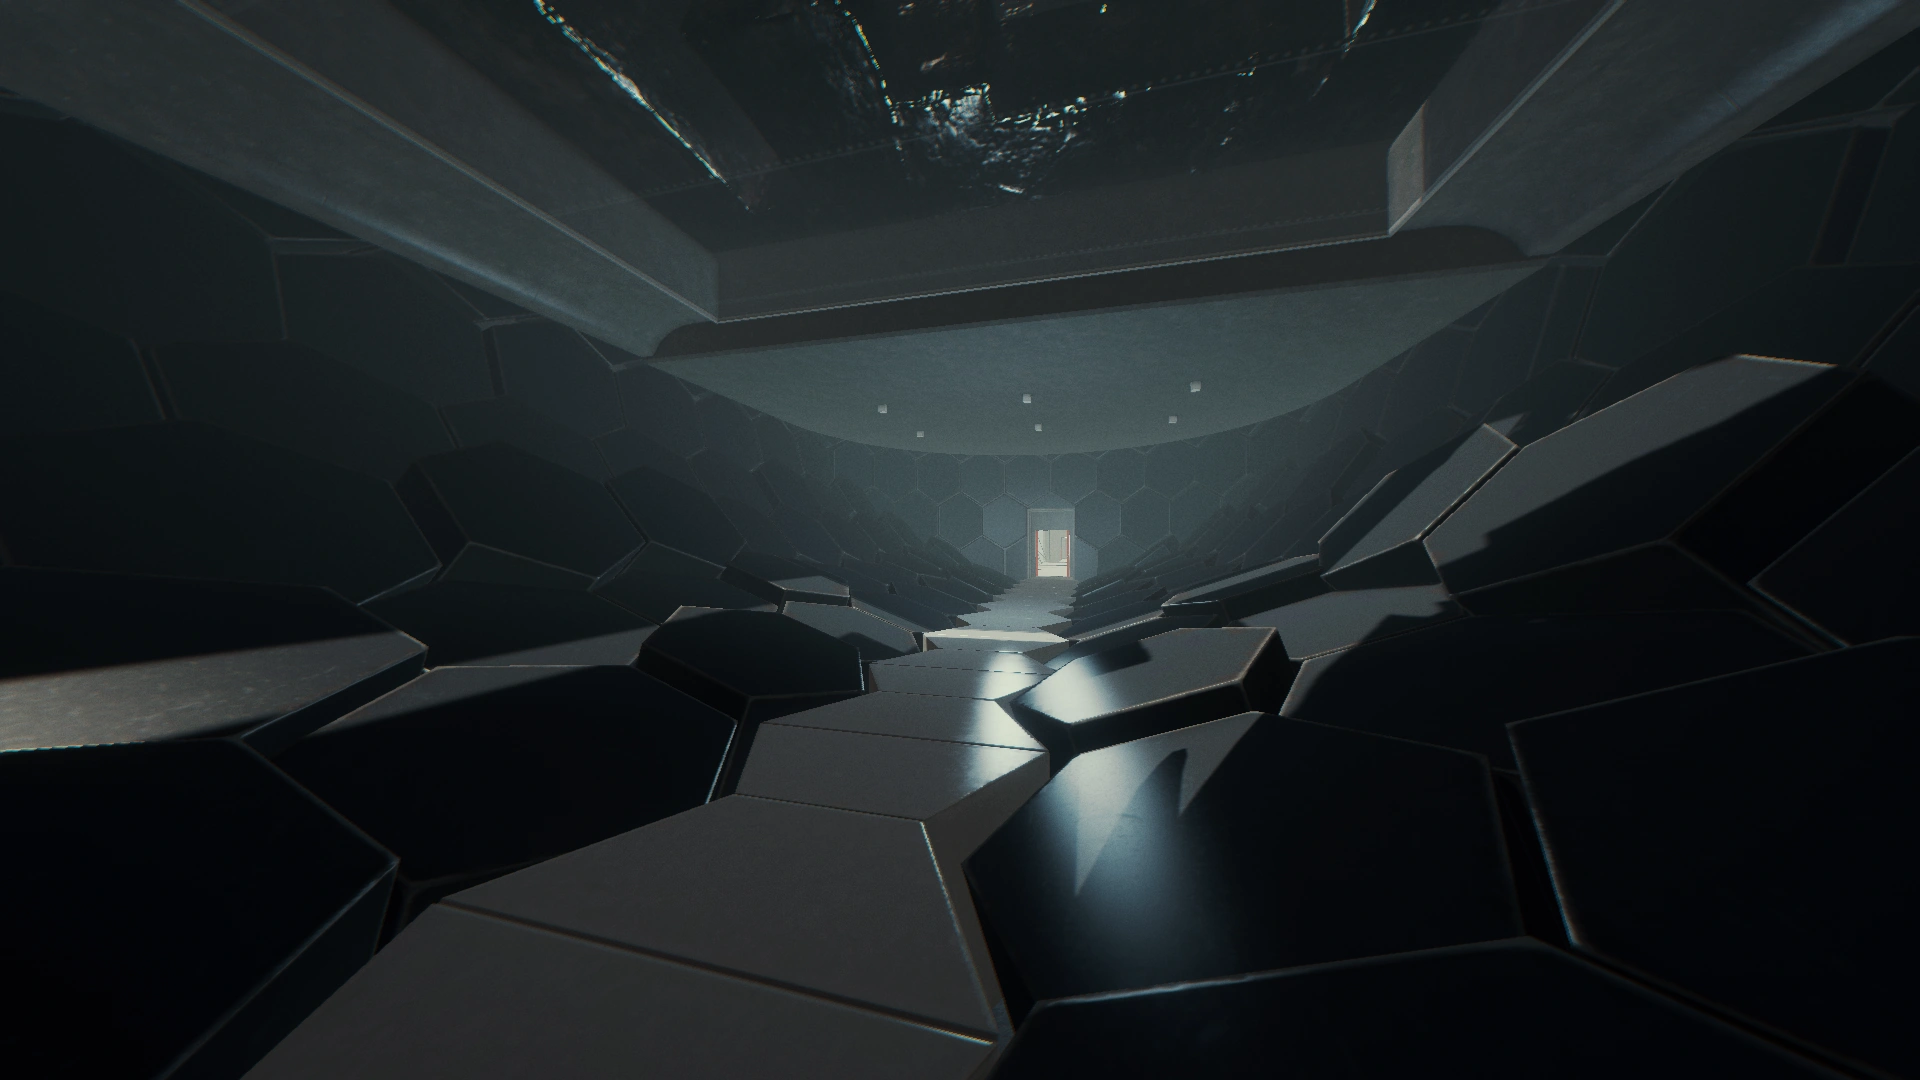
Atrium[]
Atrium or Boss room is by far the biggest room of the Laboratory and was possibly made to observe/train large mutated subjects. It is a room where the player finds Megan Cross who mutates into End Boss.
- Enemies
![]() 1 End Boss, the Obelisk Victim/Megan
1 End Boss, the Obelisk Victim/Megan
- Items
Atrium
The final boss room
Boss room
New Hallway[]
New hallway seems to be built recently because some parts do not have permanent walls yet. It can be accessed from Resurrection Obelisk Room through the door that has a paper with writing "To second artifact". It can only be accessed after acquiring Keycard Two. It leads to the hole in the stone that is connected with Cave Science - Sahara Cave.
- Items

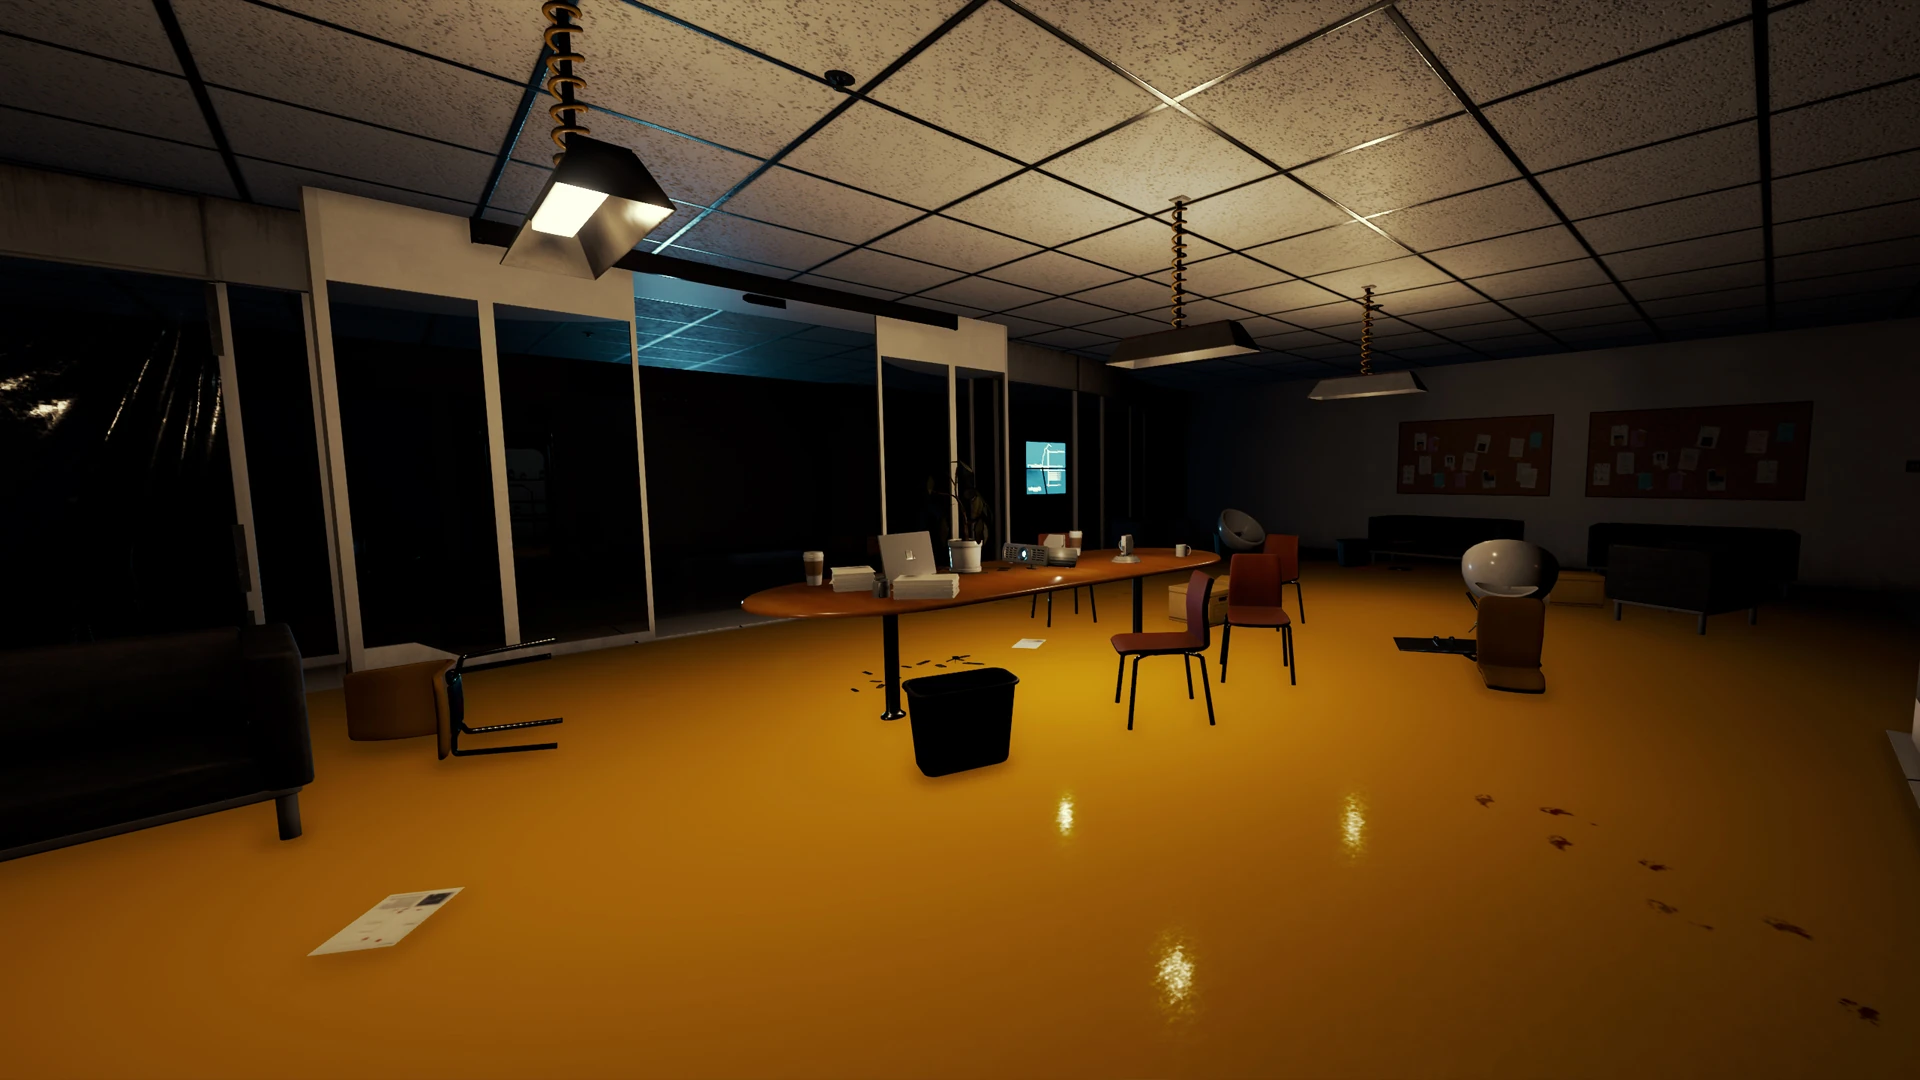
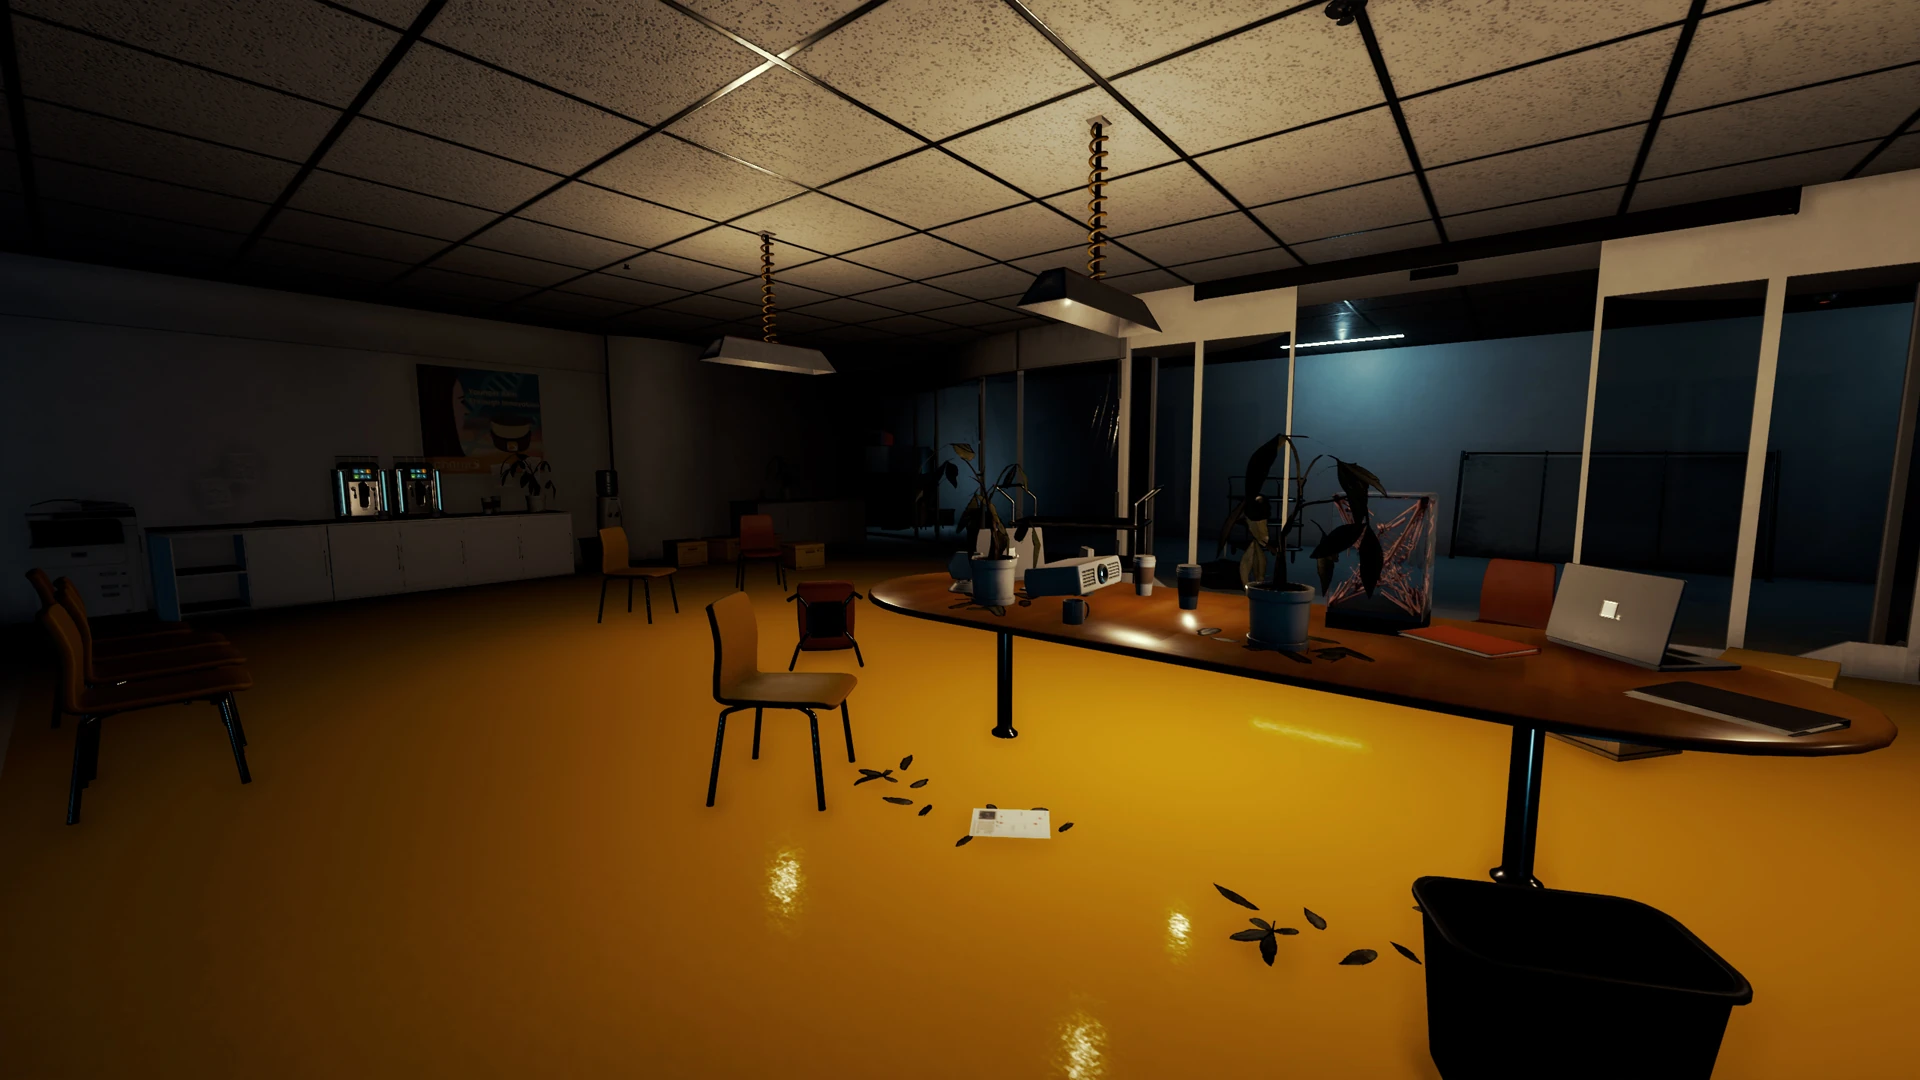
Business Offices[]
Offices and hallway are filled with gore and remainings of violent attack that happened. Accessed from Cave Science - Sahara Cave and goes in the tight passage and hallway that leads to the Elevator.
- Items
![]() 2 Coffee Machines
2 Coffee Machines
![]() 2 Water Coolers
2 Water Coolers
![]() 1 Soda Vending Machines
1 Soda Vending Machines
![]() 2 Flare crates in tight passage
2 Flare crates in tight passage
- Achievement
![]() Gross! - Drink from the water cooler that has the human head inside it
Gross! - Drink from the water cooler that has the human head inside it
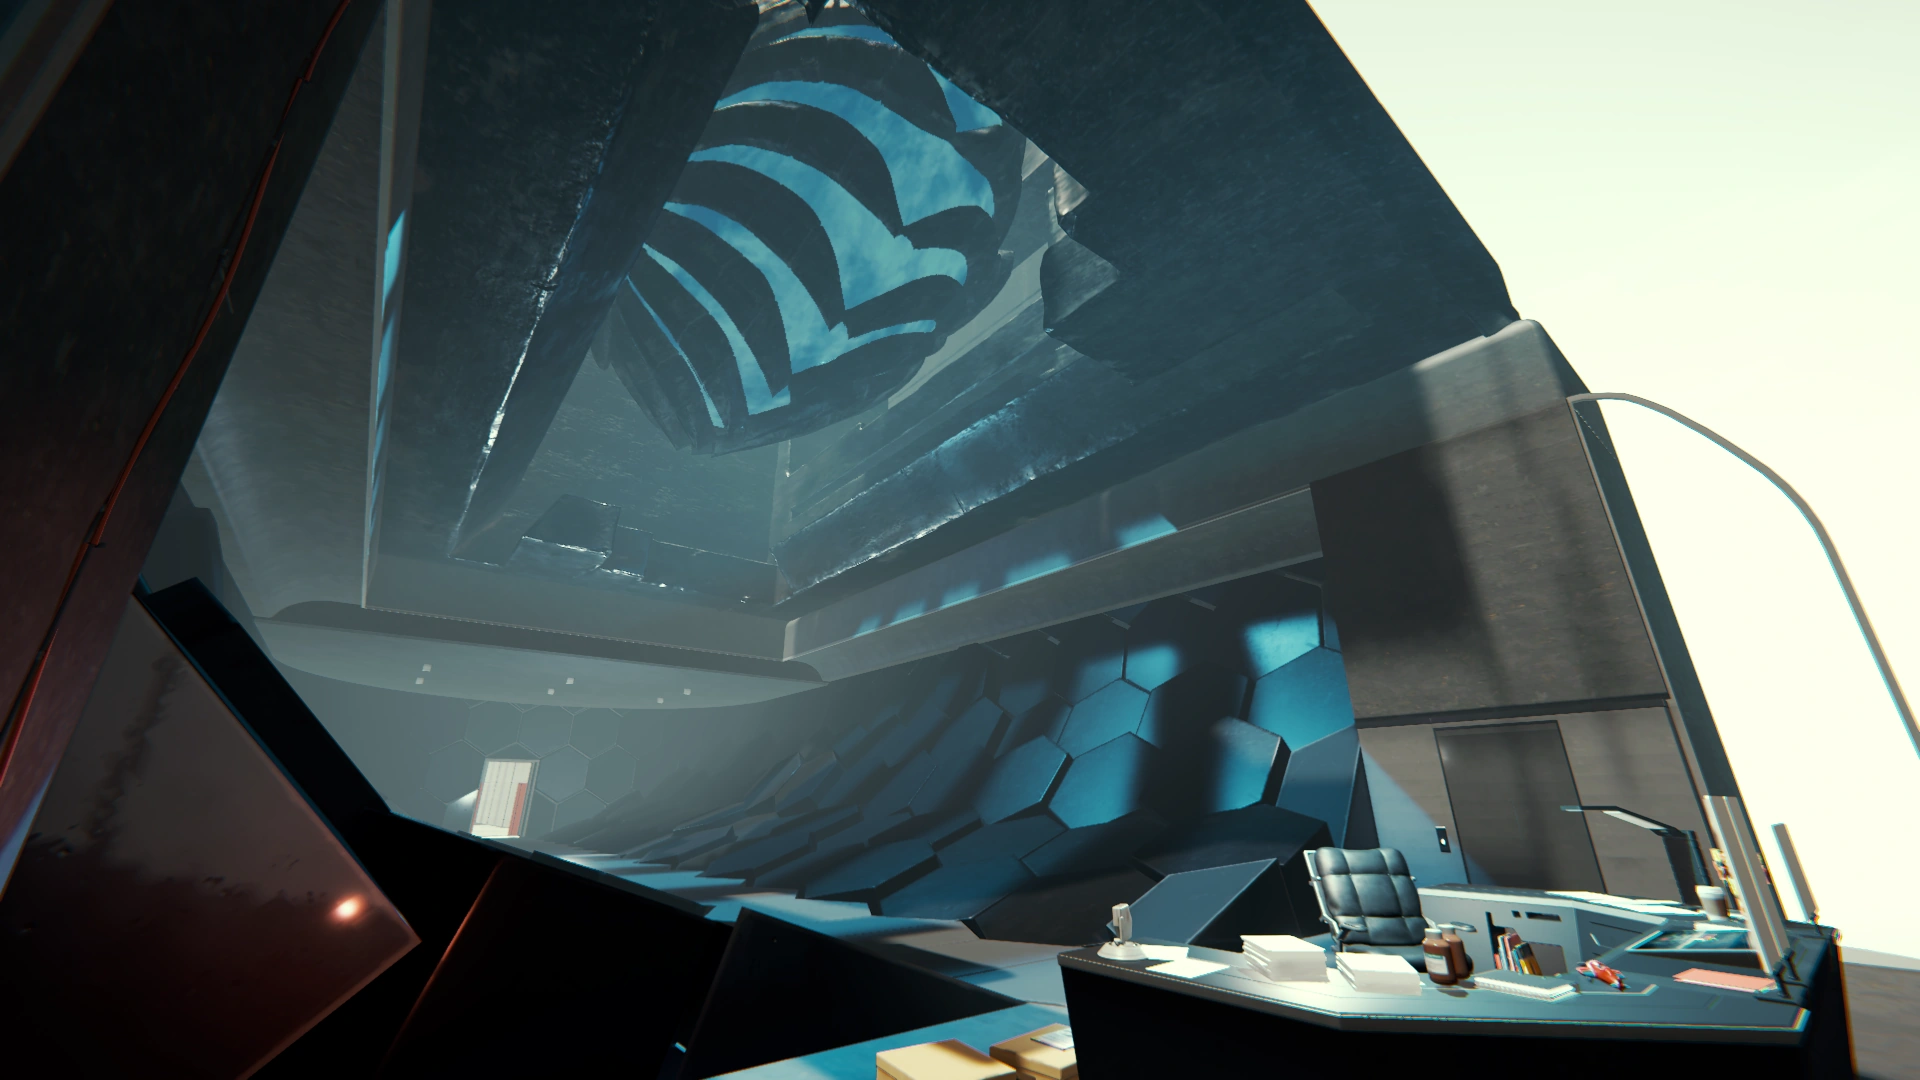
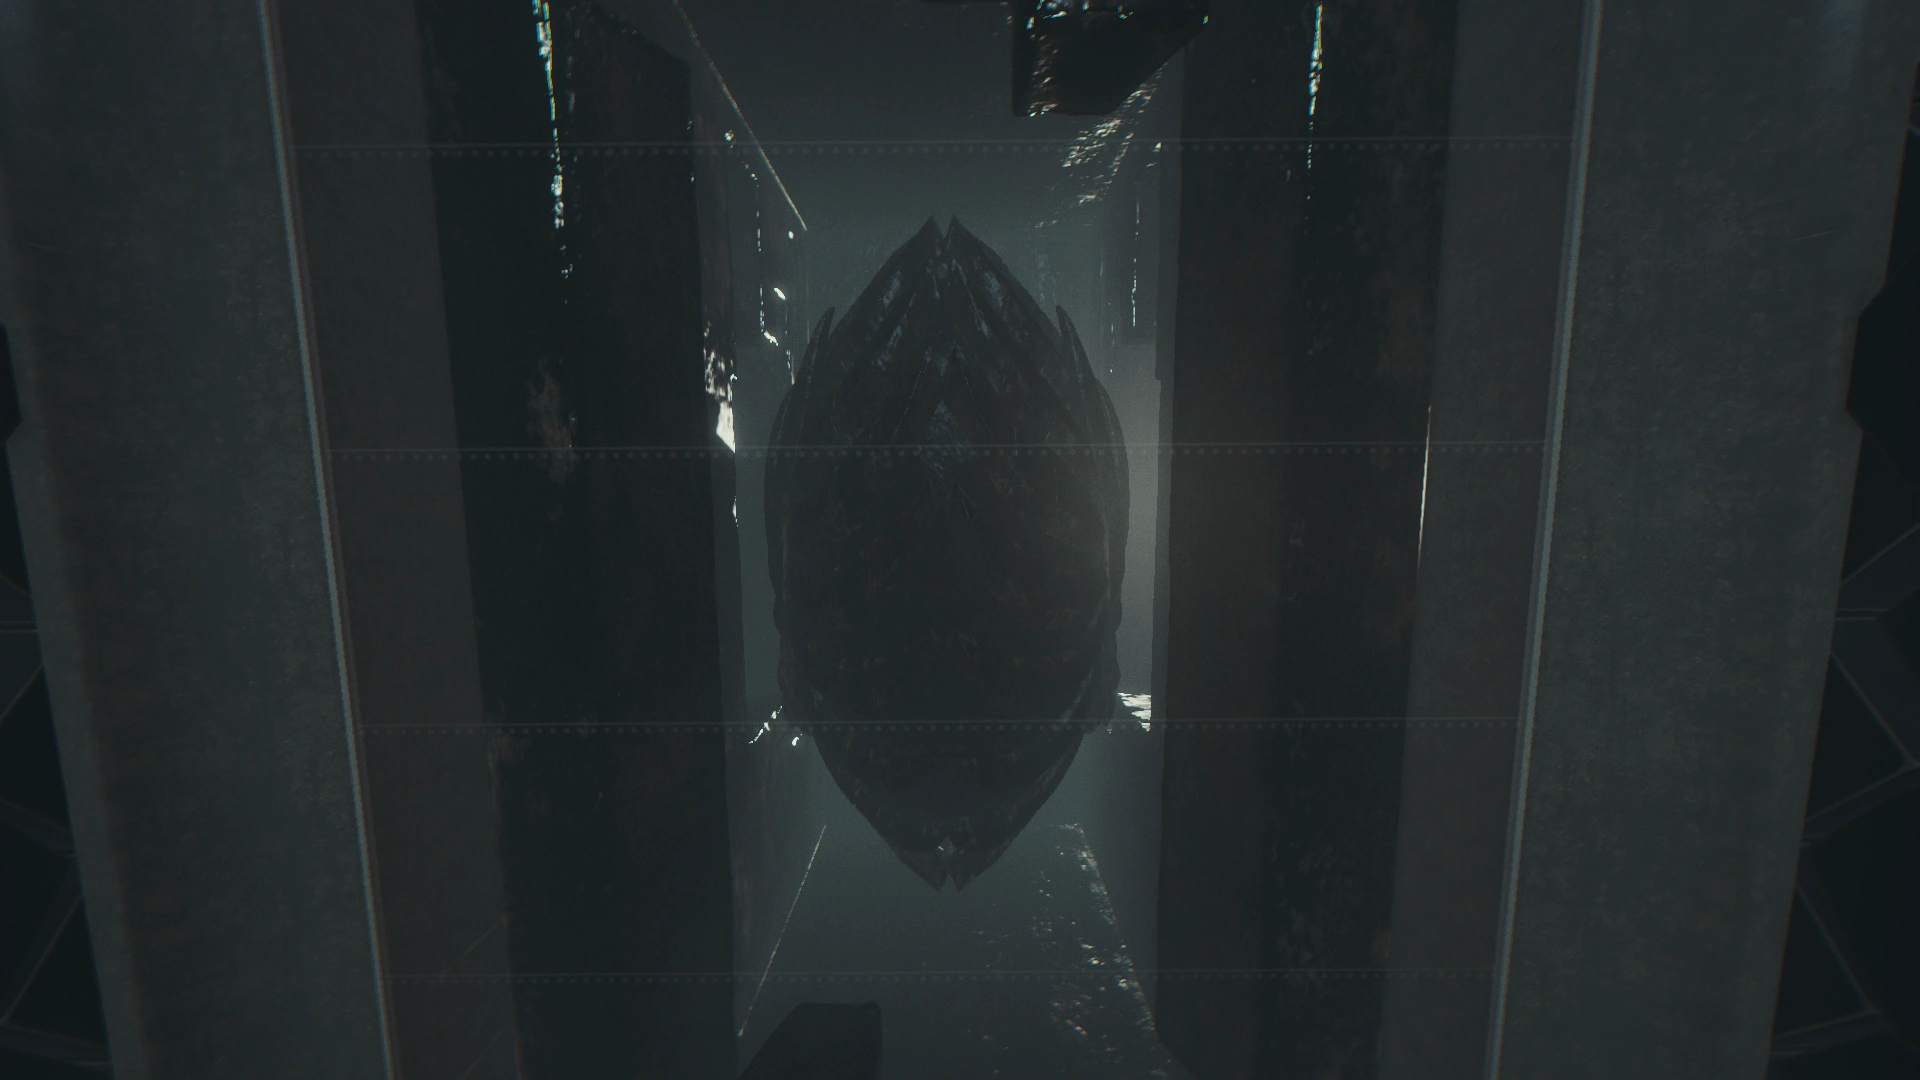
Observatory[]
Observatory can be only accessed with the Elevator and cannot be exited the same way. The main control table contains coordinated of the Second Plane which can be shot down by activating the Power Obelisk. The Observatory was used to study the effect of obelisks EMP to the residents of The Peninsula. There is other elevator that leads to the Artifact Cave.
The observatory
The Obelisk in view
Trivia[]
- If the player shoots the Armsy in the lab with a flaming arrow or flare gun, a sprinkler system will activate, removing the burning effect from the Armsy.
Update History[]
| Version | Changes |
|---|---|
| v1.0 | Fixed lock icon when placing body in a part of endgame |