The Notes page in the survival guide is a section in which some things like the magazine in the cockpit are placed for closer examination. These items help understand the story of what happened on the peninsula better. They are ordered by where they can be found.
Contents[]
| Article | Location | Console Command | Description | Picture |
|---|---|---|---|---|
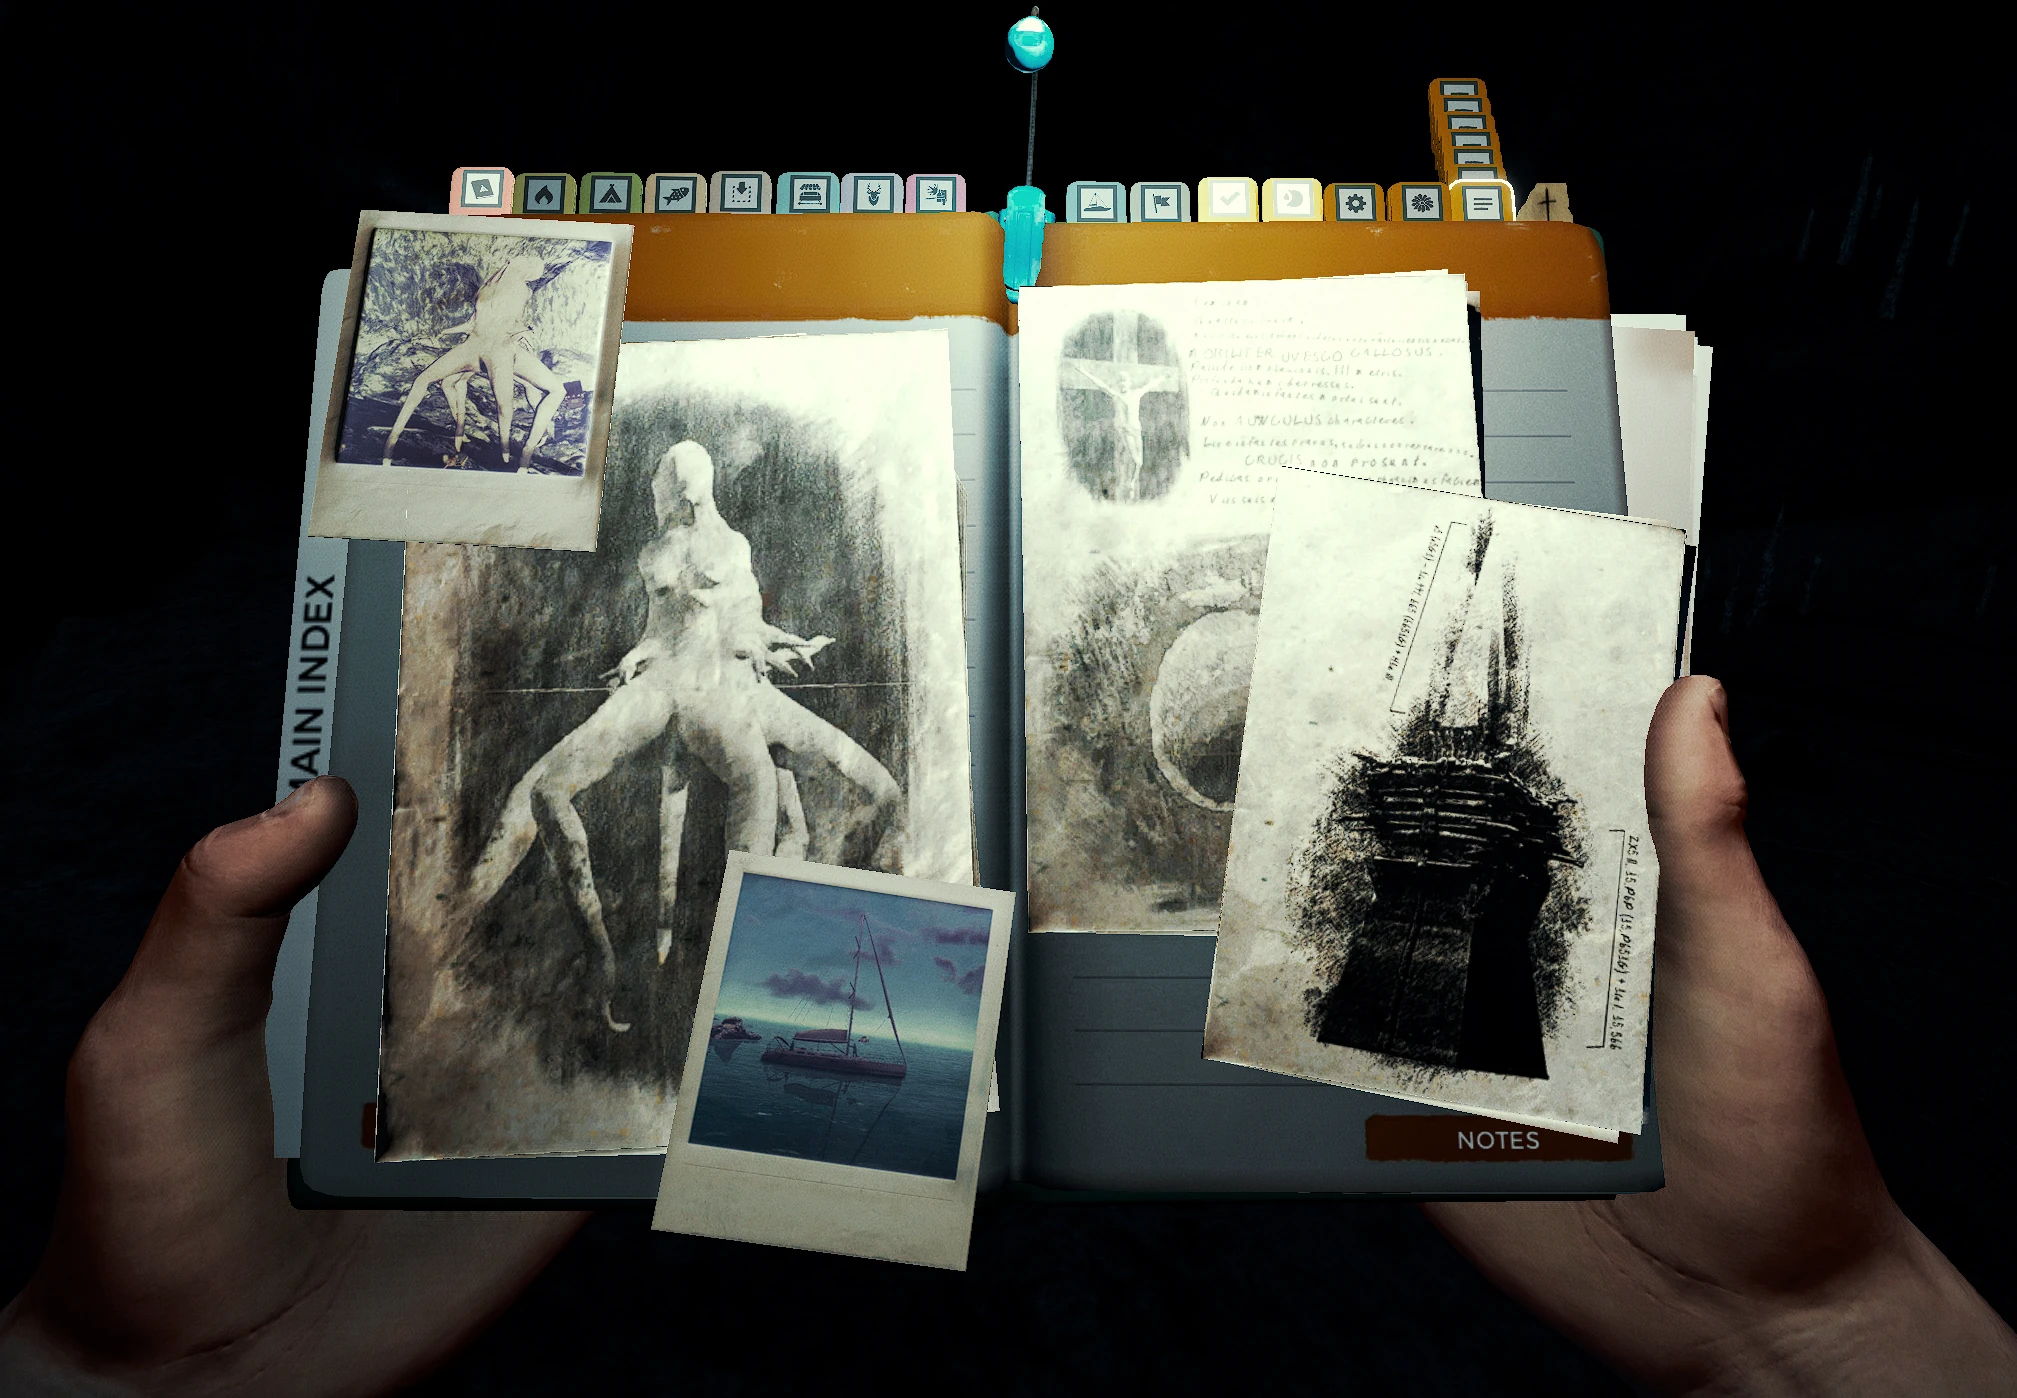
| Photo of Virginia | additem 153 | A picture of Virginia, which was probably taken by the people that got to the island with the yacht. | 
| |
| Virginia Sketch | additem 155 | A detailed drawing of a Virginia, presumably authored by the Christian Missionaries. It is drawn in the same style as the Latin Paper. | 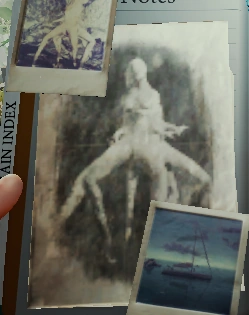
| |
| Yacht Photo | additem 152 | A picture of the yacht, most likely taken by the yacht inhabitants themselves. Below the picture a date is noted: June '82. This suggests that the people from the yacht were on the island on a holiday in 1982. Another copy can be found on the mountainside grave. | 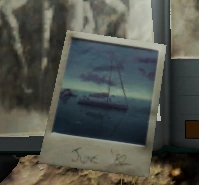
| |
| Latin Paper | additem 154 | A drawing that features a crucifix and the sinkhole. Presumably authored by the Christian Missionaries. It is drawn in the same style as the Virginia Sketch. | 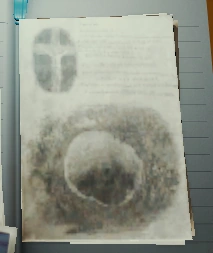
| |
| Obelisk Sketch | additem 216 | A very detailed drawing of the Resurrection Obelisk, most likely drawn by a Sahara employee. Not to be confused with the non-collectible Obelisk Drawings. | 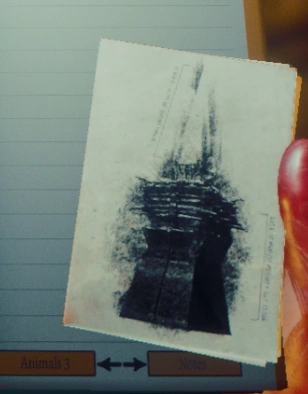
| |
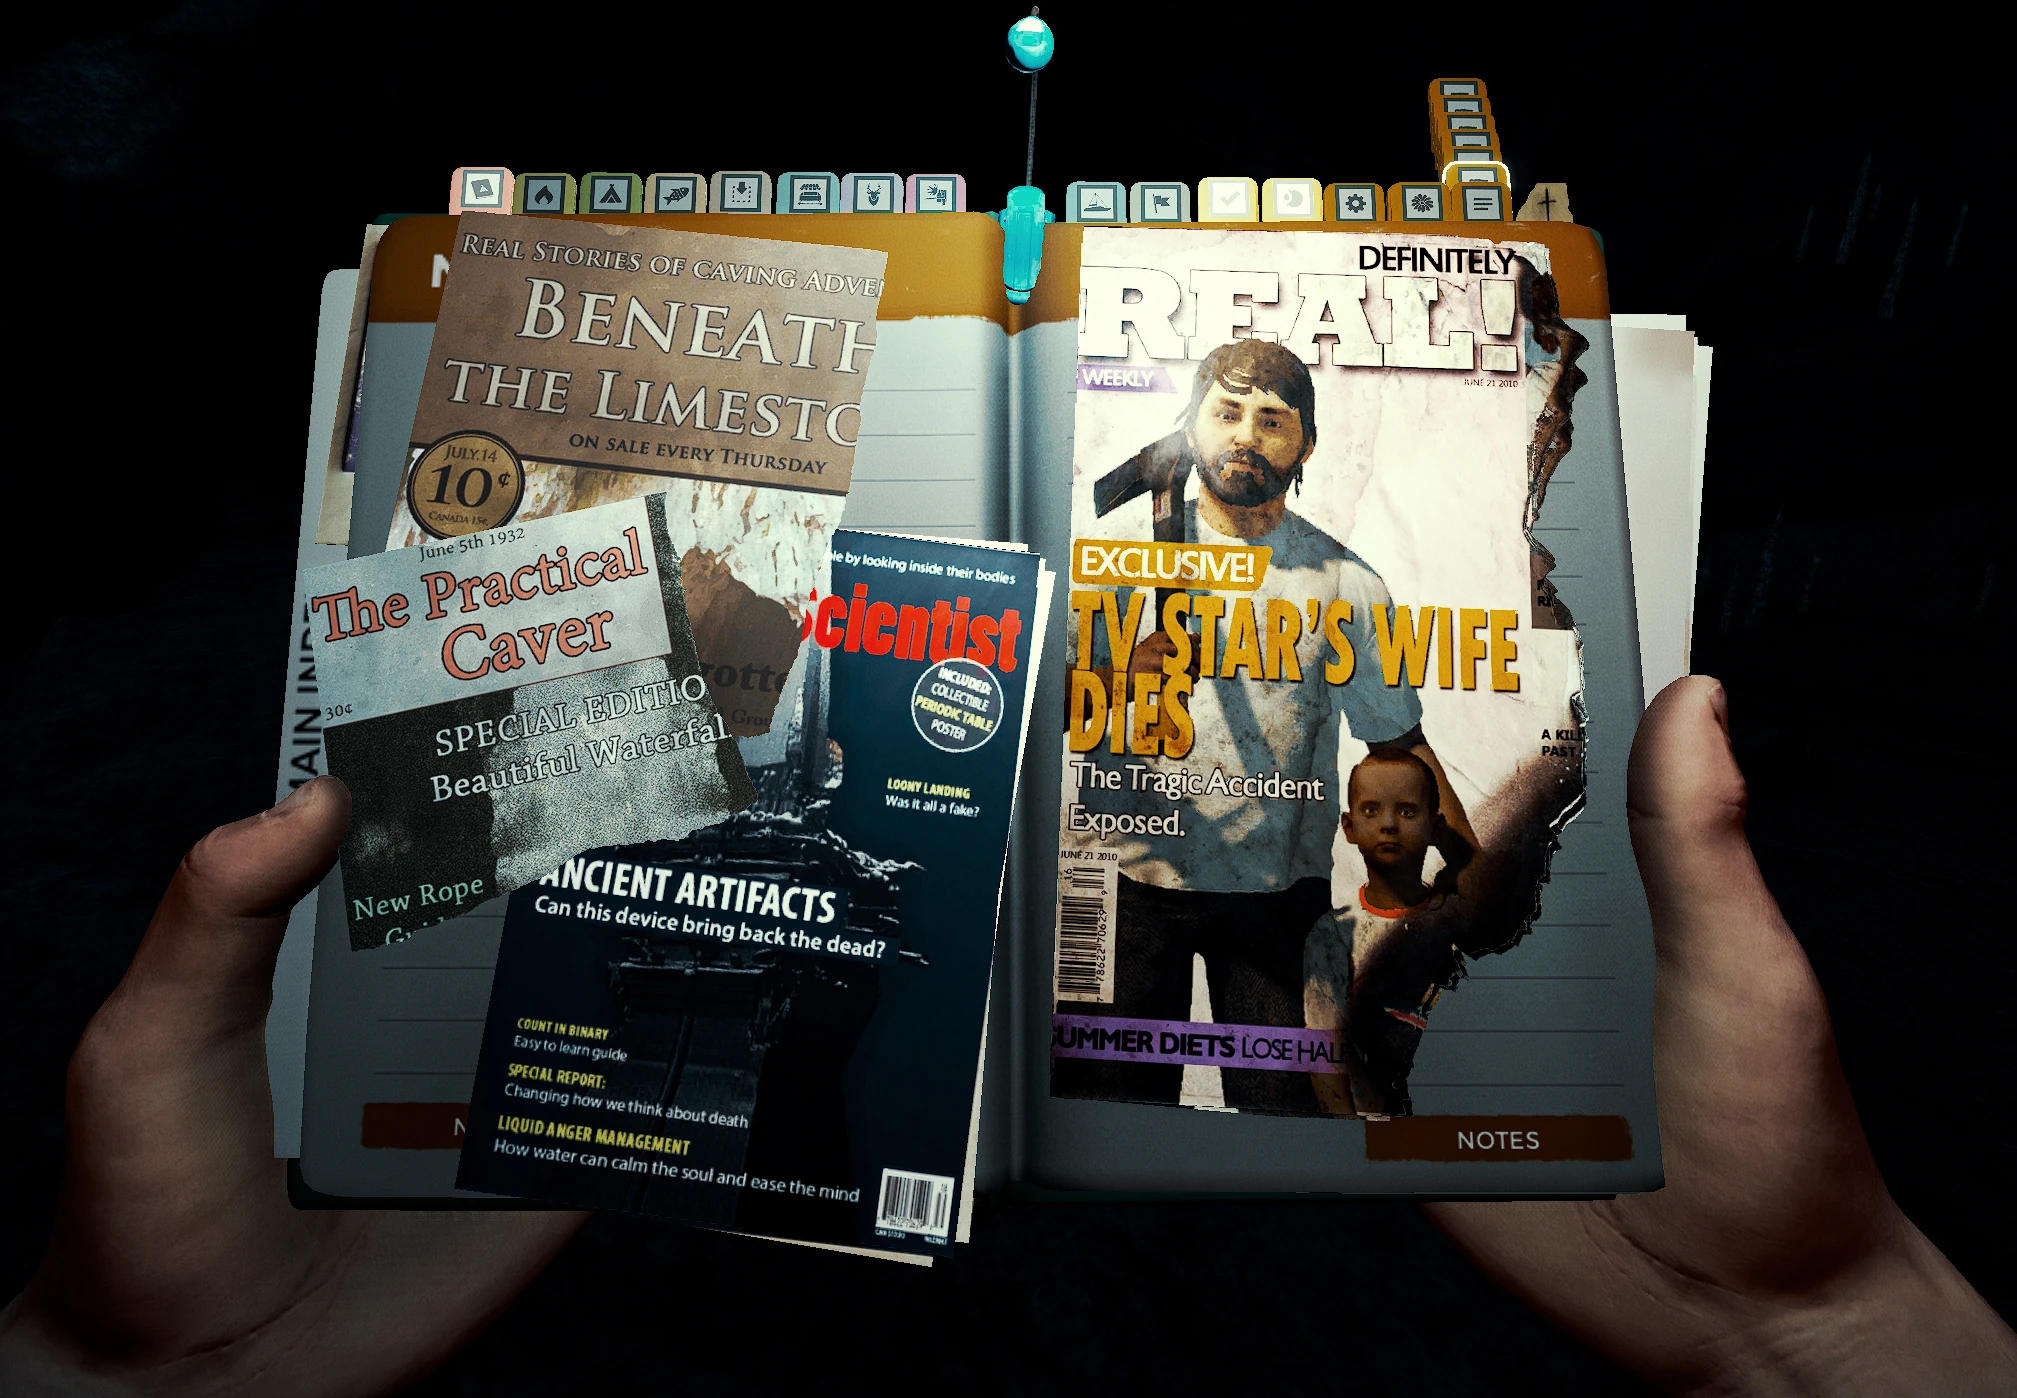
| Beneath The Limestone | additem 149 | A magazine found near the supplies in the Cowman room in Cave 10. | 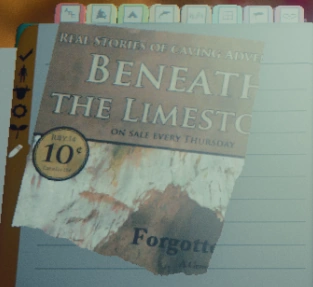
| |
| The Practical Caver | N/A | additem 147 | A magazine for cavers about how to best explore caves. It used to cover a full page, but now only a ripped piece gets put in the notes section of the Survival Guide. | 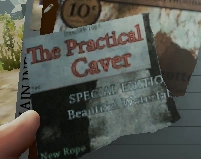
|
| Ethical Scientist magazine | Sahara Laboratory | additem 218 | Features the resurrection obelisk on the cover and suggests that it can bring back the dead. | 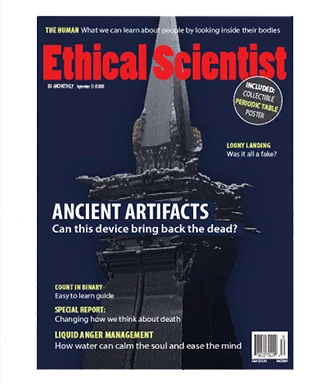
|
| Real! magazine | additem 209 | A magazine about a celebrity losing his wife. Timmy and Eric (the player) can be seen on the cover. This item implies that Eric is a television star, most likely with his own nature show as he is featured with a modern axe. | 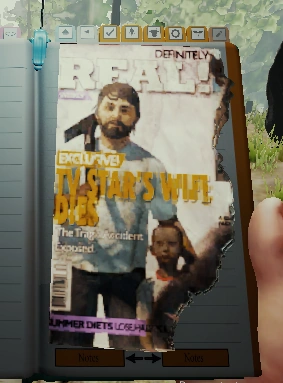
| |
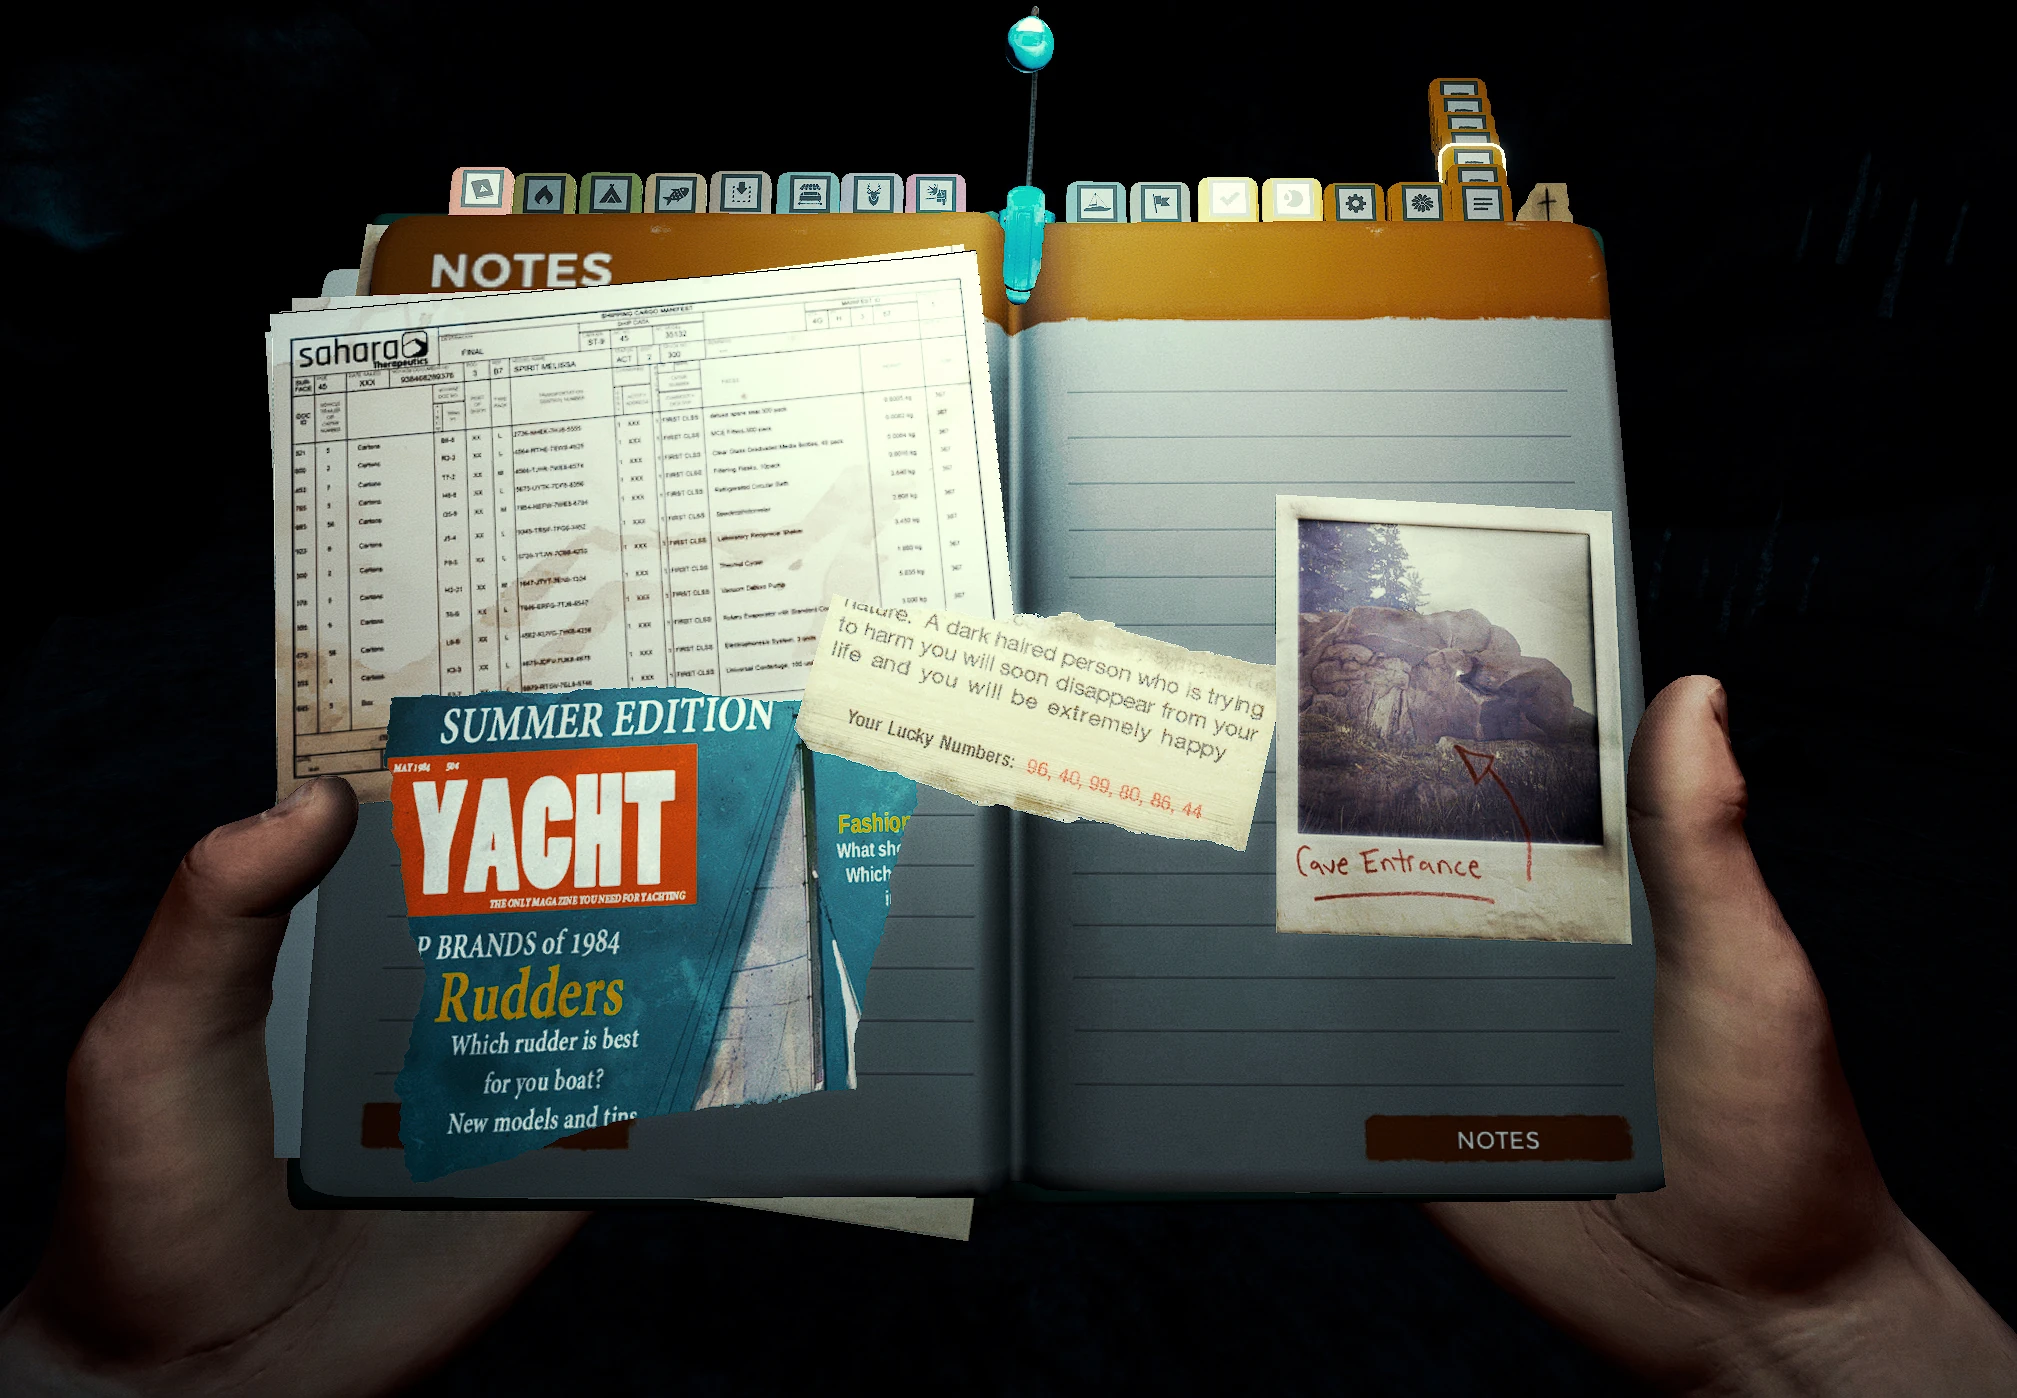
| Cargo Manifest | additem 229 | Often the player's first encounter with the Sahara logo. | 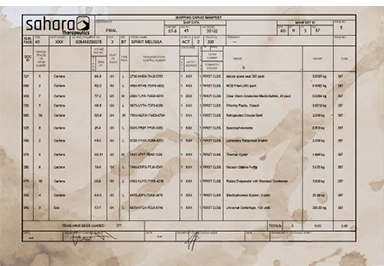
| |
| Yacht Magazine | additem 148 | It's a summer edition of a magazine about the yacht. | 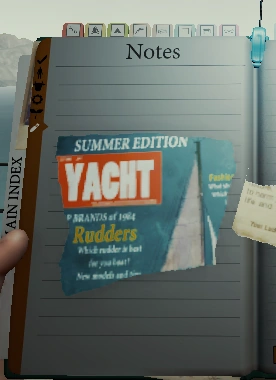
| |
| Fortune | additem 202 | A ticket with the numbers: 96, 40, 99, 80, 86, 44. The note says: "A dark haired person who is trying to harm you will soon disappear from your life and you will be extremely happy." Nearby in the cave, a non-collectible book called "The Dark Haired Man Book" can be found. | 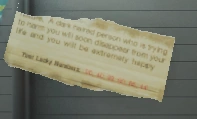
| |
| Keycard Polaroid Photo 2 | additem 259 | A picture of Keycard cave entrance. | 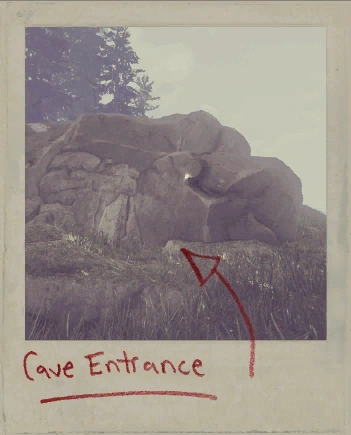
| |
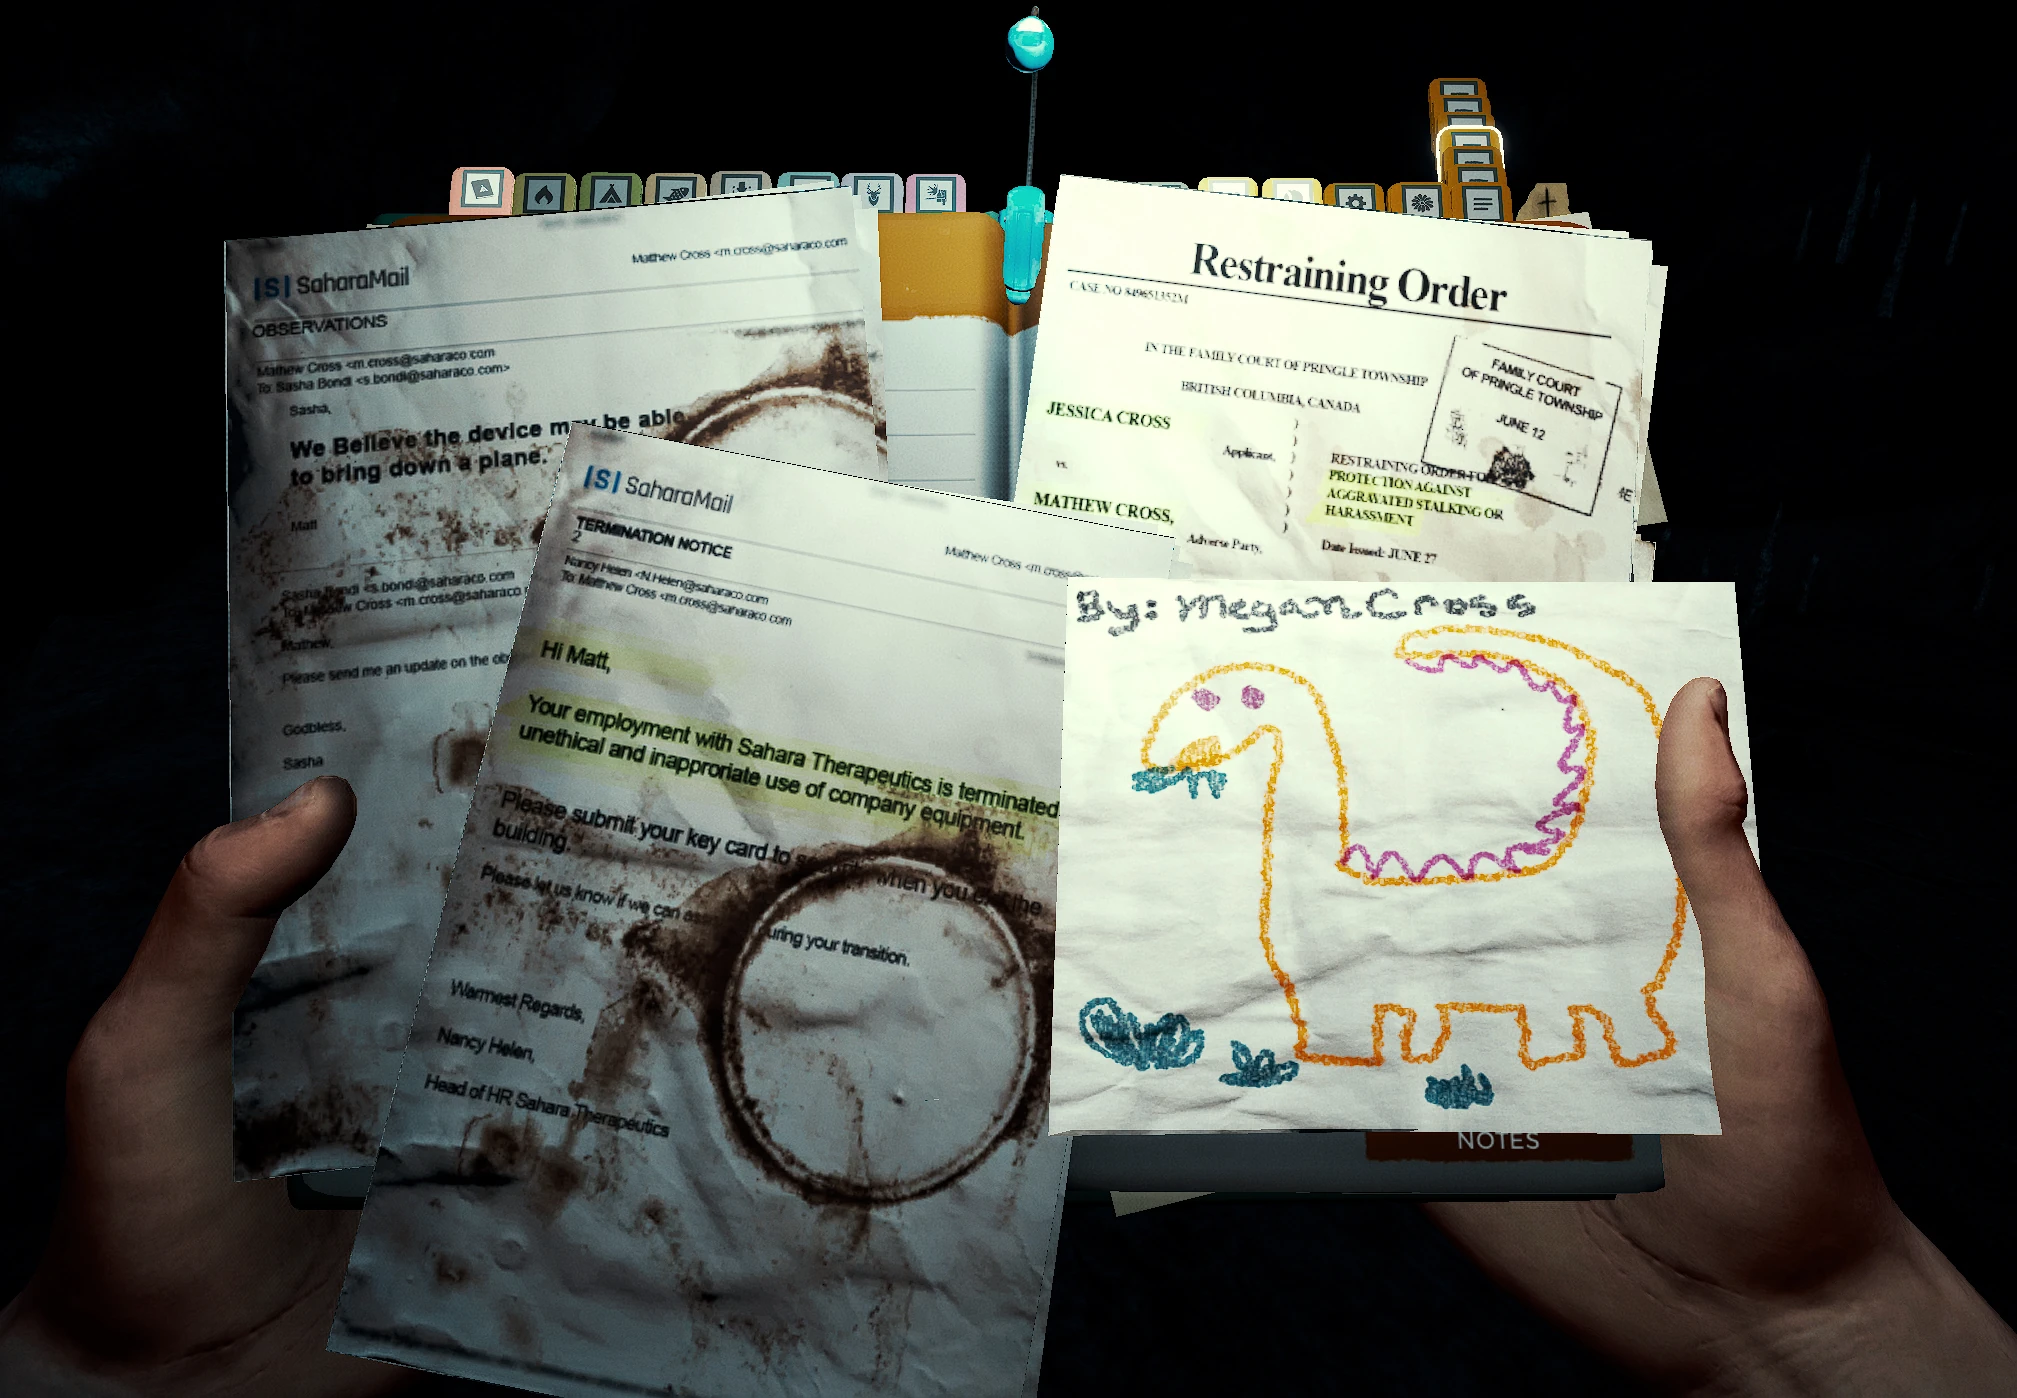
| Bring Down A Plane Email | Sahara Laboratory | additem 255 | An email suggesting the dangerous potential of the power obelisk. | 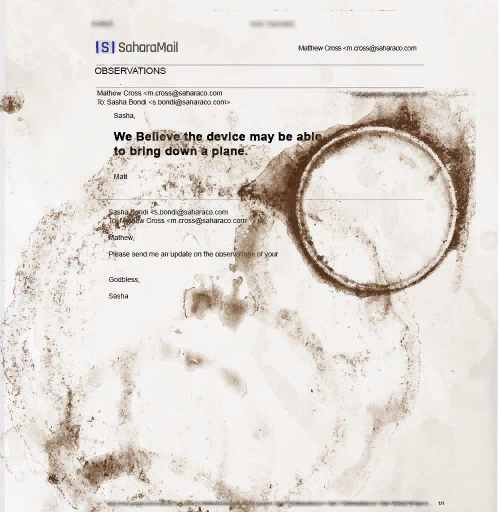
|
| Termination Notice Email | Sahara Laboratory | additem 244 | An email suggesting that Dr. Mathew Cross' employment has been terminated for unethical and inappropriate use of company equipment. | 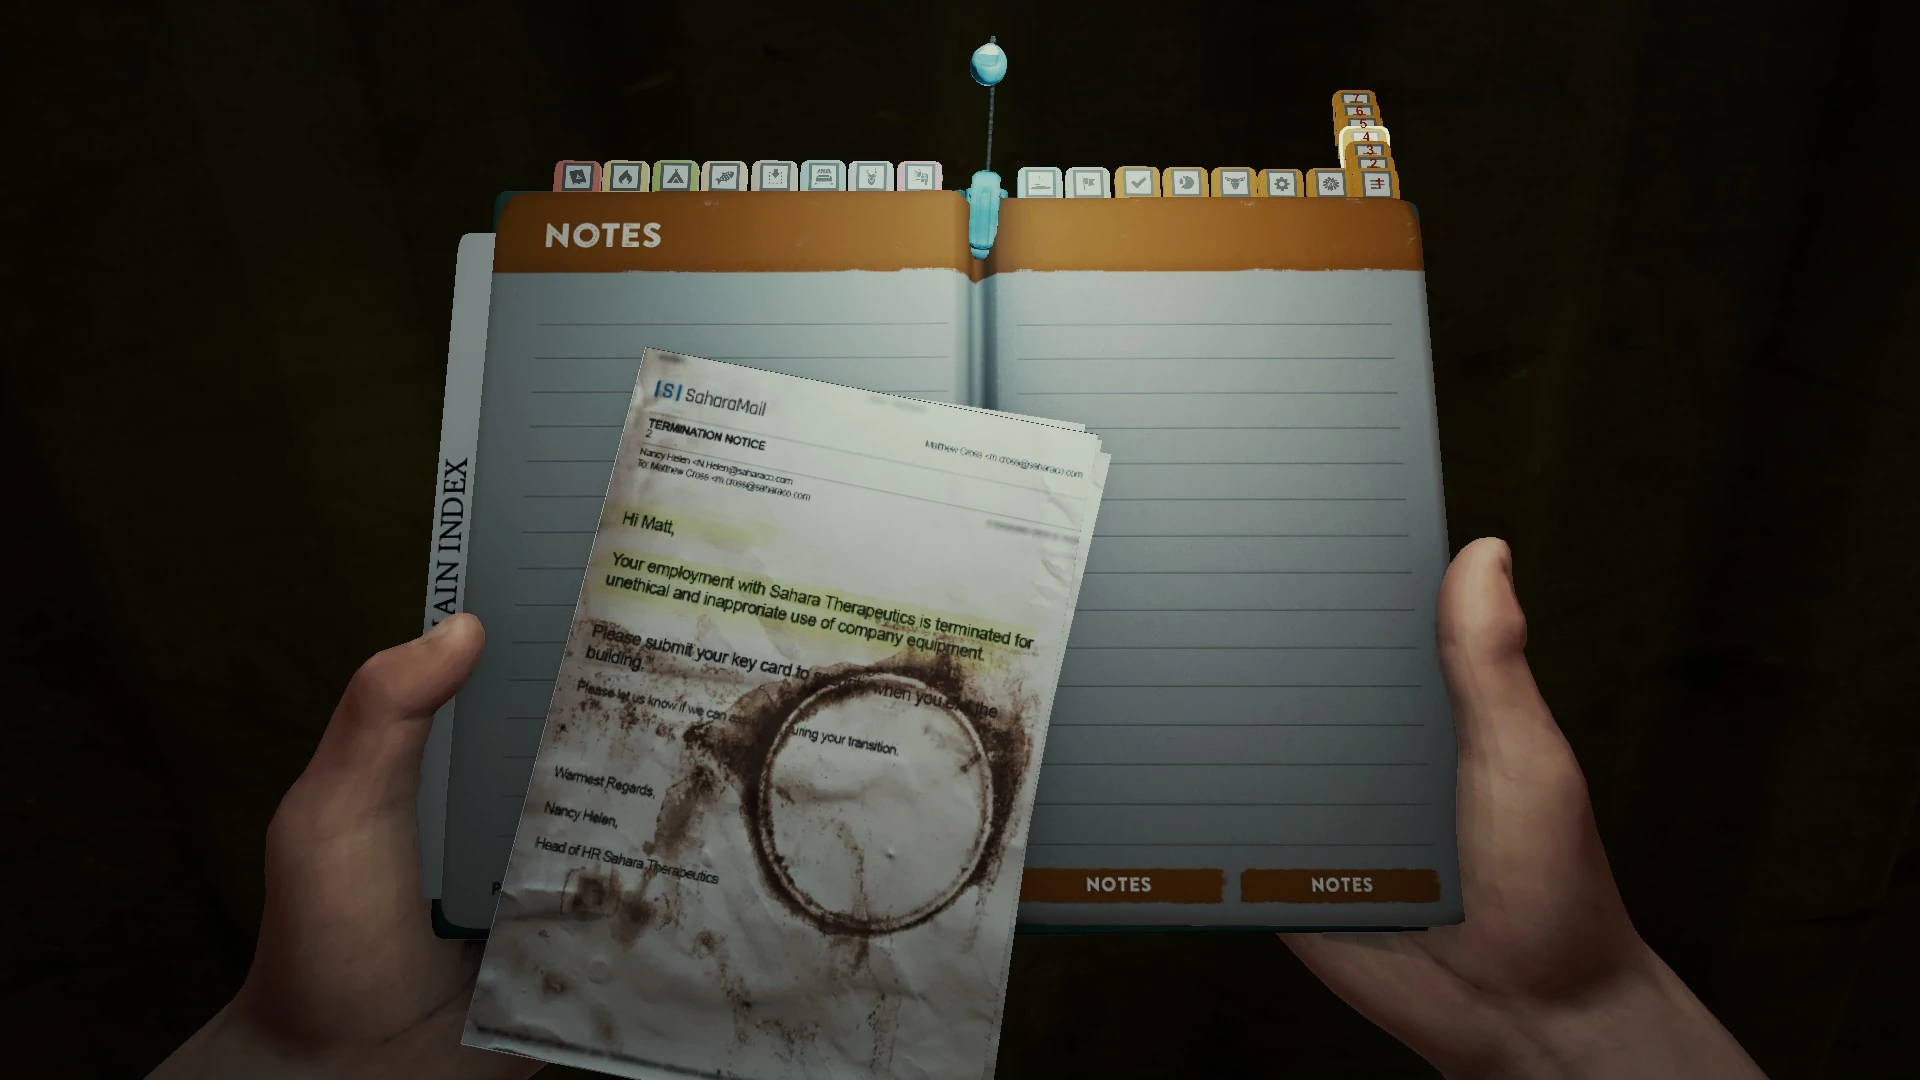
|
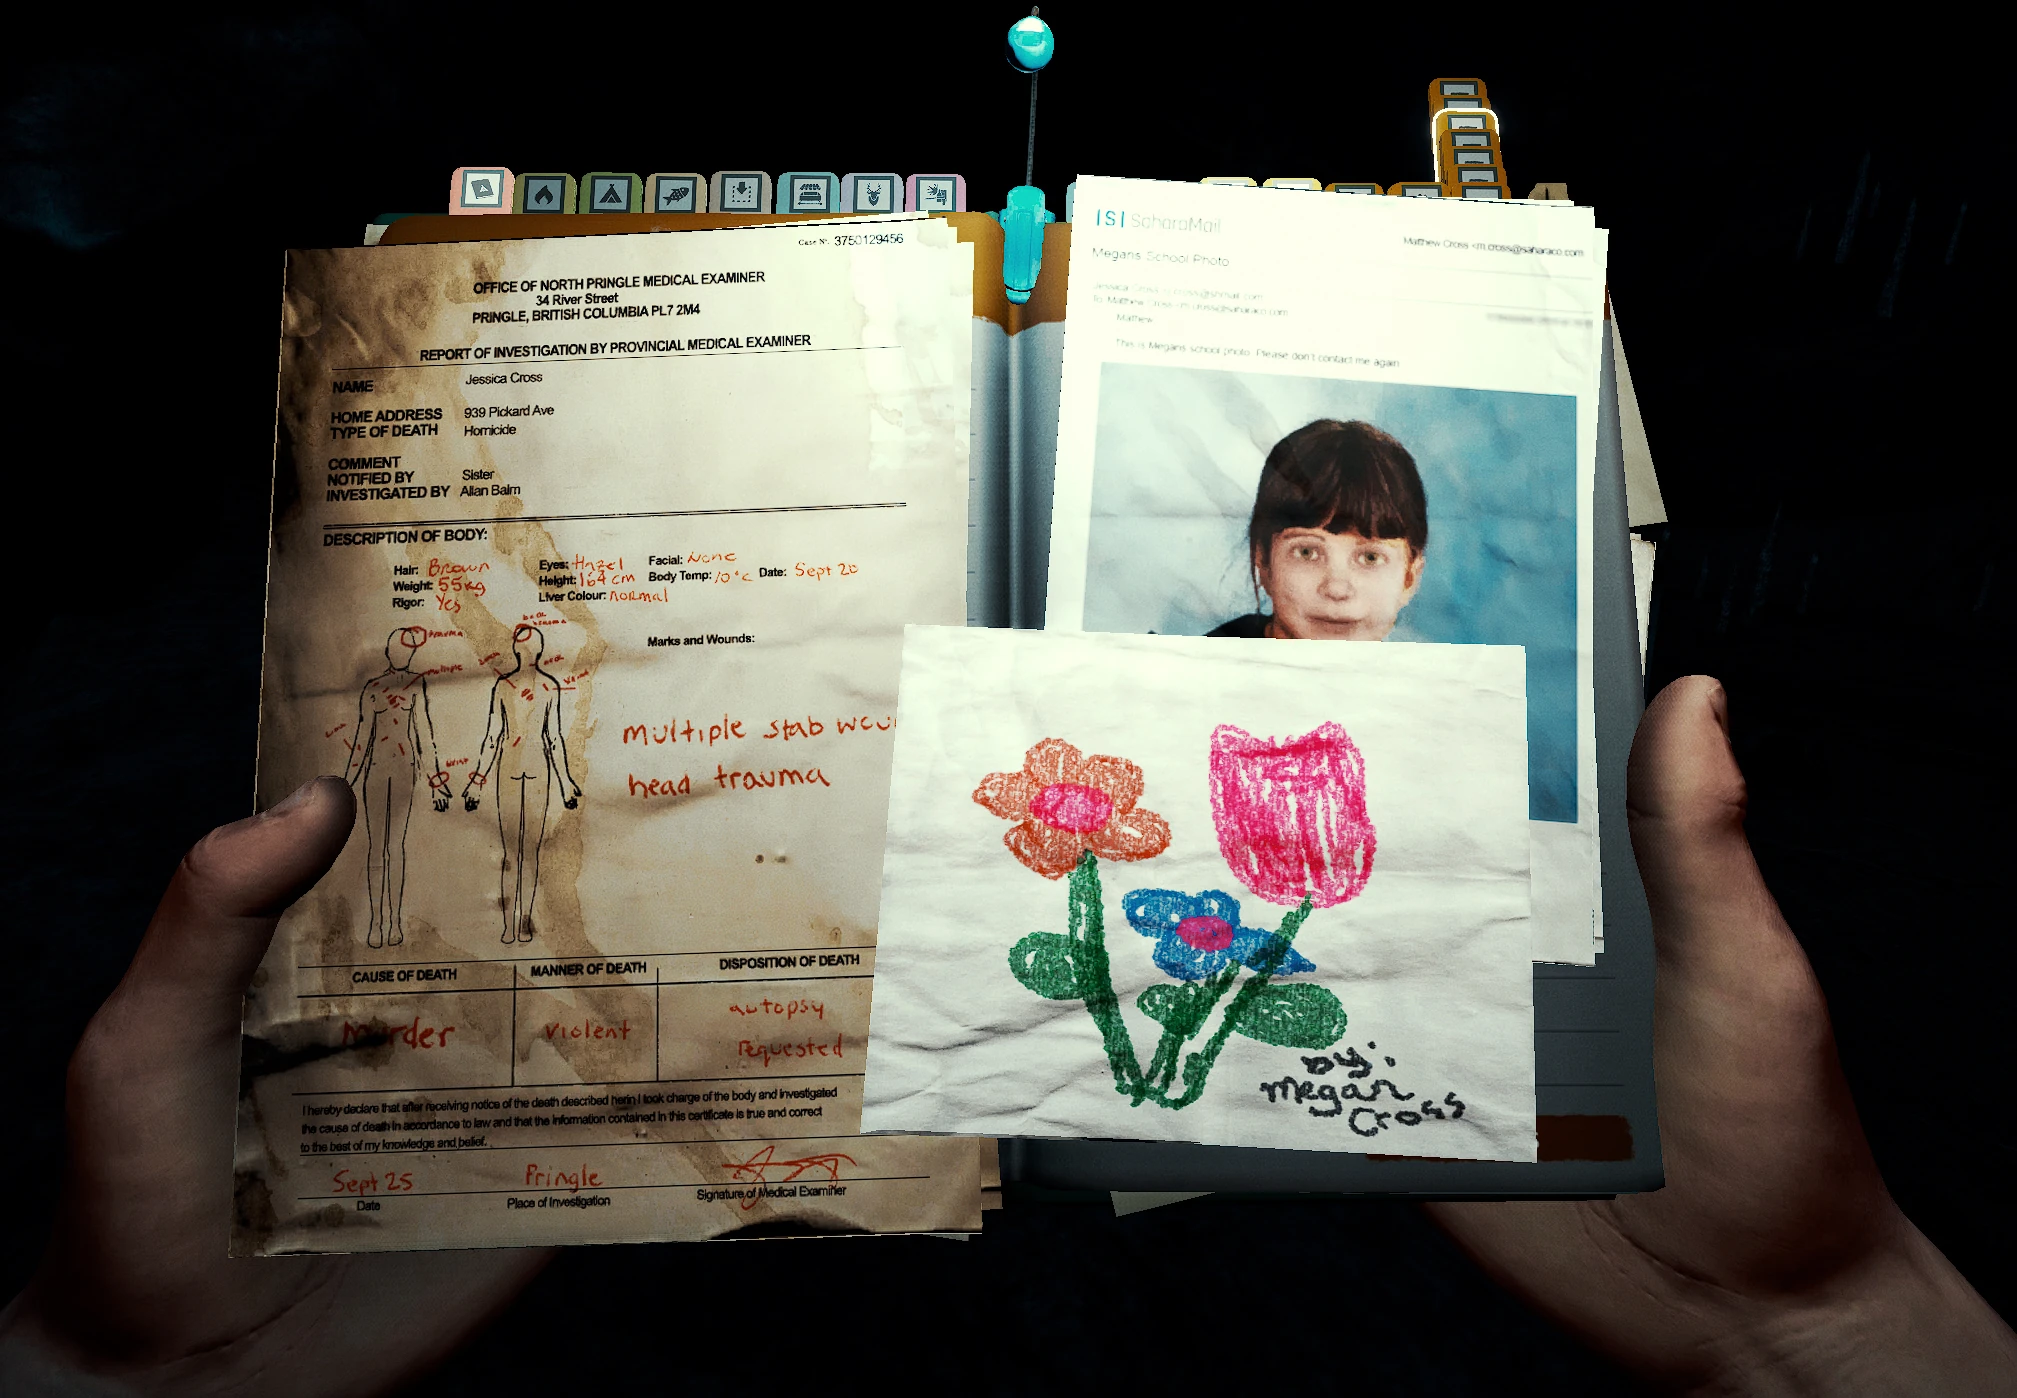
| Restraining order | additem 244 | Restraining order was issued against Dr. Mathew Cross, at the behest of Jessica Cross, ordering him to have no contact with either her or their daughter, Megan Cross. | 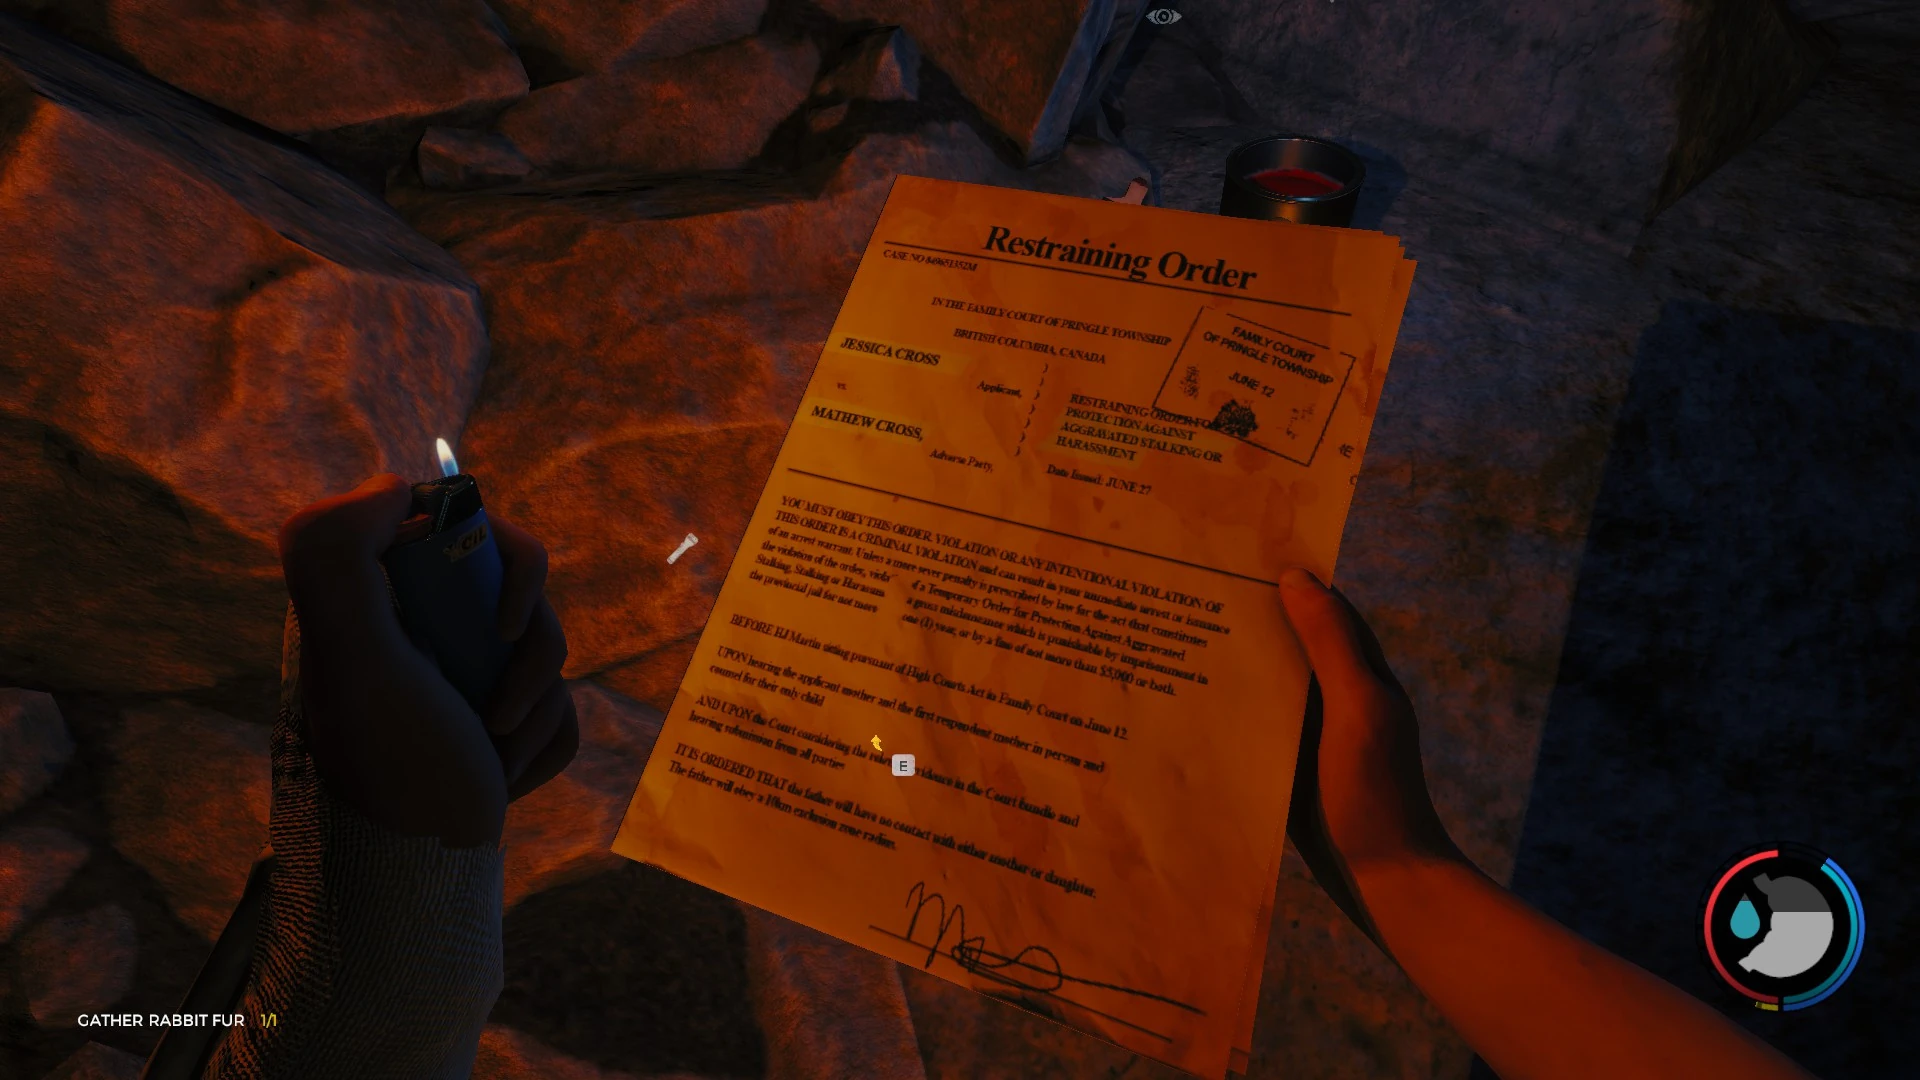
| |
| Megan's Dinosaur Drawing | Sahara Laboratory | additem 254 | Megan's drawing of a dinosaur | 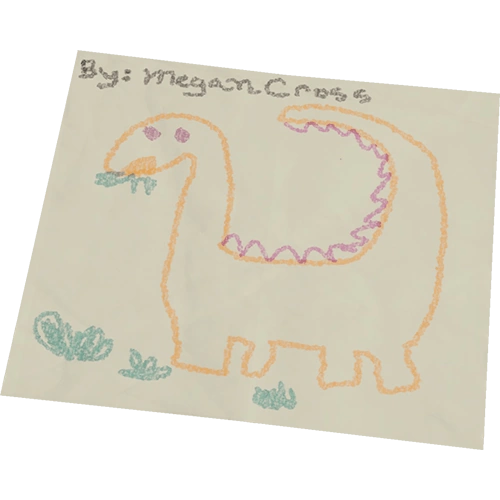
|
| Autopsy Report | additem 245 | The autopsy report for Jessica Cross, Dr. Crosses' wife (Under "Name". | 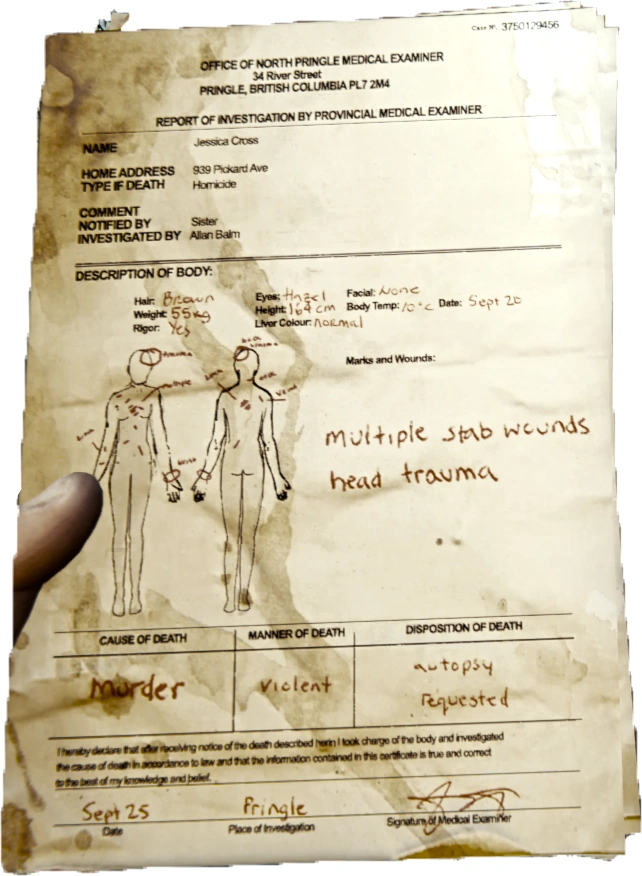
| |
| Megan's Flower Drawing | Sahara Laboratory | additem 251 | Megan's drawing of flowers | 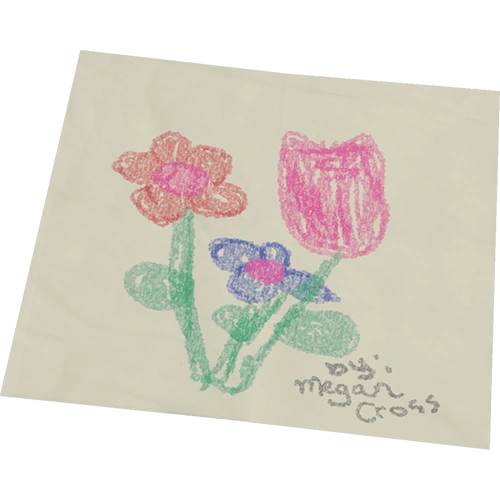
|
| Megan's School Photo | Sahara Laboratory | additem 256 | School photo of Megan Cross sent by Jessica Cross to Dr. Mathew Cross commanding him not to contact her again. | 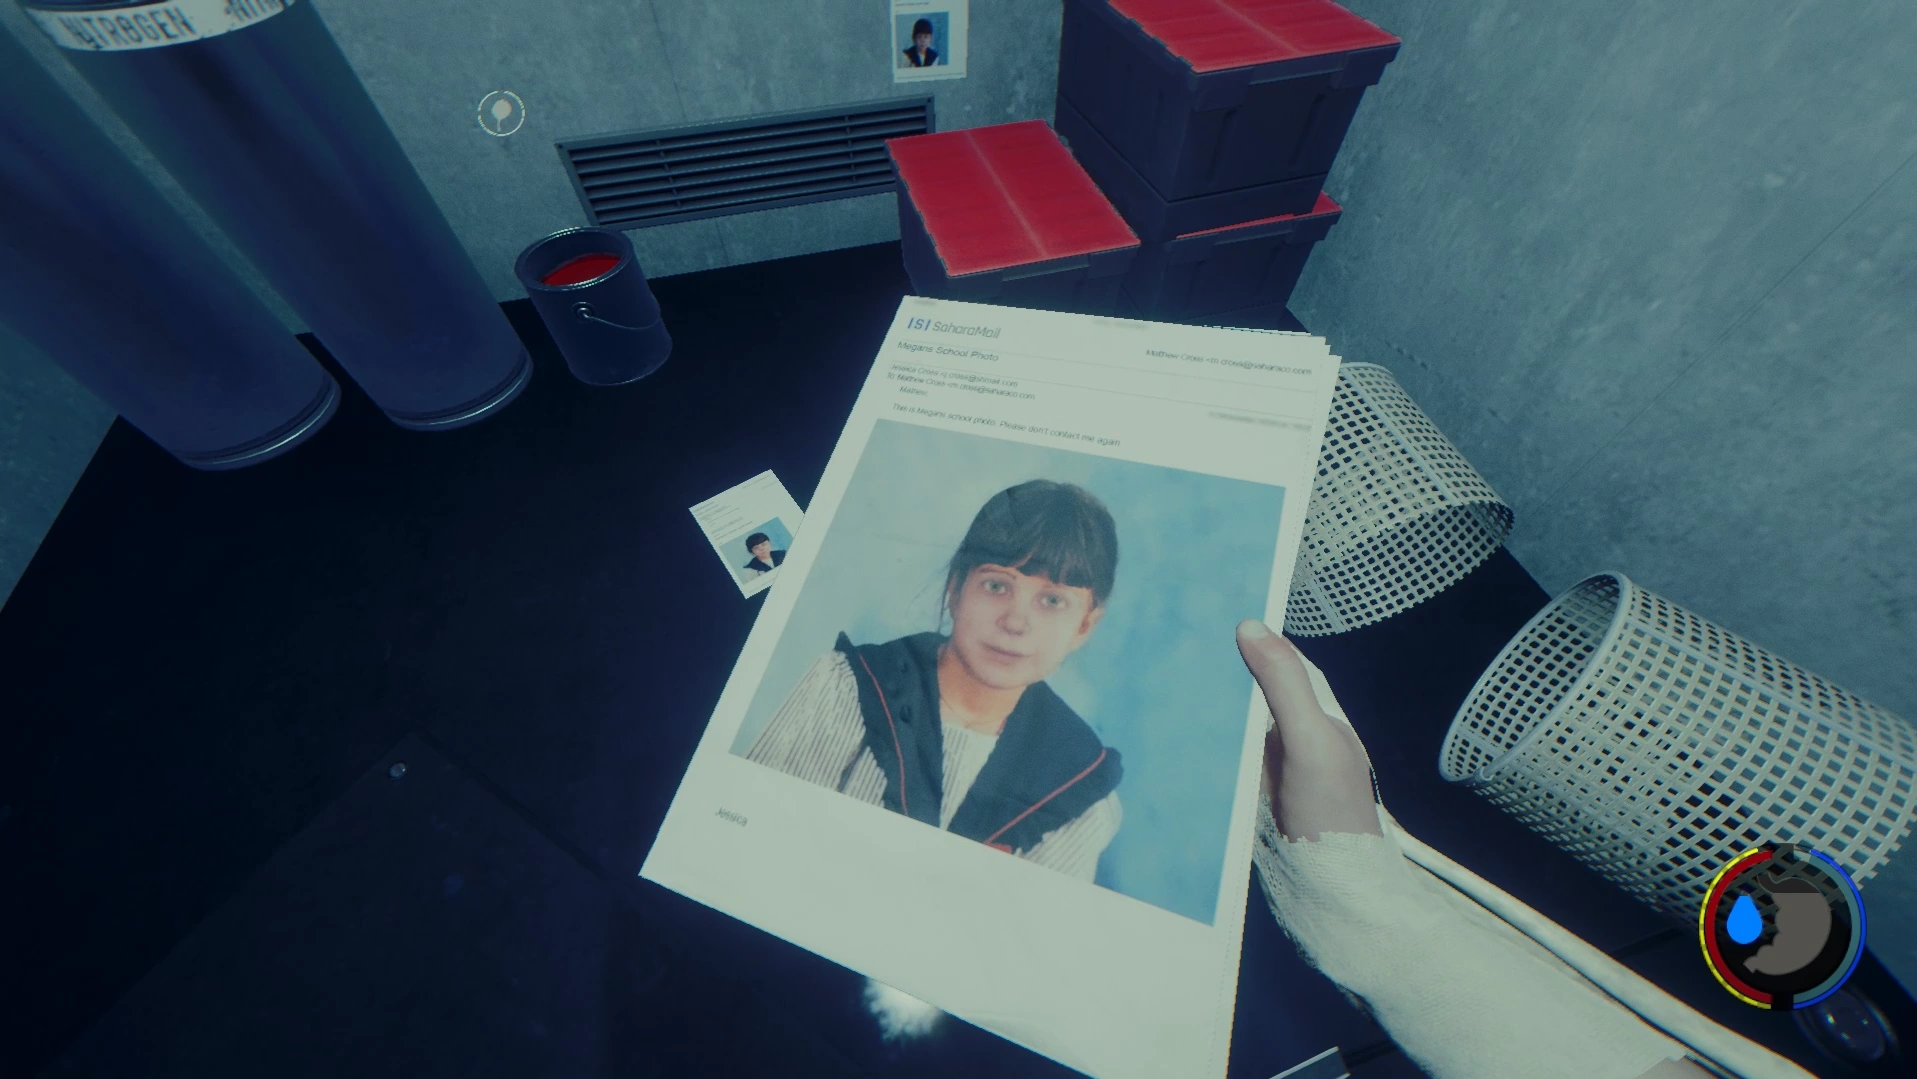
|
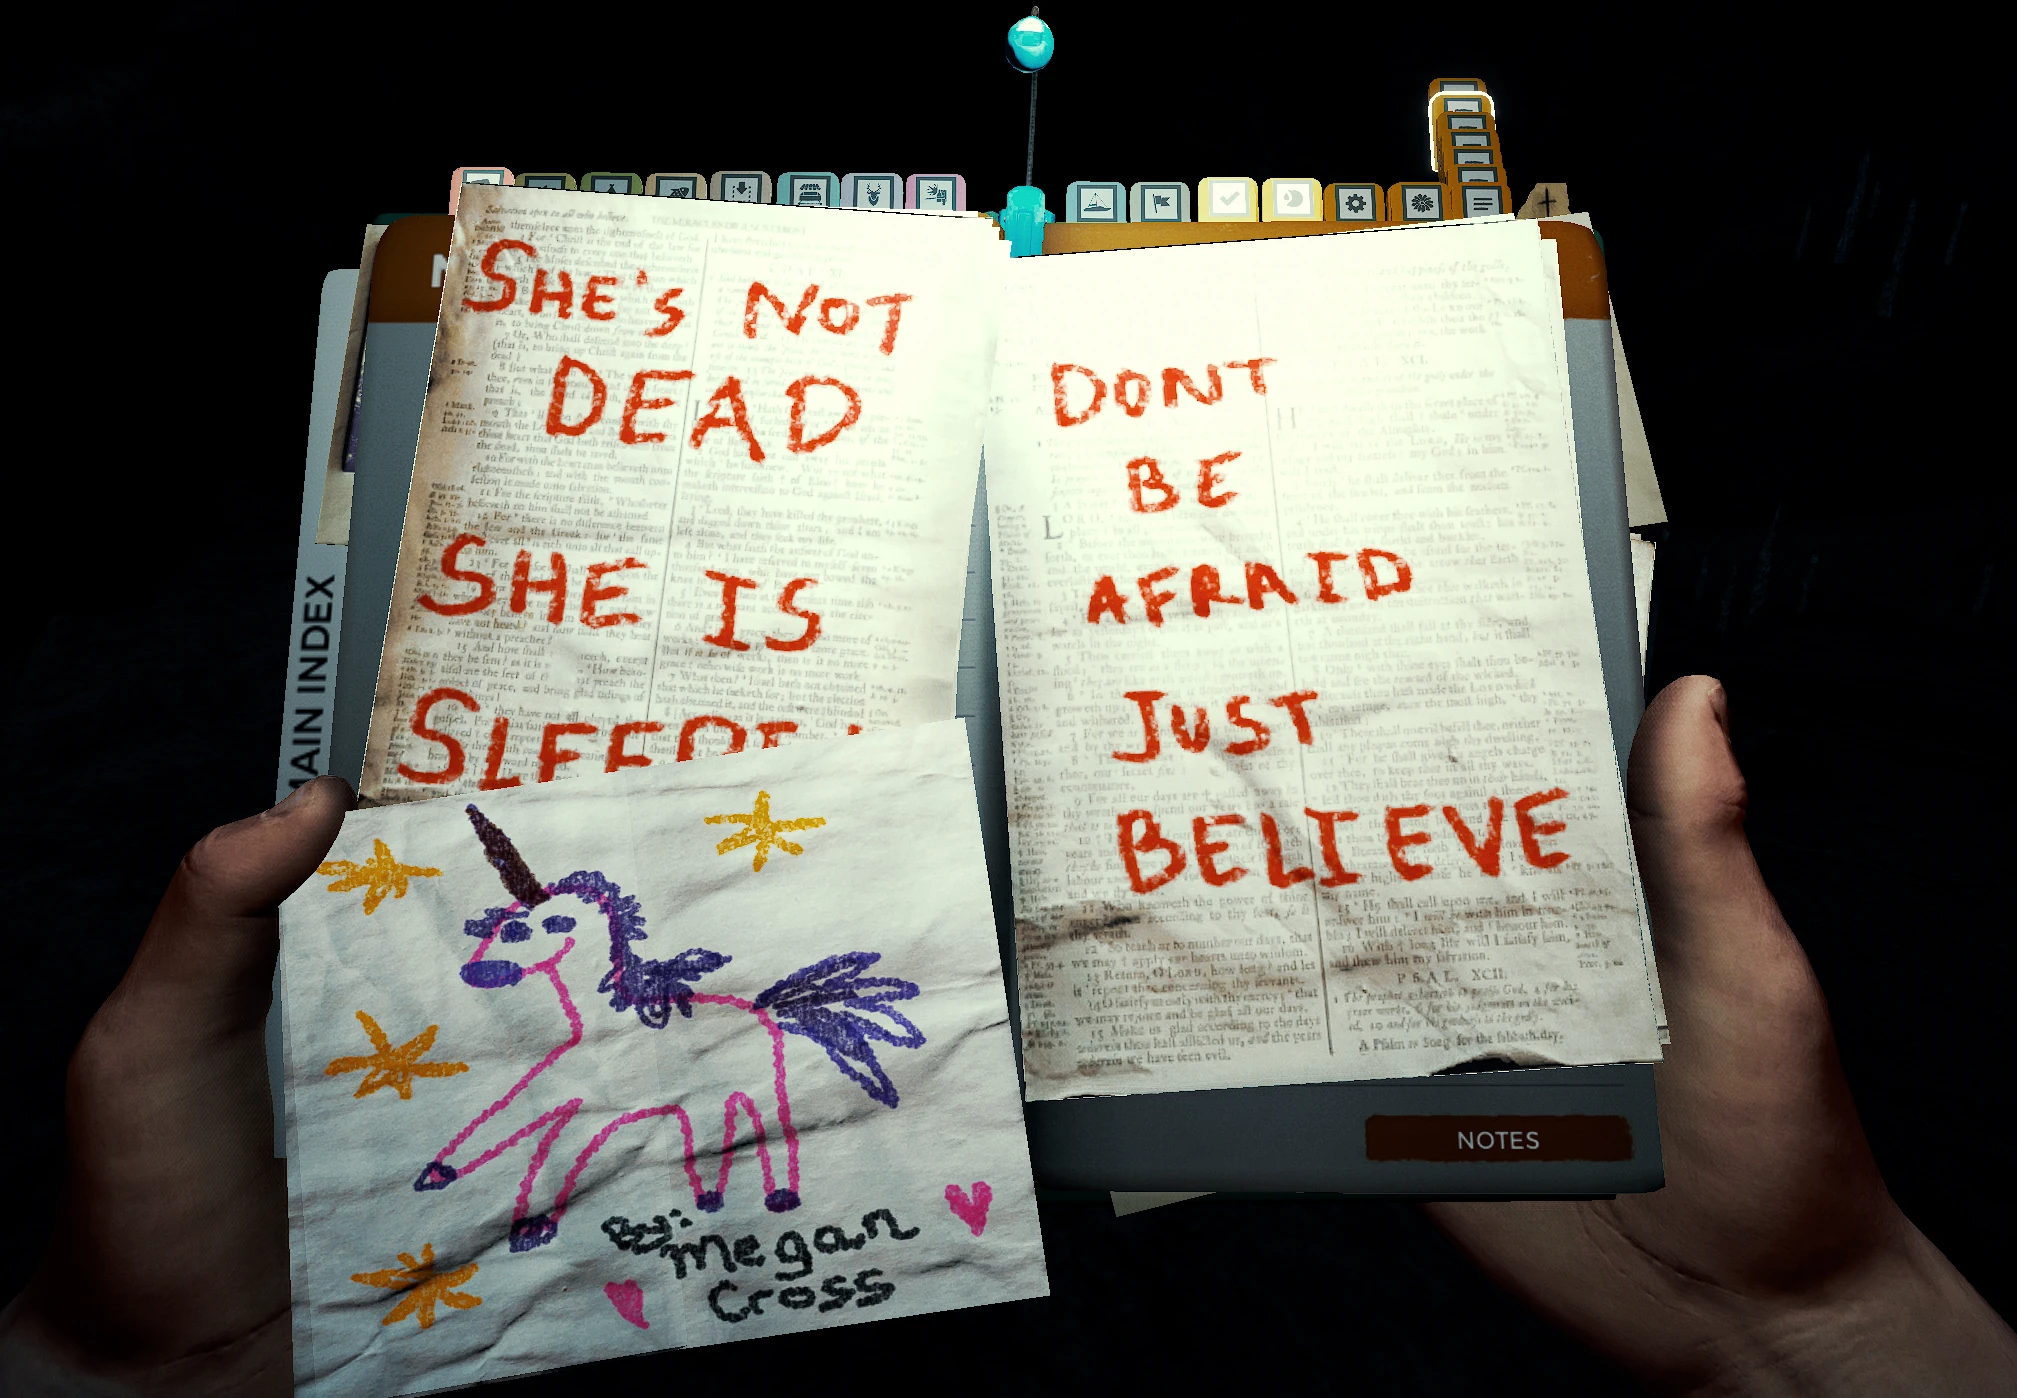
| Don't be afraid / Just believe | additem 246 | Authored presumably by Dr. Cross. | 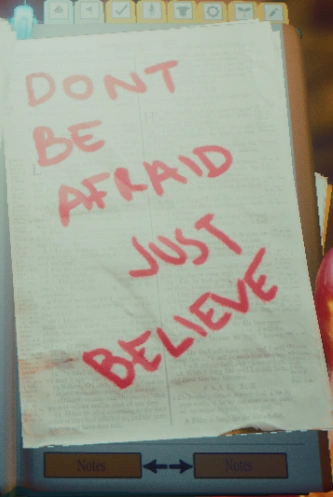
| |
| She's not dead / She is sleeping | additem 247 | Authored presumably by Dr. Cross. | 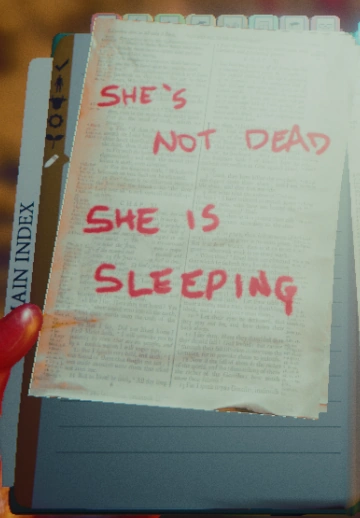
| |
| Megan's Unicorn Drawing | Sahara Laboratory | additem 253 | Megan's drawing of a unicorn | 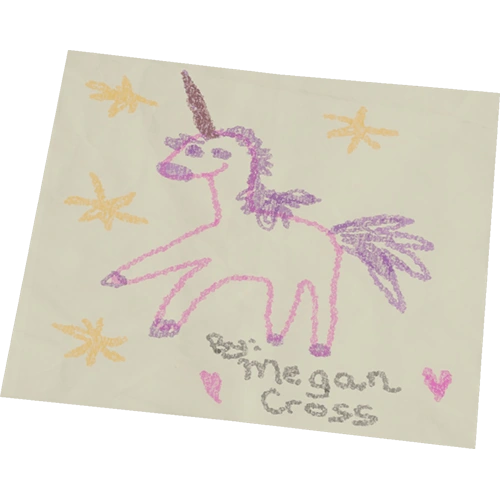
|
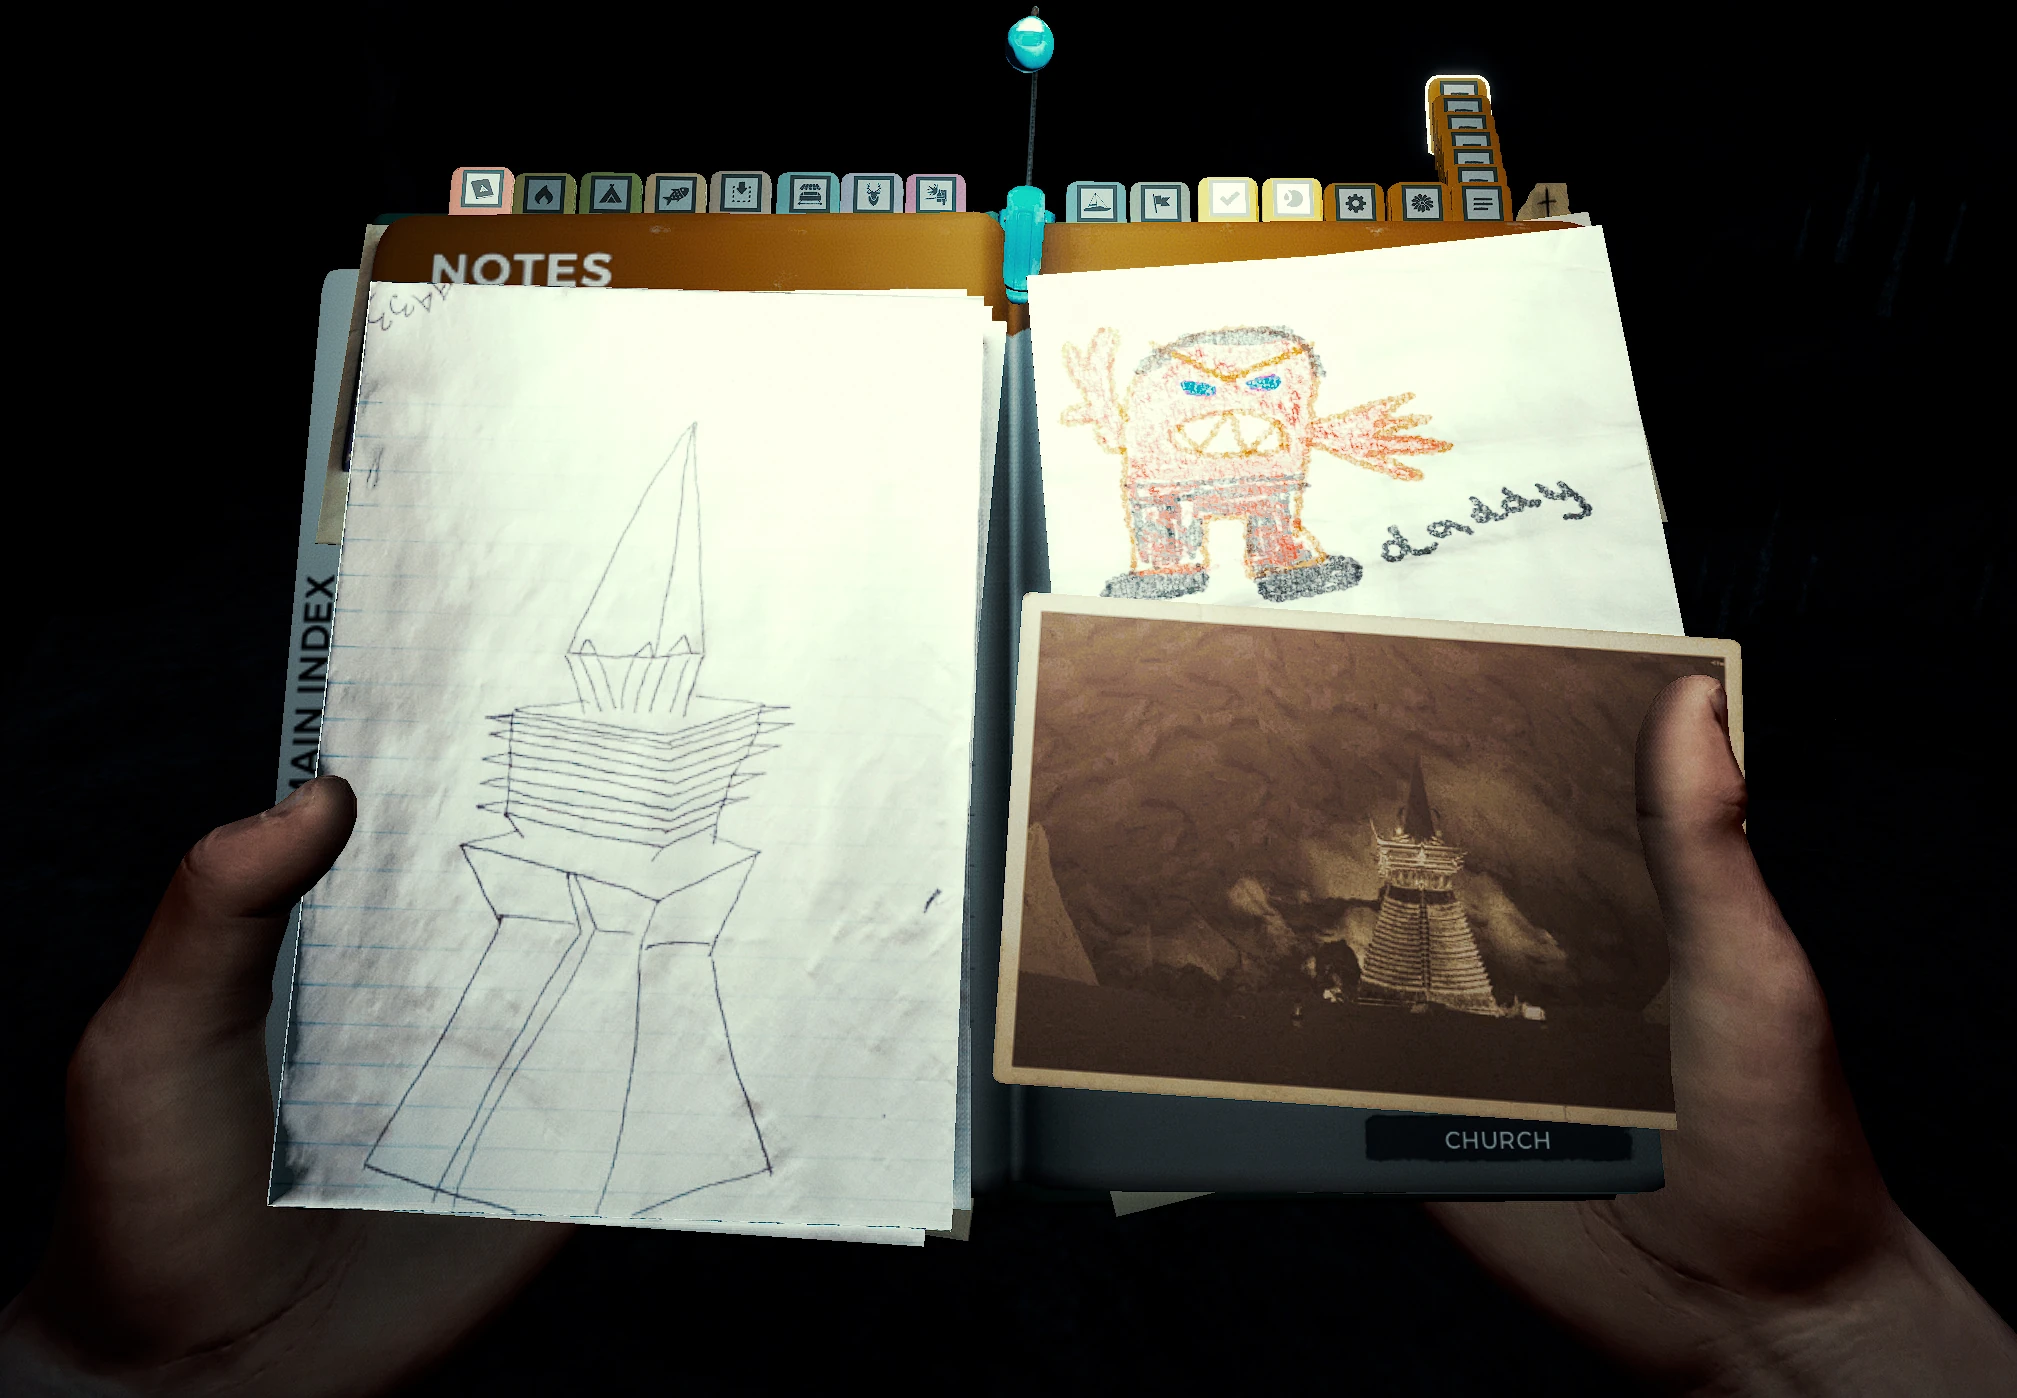
| Obelisk Drawing | Sahara Laboratory | additem 250 | A drawing of obelisk on what it looks to be a lined paper | 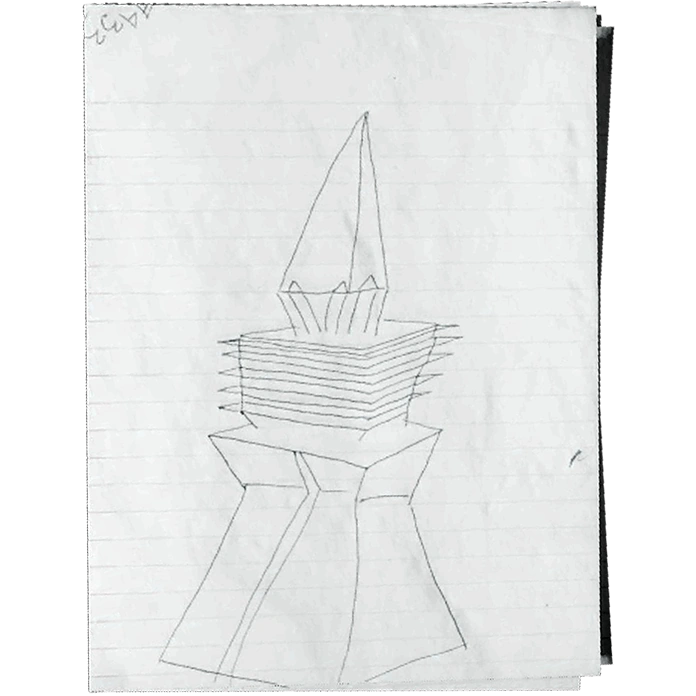
|
| Megan's Daddy Drawing | Sahara Laboratory | additem 252 | Megan's drawing of the angry Red Man | 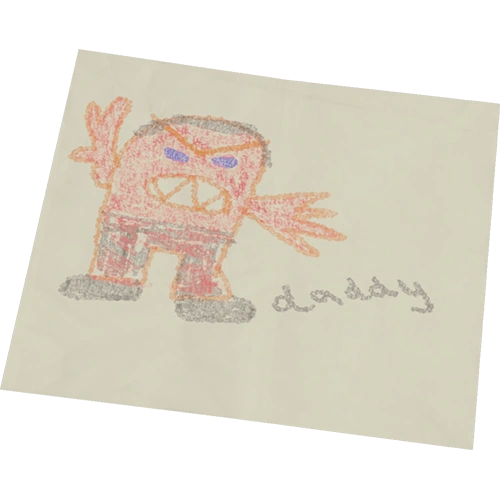
|
| Obelisk Photo | Sahara Laboratory | additem 249 | Very aged photo of a obelisk by the White Tents | 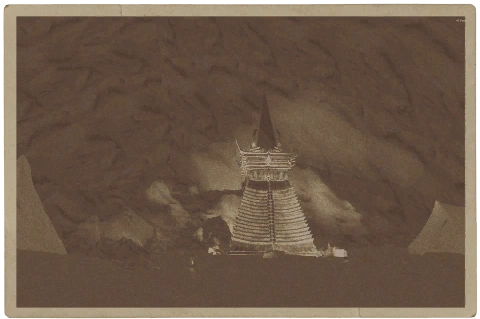
|
| Sections |
|---|
| Building: Fire • Shelter • Food and Water • Storage • Custom • Utility • Furniture • Small Traps • Advanced Traps • Boats • Effigies • Family |
| Information: To Do List • Stats • Nature Guide • Notes |